
Returning Student Registration Approval and Delivery of Records
Returning Student Registration Approval and Delivery of Records
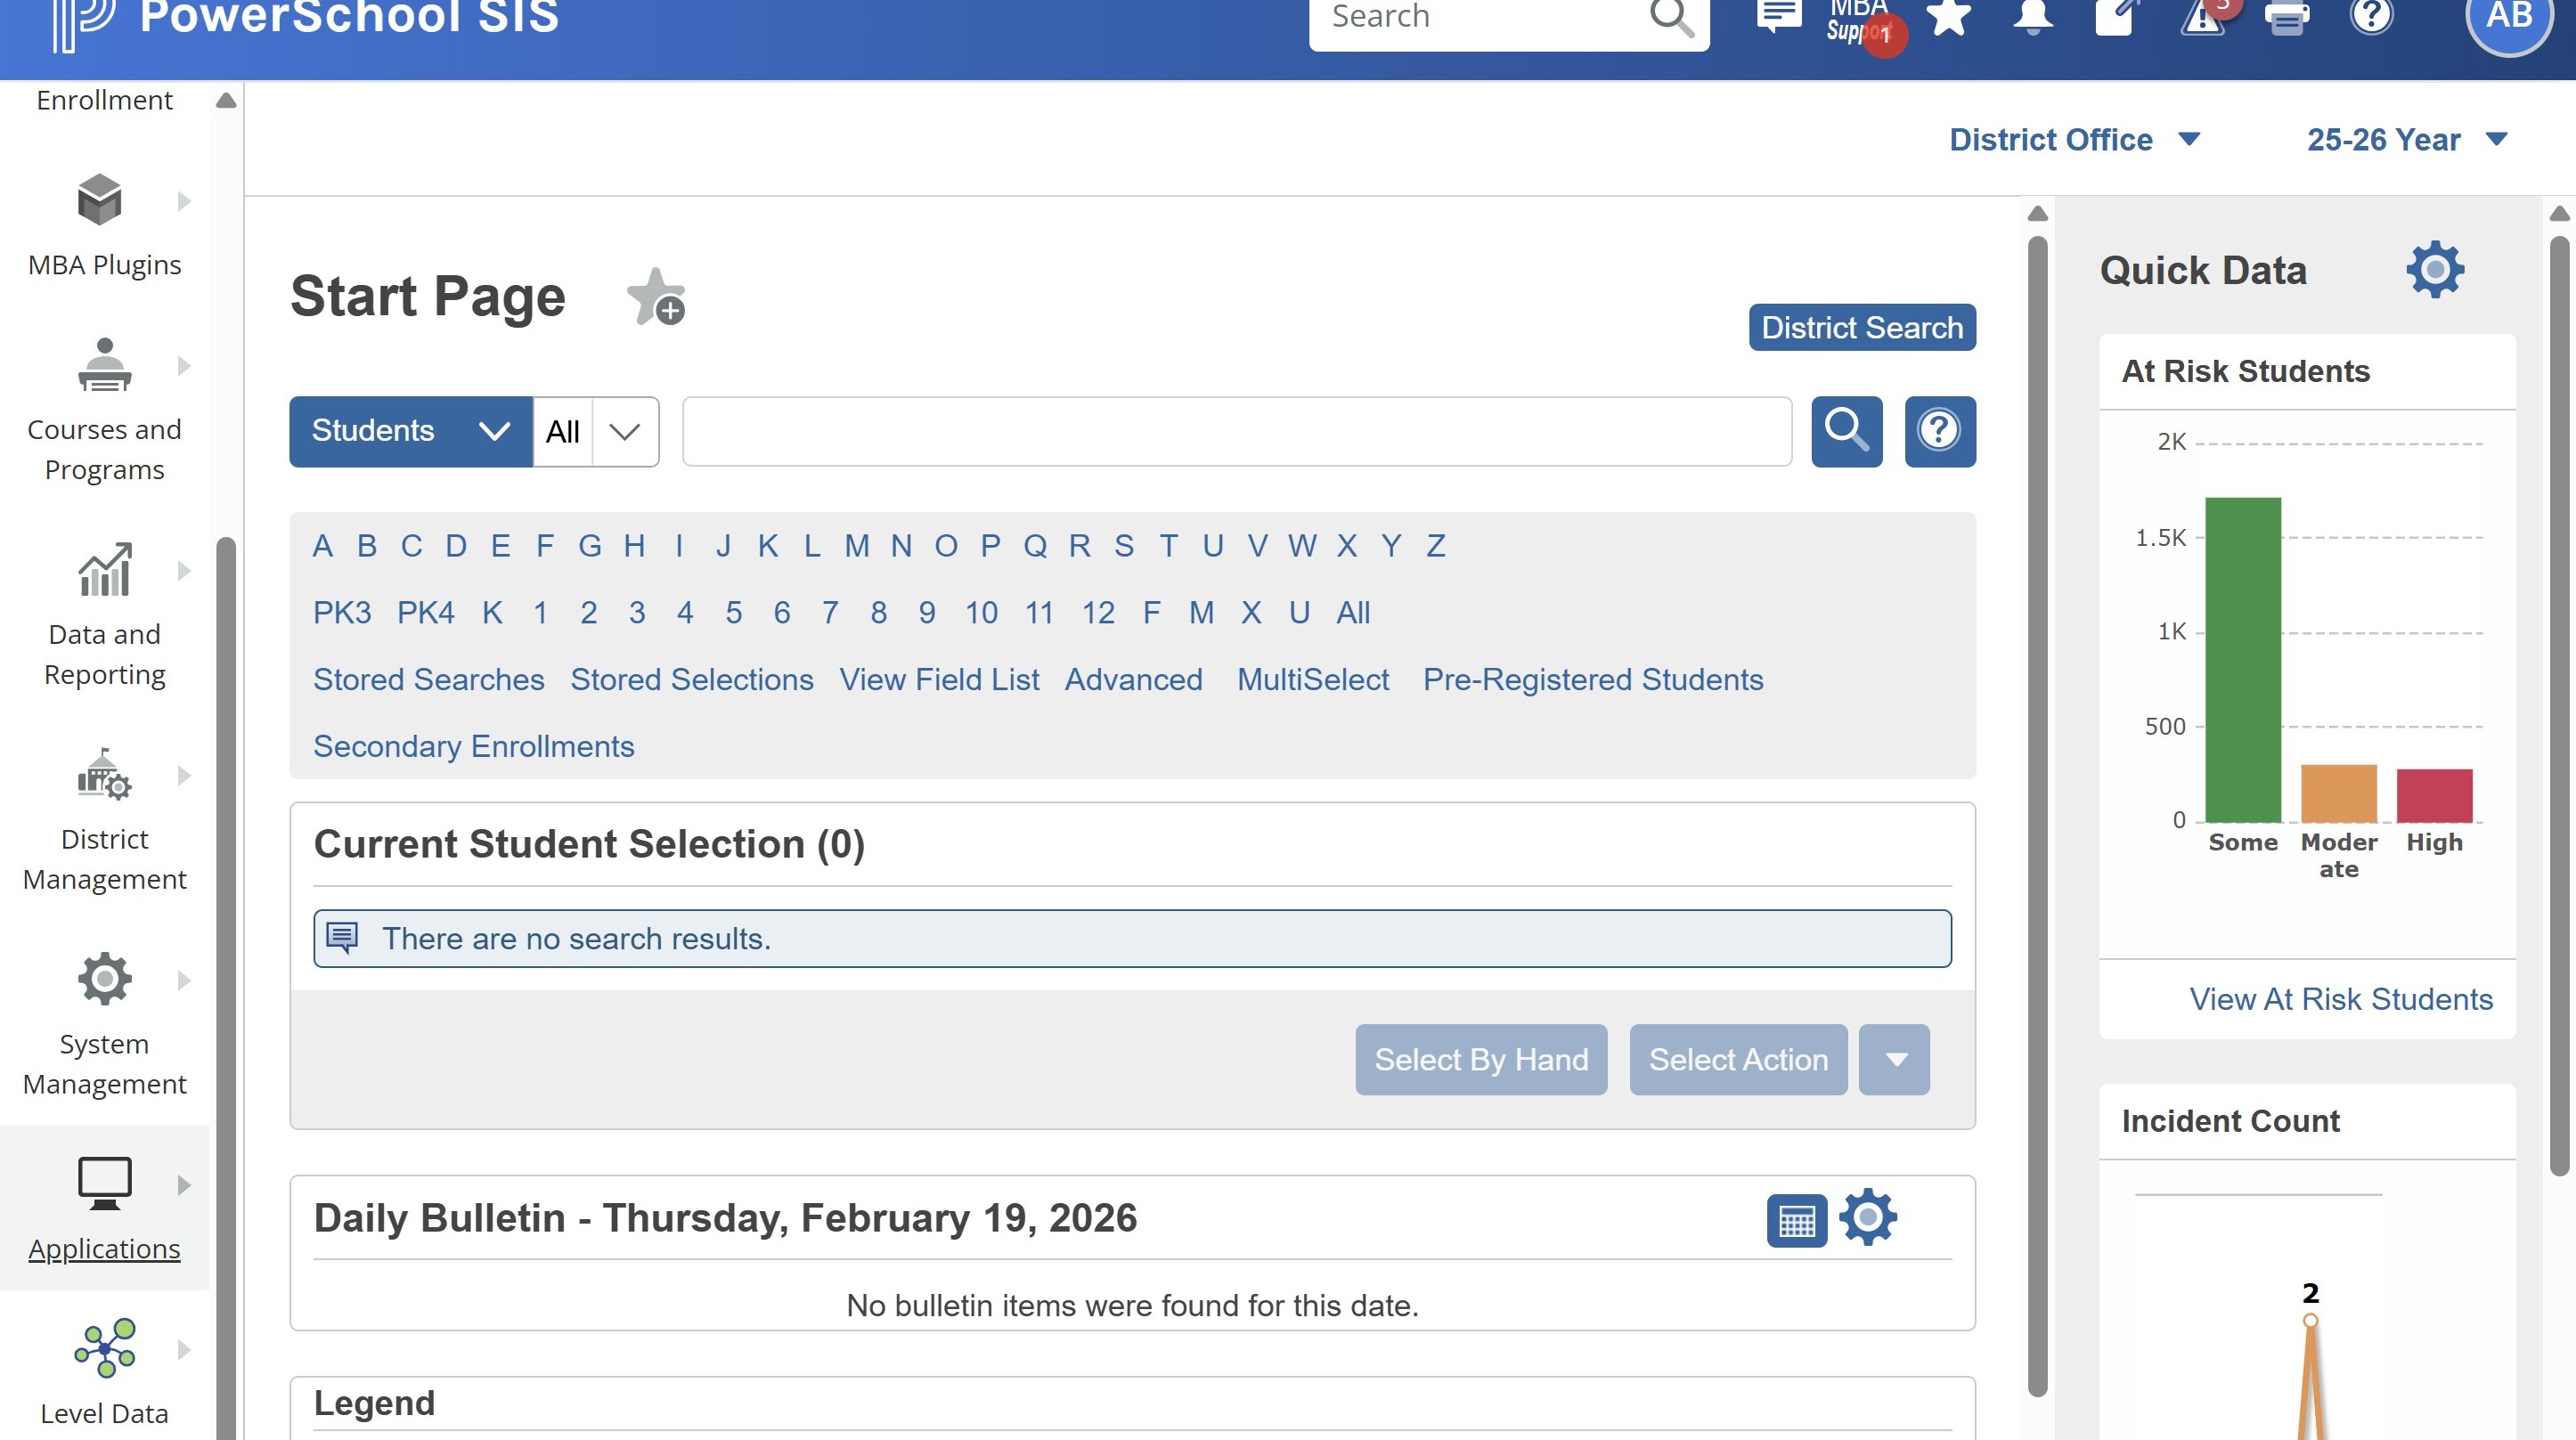
1. Log into PowerSchool SIS.
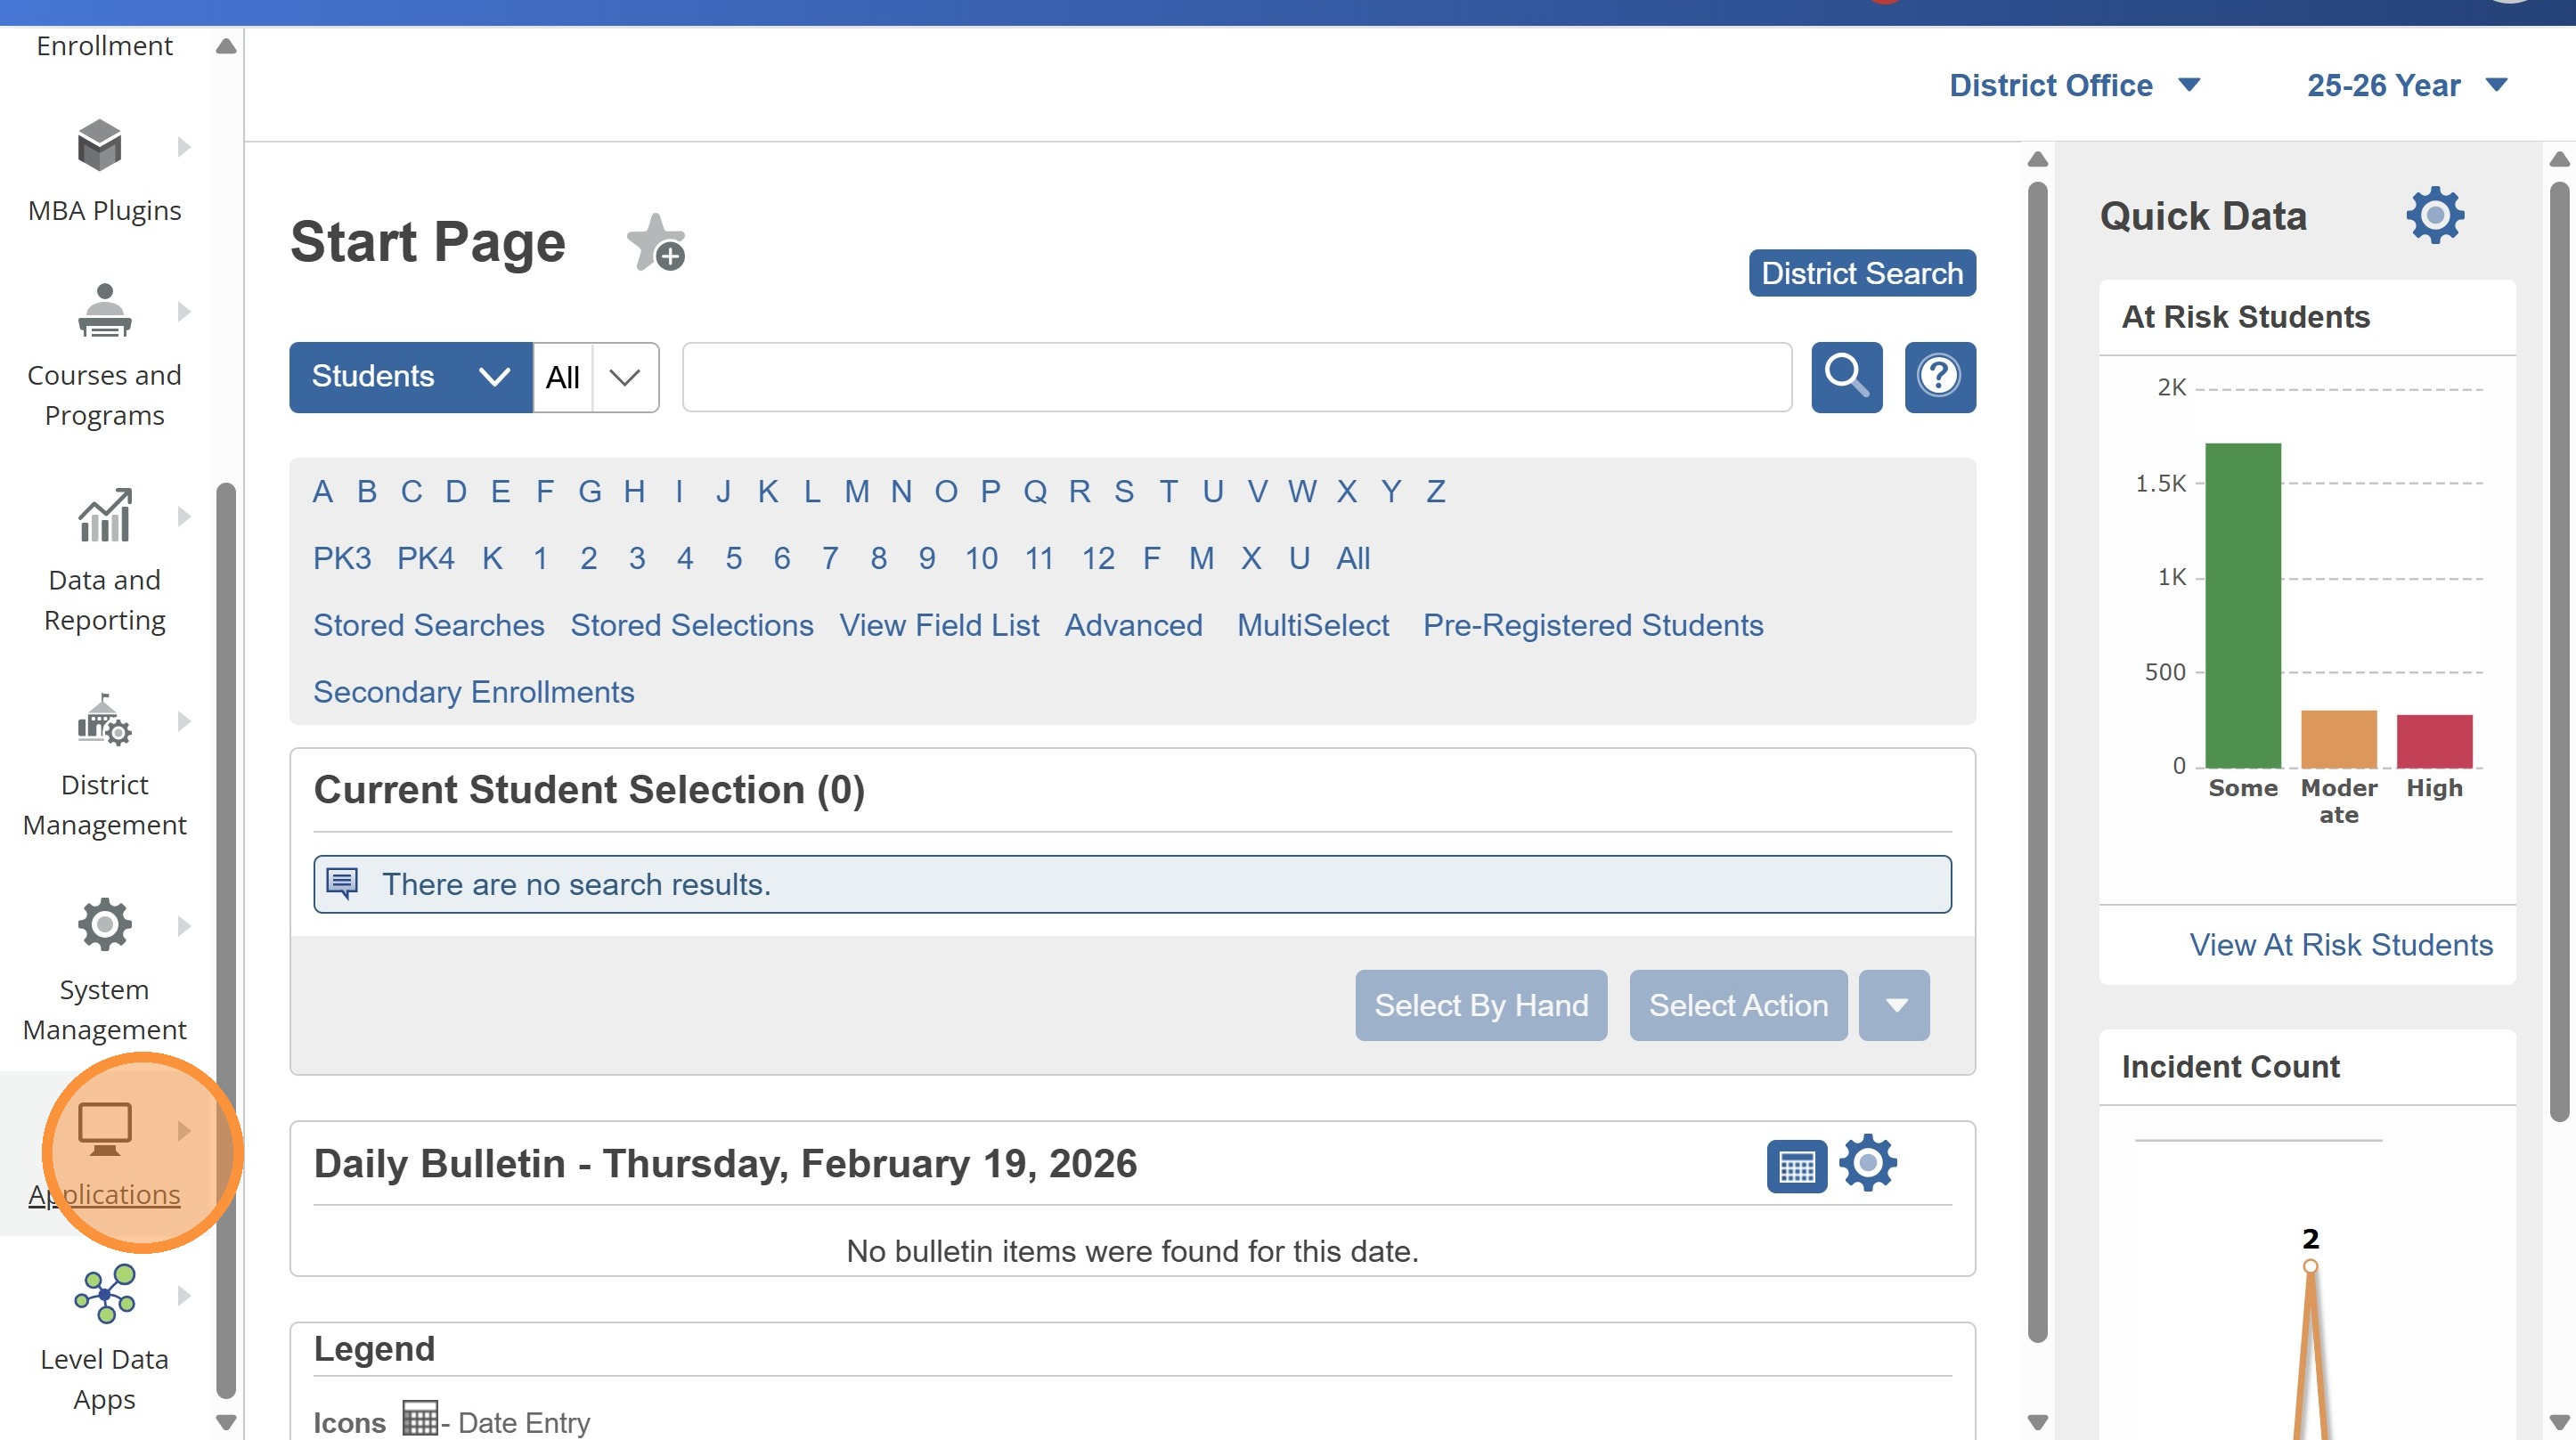
2. Click "Applications"
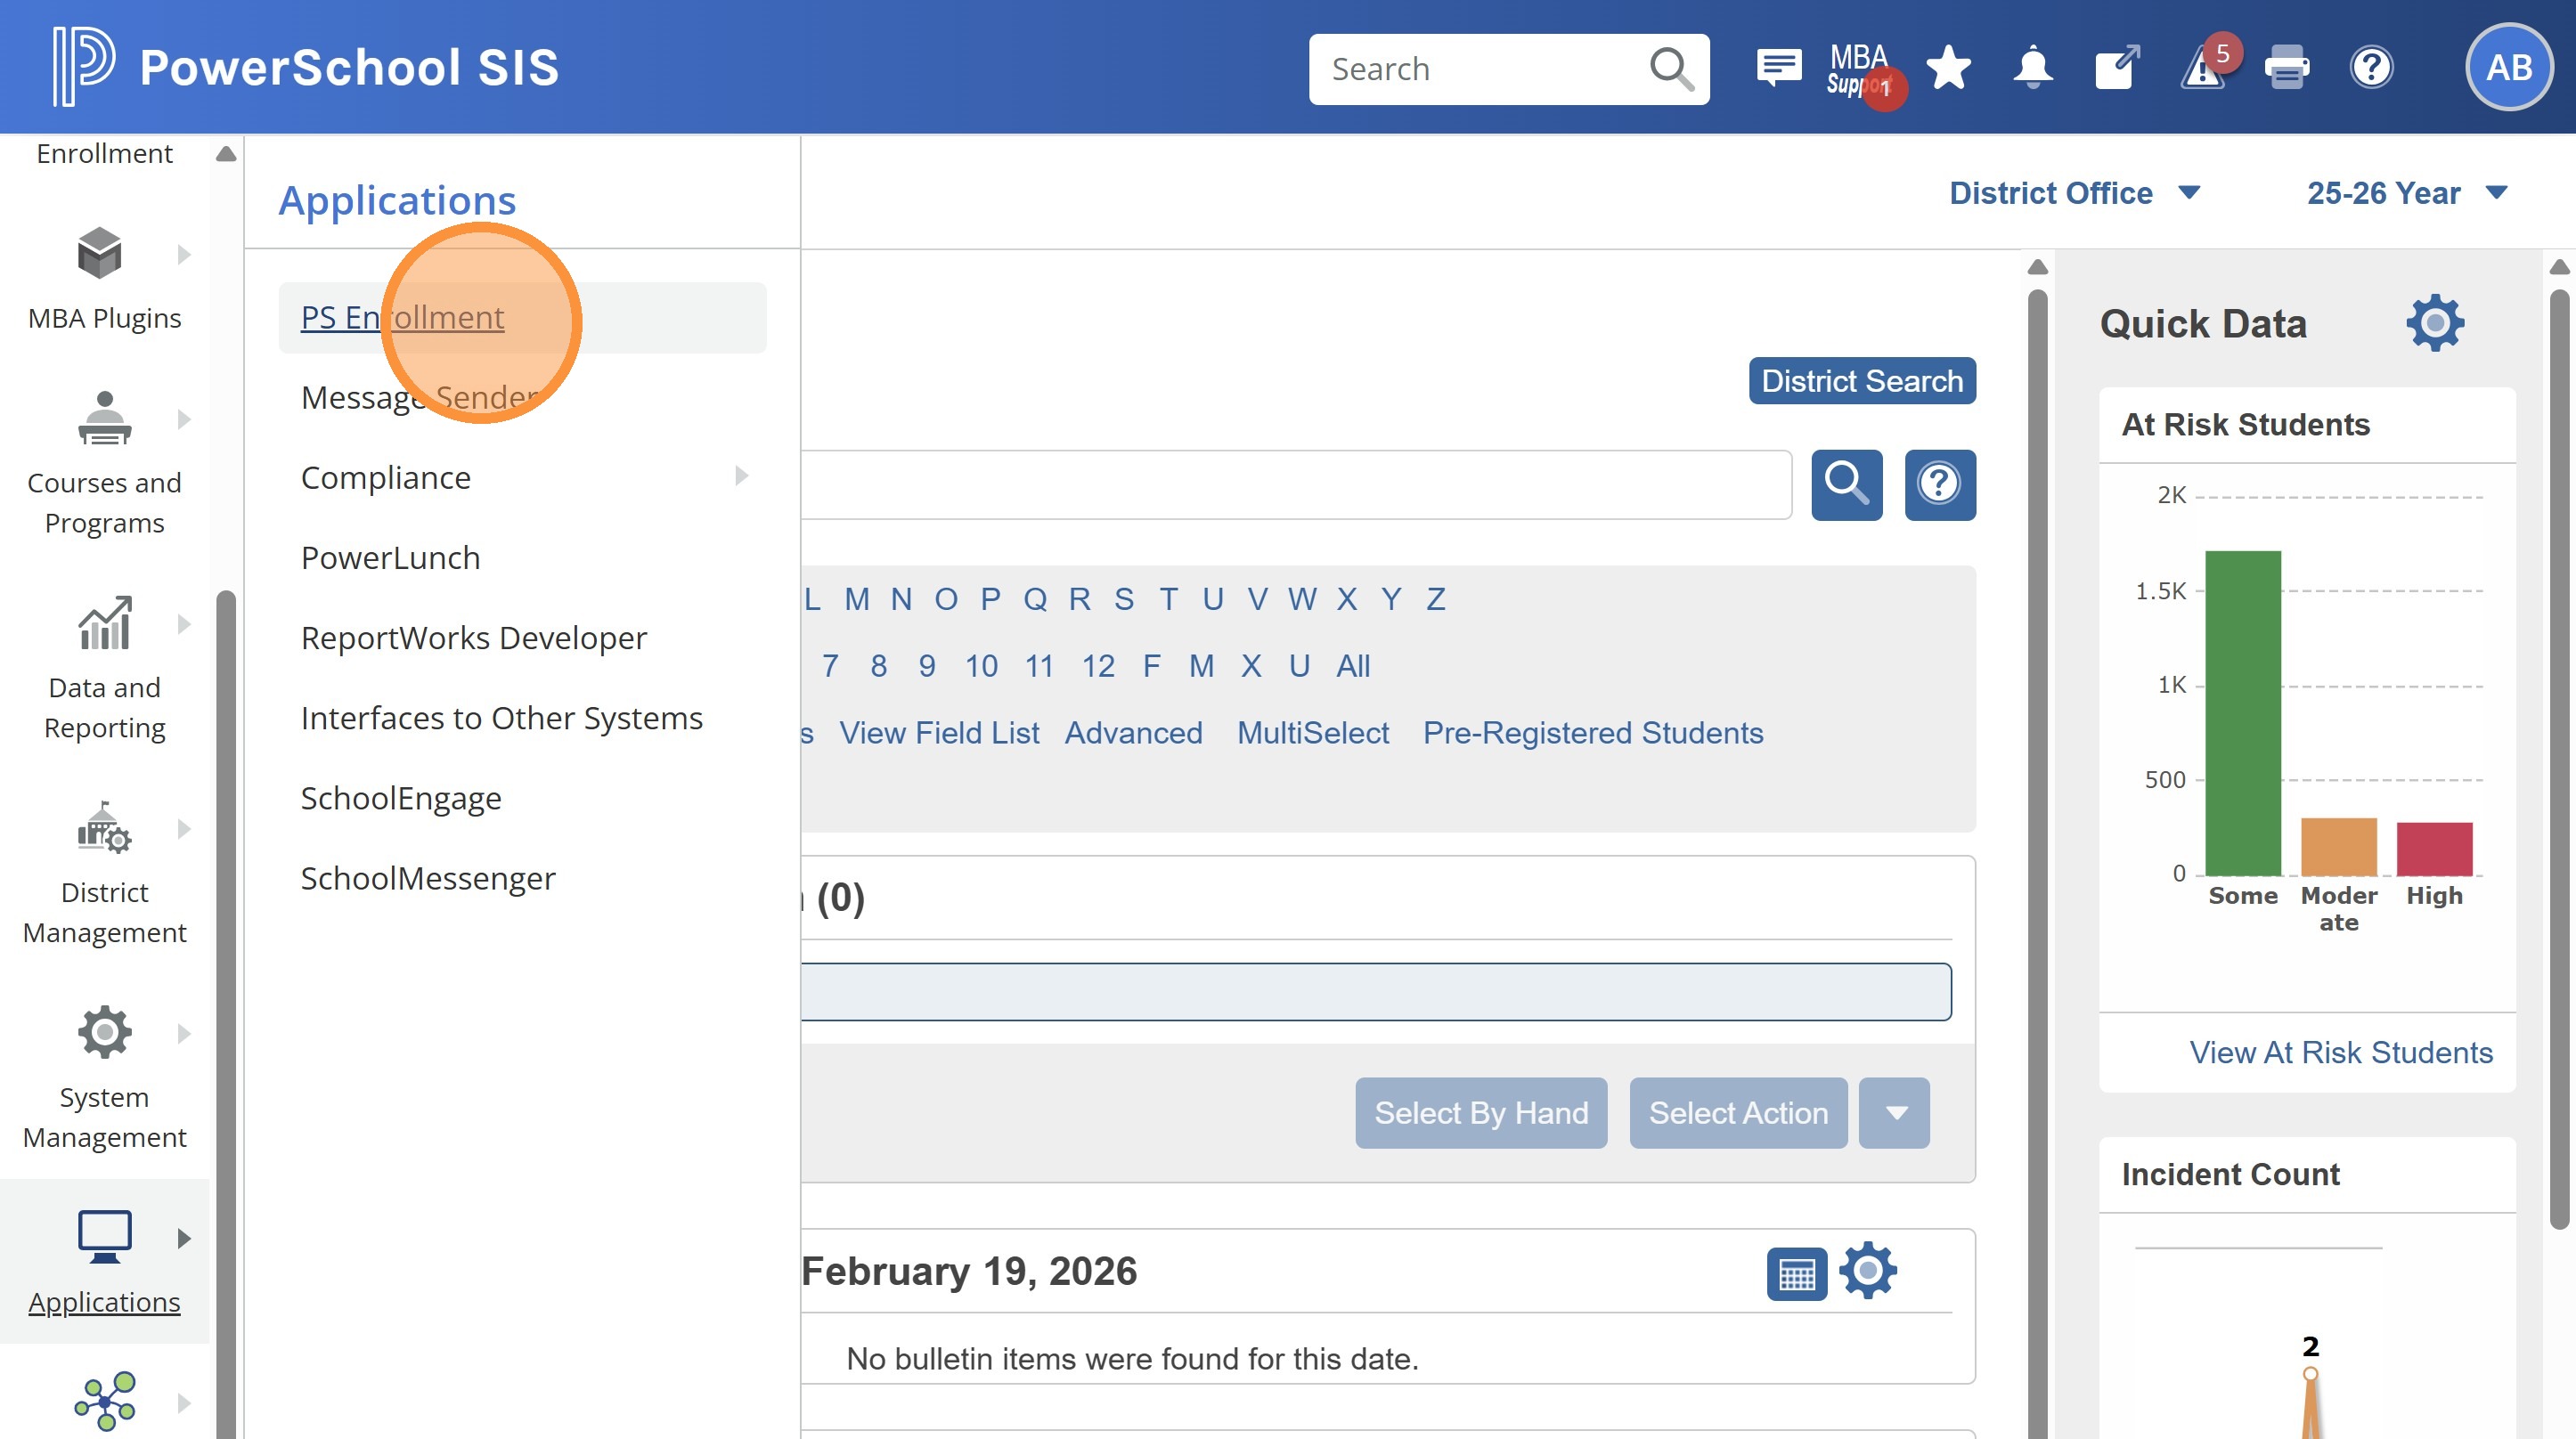
3. Click "PS Enrollment"
4. Click "Returning Student Registration"

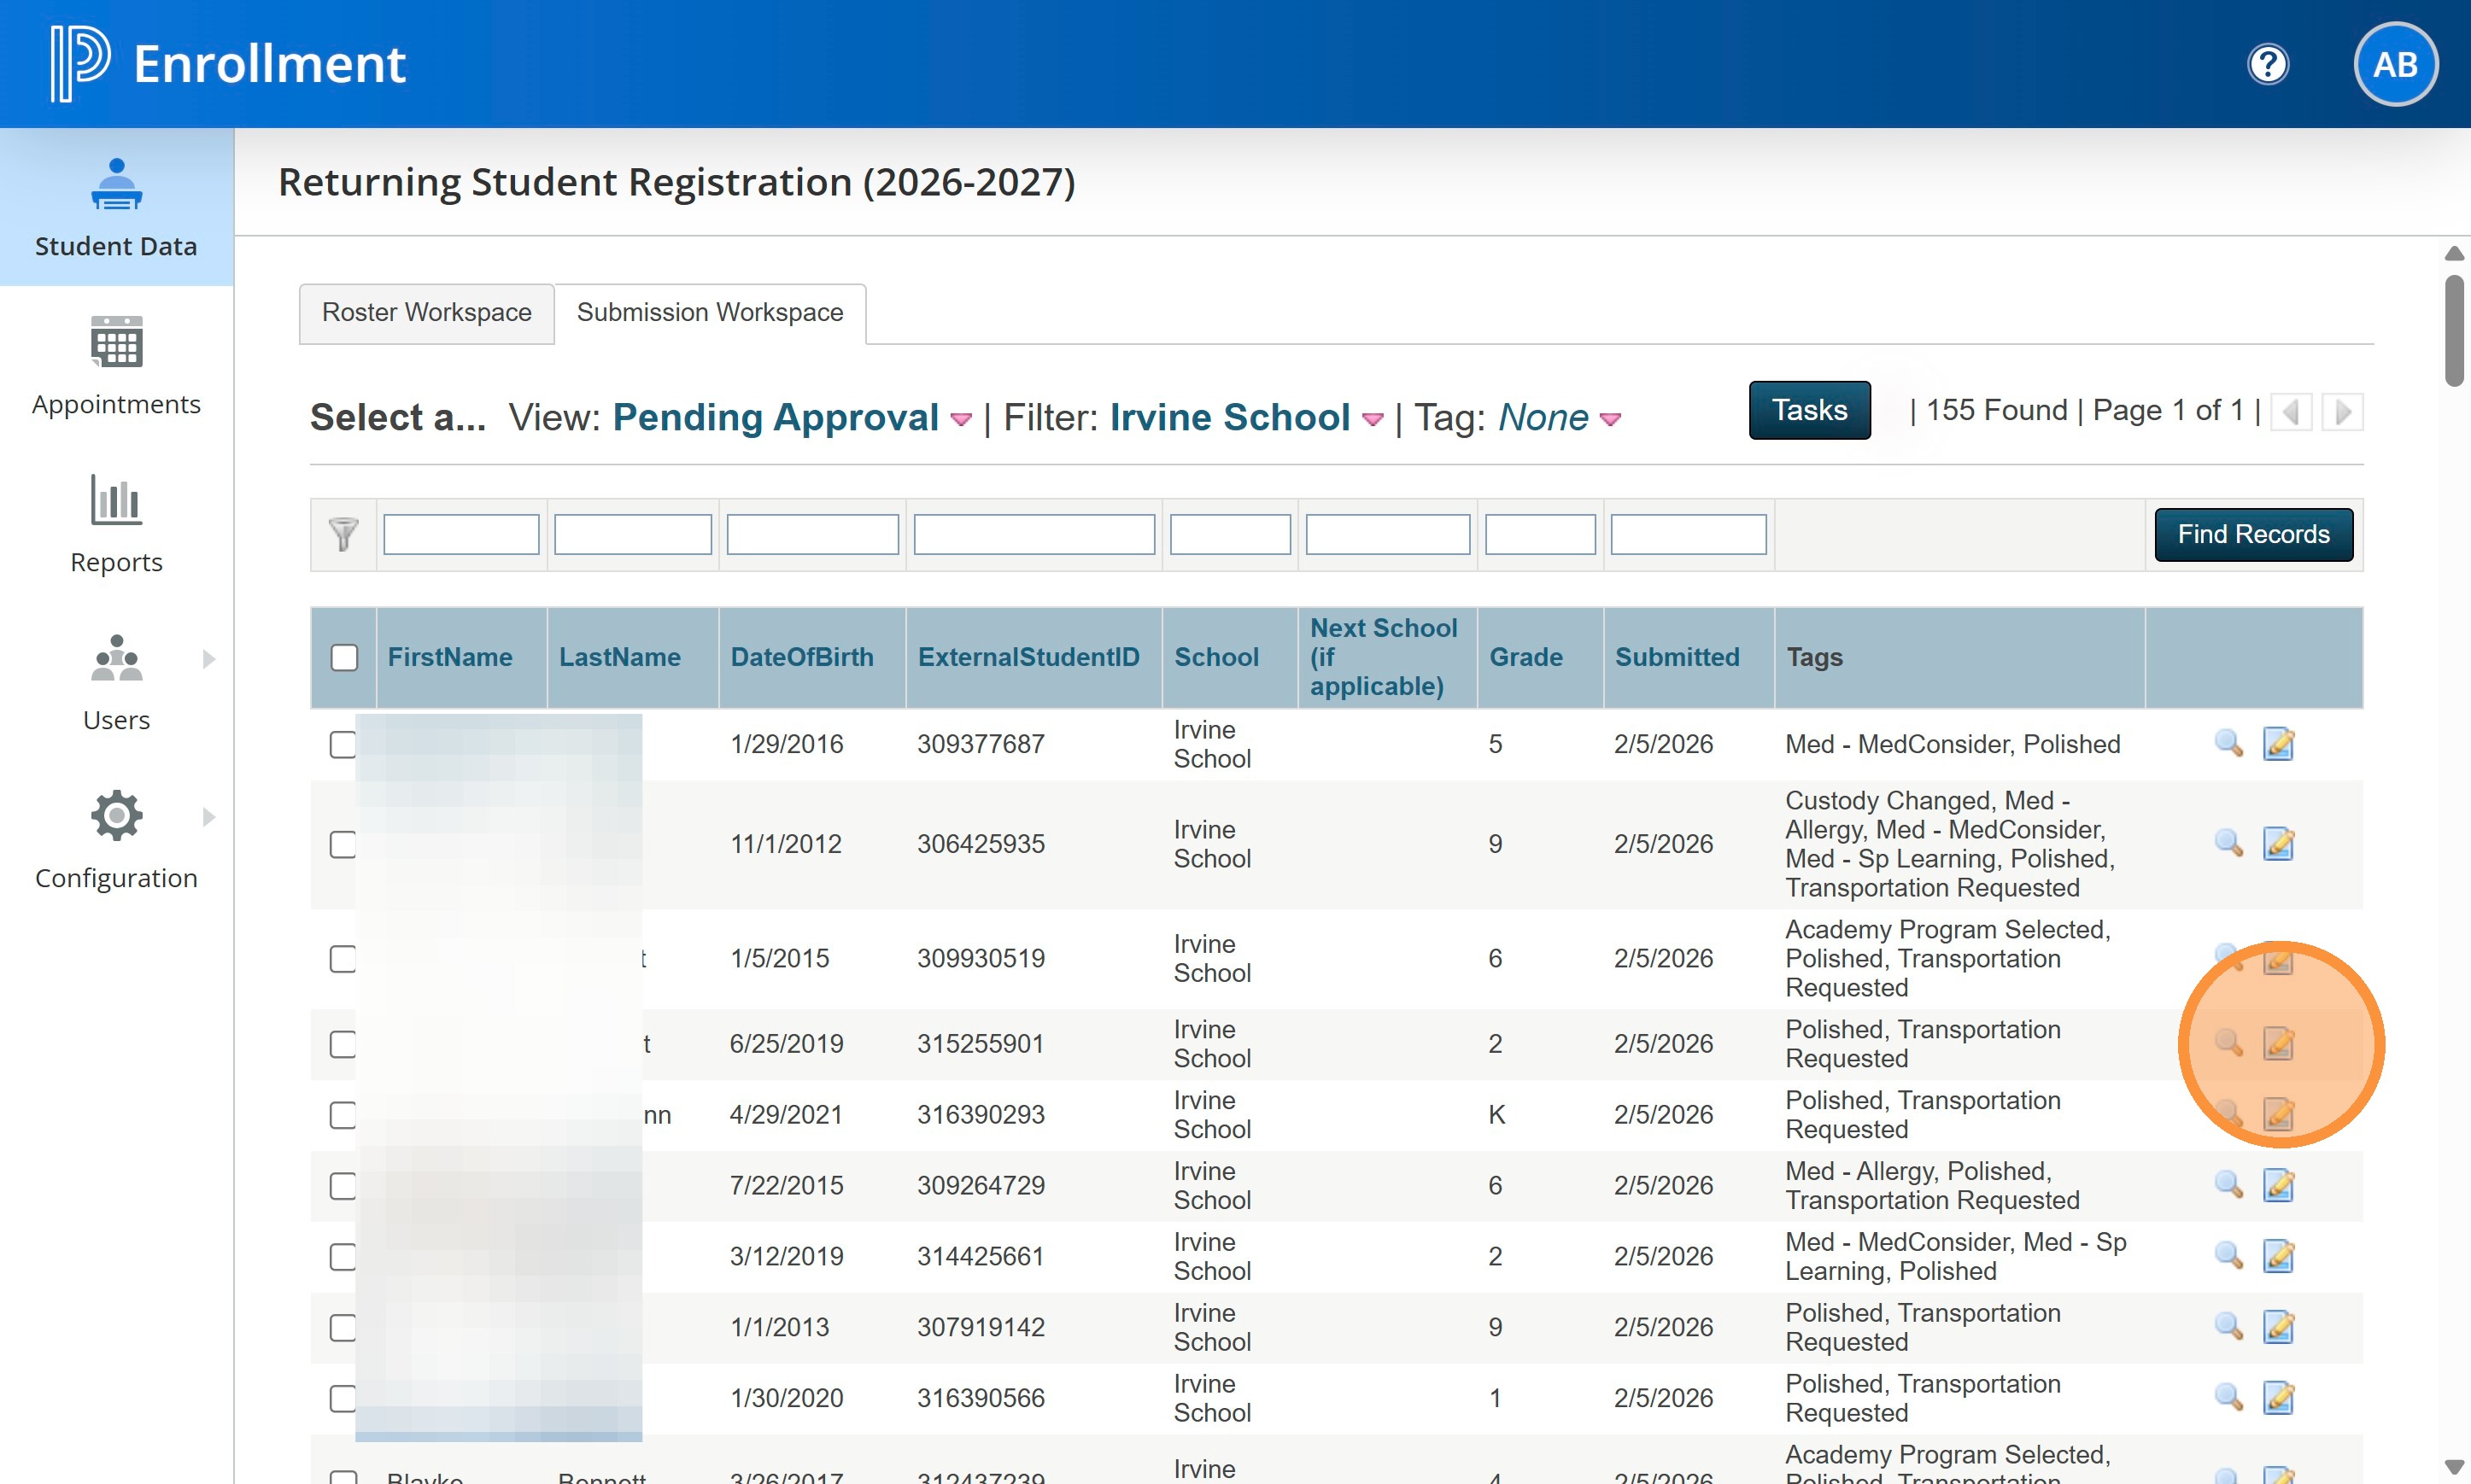
5. Upon login you should see all the forms that have been submitted by parents listed in the Pending Approval View. If you are not on the Pending Approval view, go there now.
Find the student you want to review and click on the notepad with the pencil on the right side of the student line.
6. Review the form looking for any typos or errors made by the parent when completing the form. This should be a quick look over with little to no changes required.
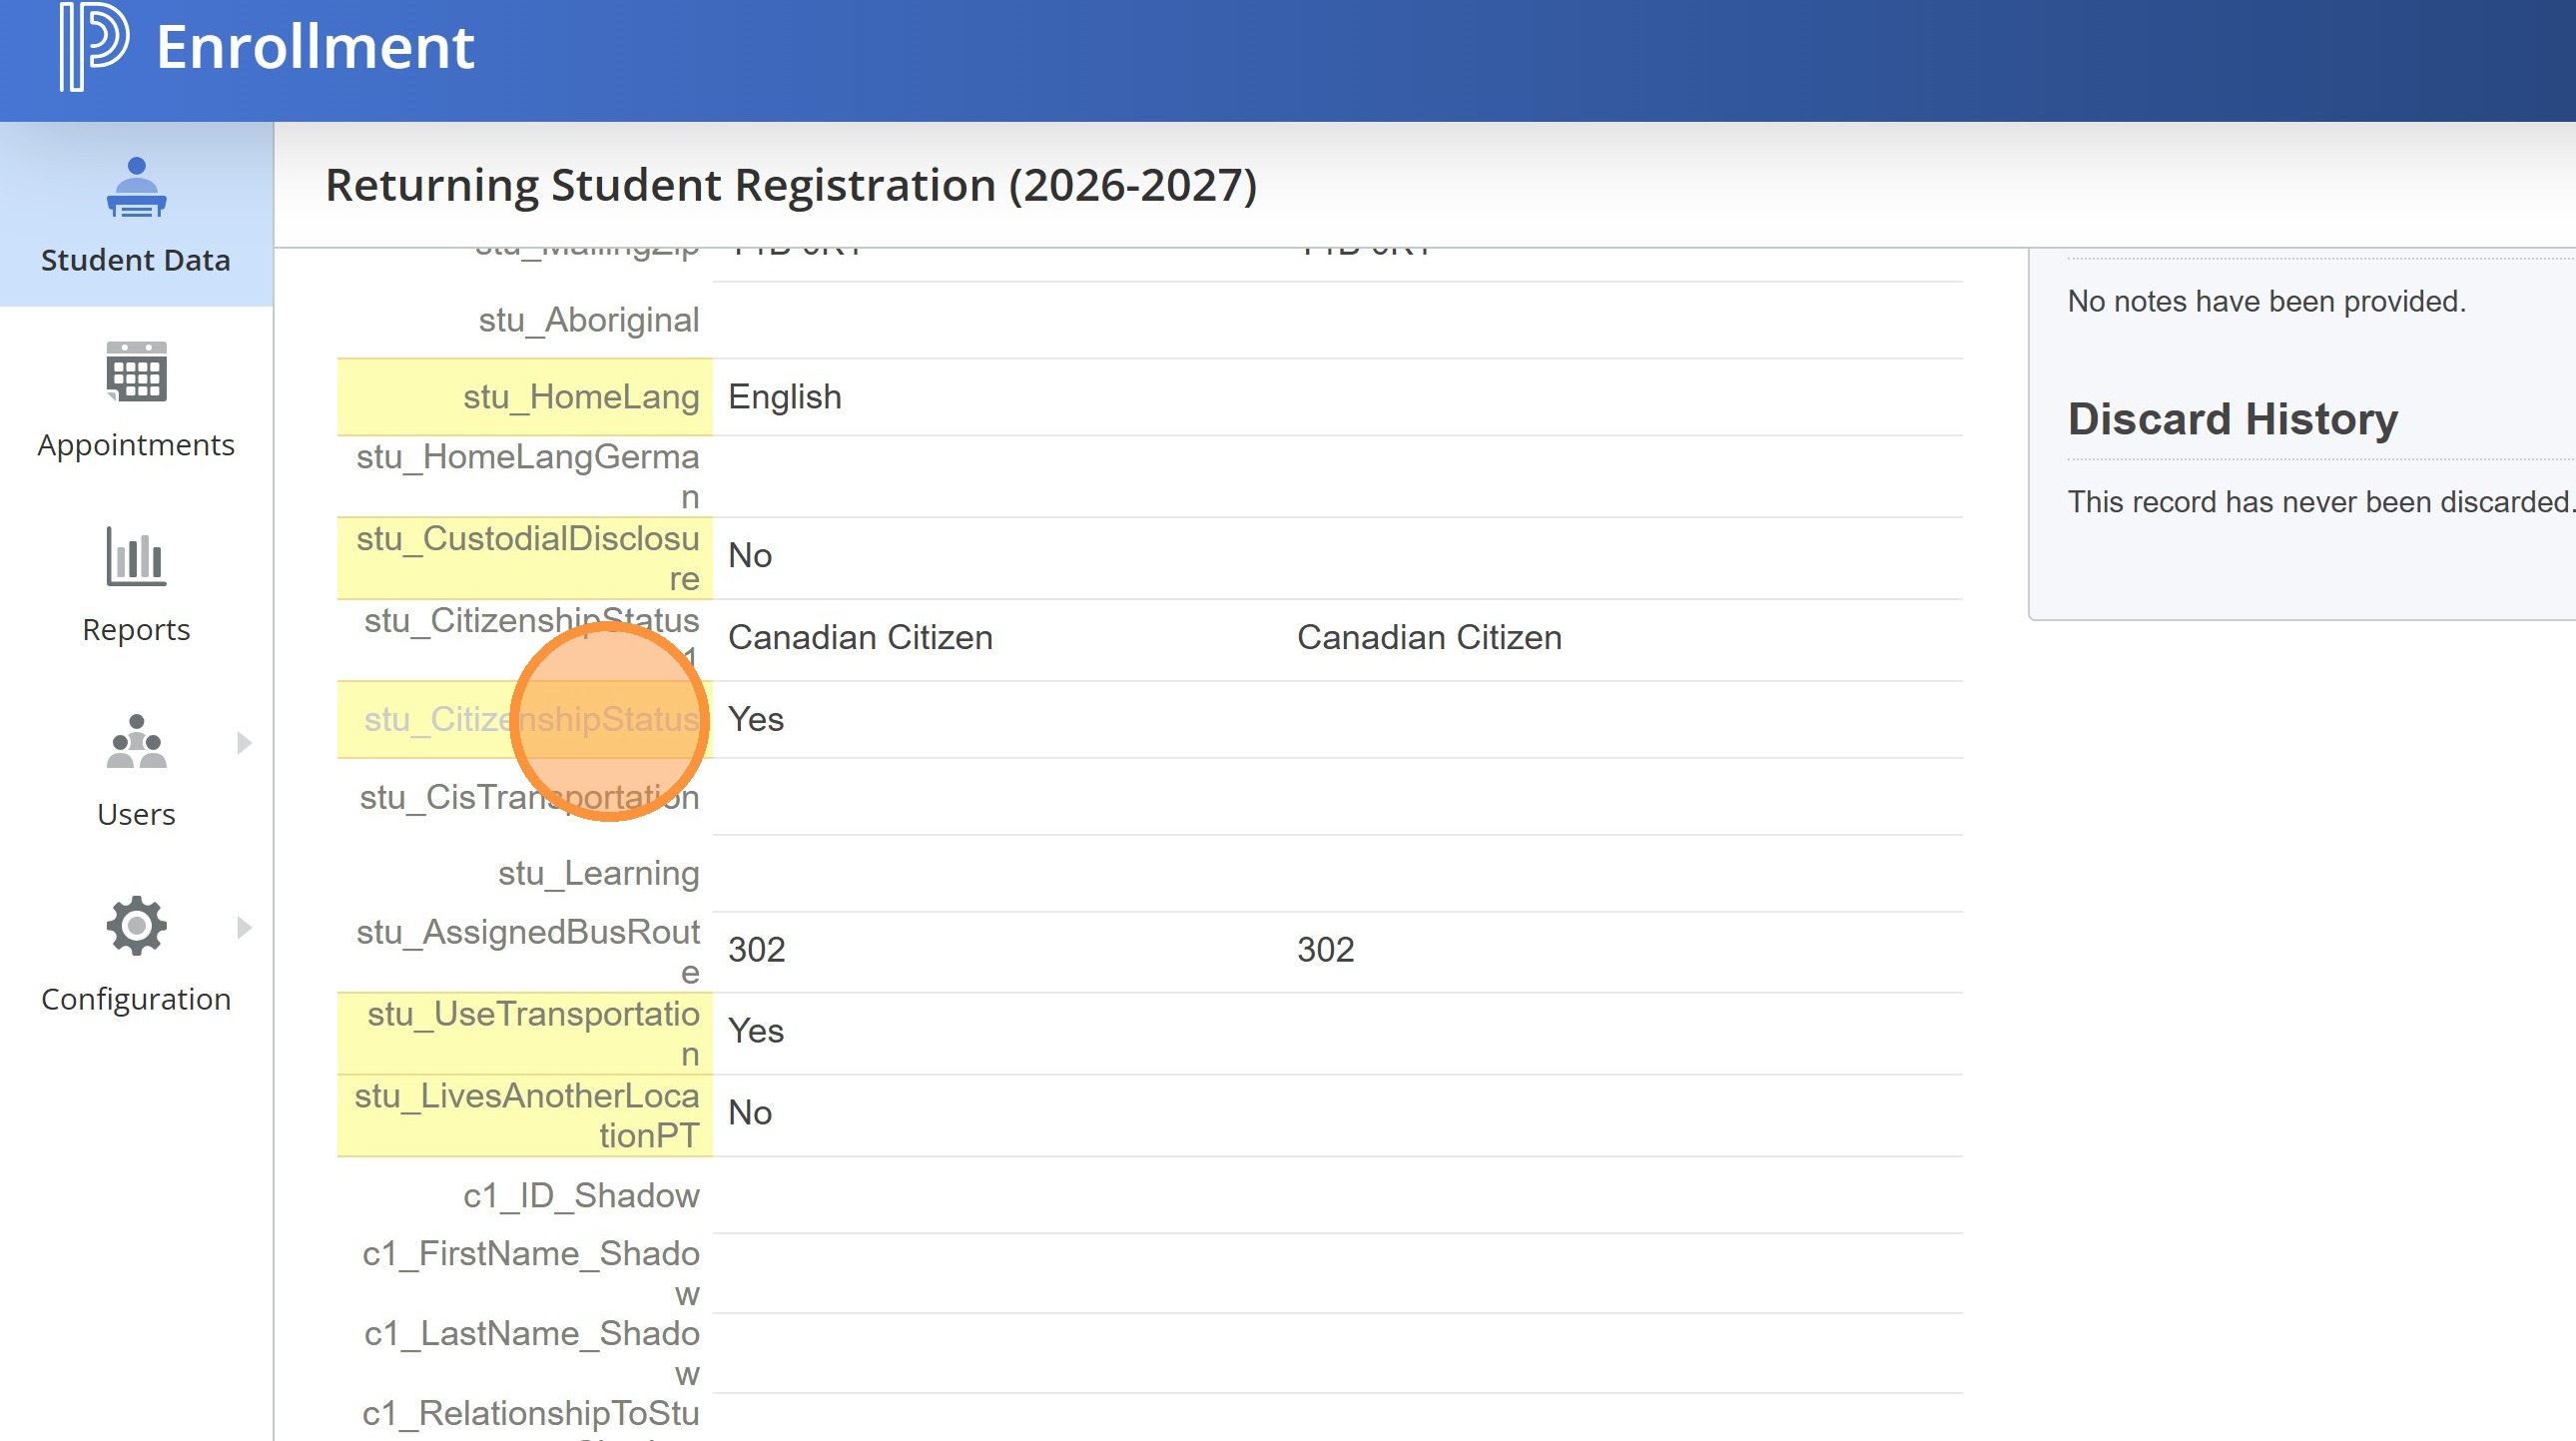
7. One of the fields to watch for is called stu_CustodialDisclosure. It this is a Yes, then there are new documents related to the child custody of the student.
The other field to watch is stu_CitizenshipStatus below the custodial field. In most all instances this will be a Yes. If it is a No, that means the parent has indicated that what displayed as on file for the student is not correct and that their status has changed, or possibly showed as blank.
Both these questions will also be tagged upon submission which allows you to filter by TAG in the Pending Approval screen to see which students you want to watch for.
Side note: I realise that having these responses as opposite can be confusing and we can review changing that for next year. It was the way we had to ask the questions in the form.
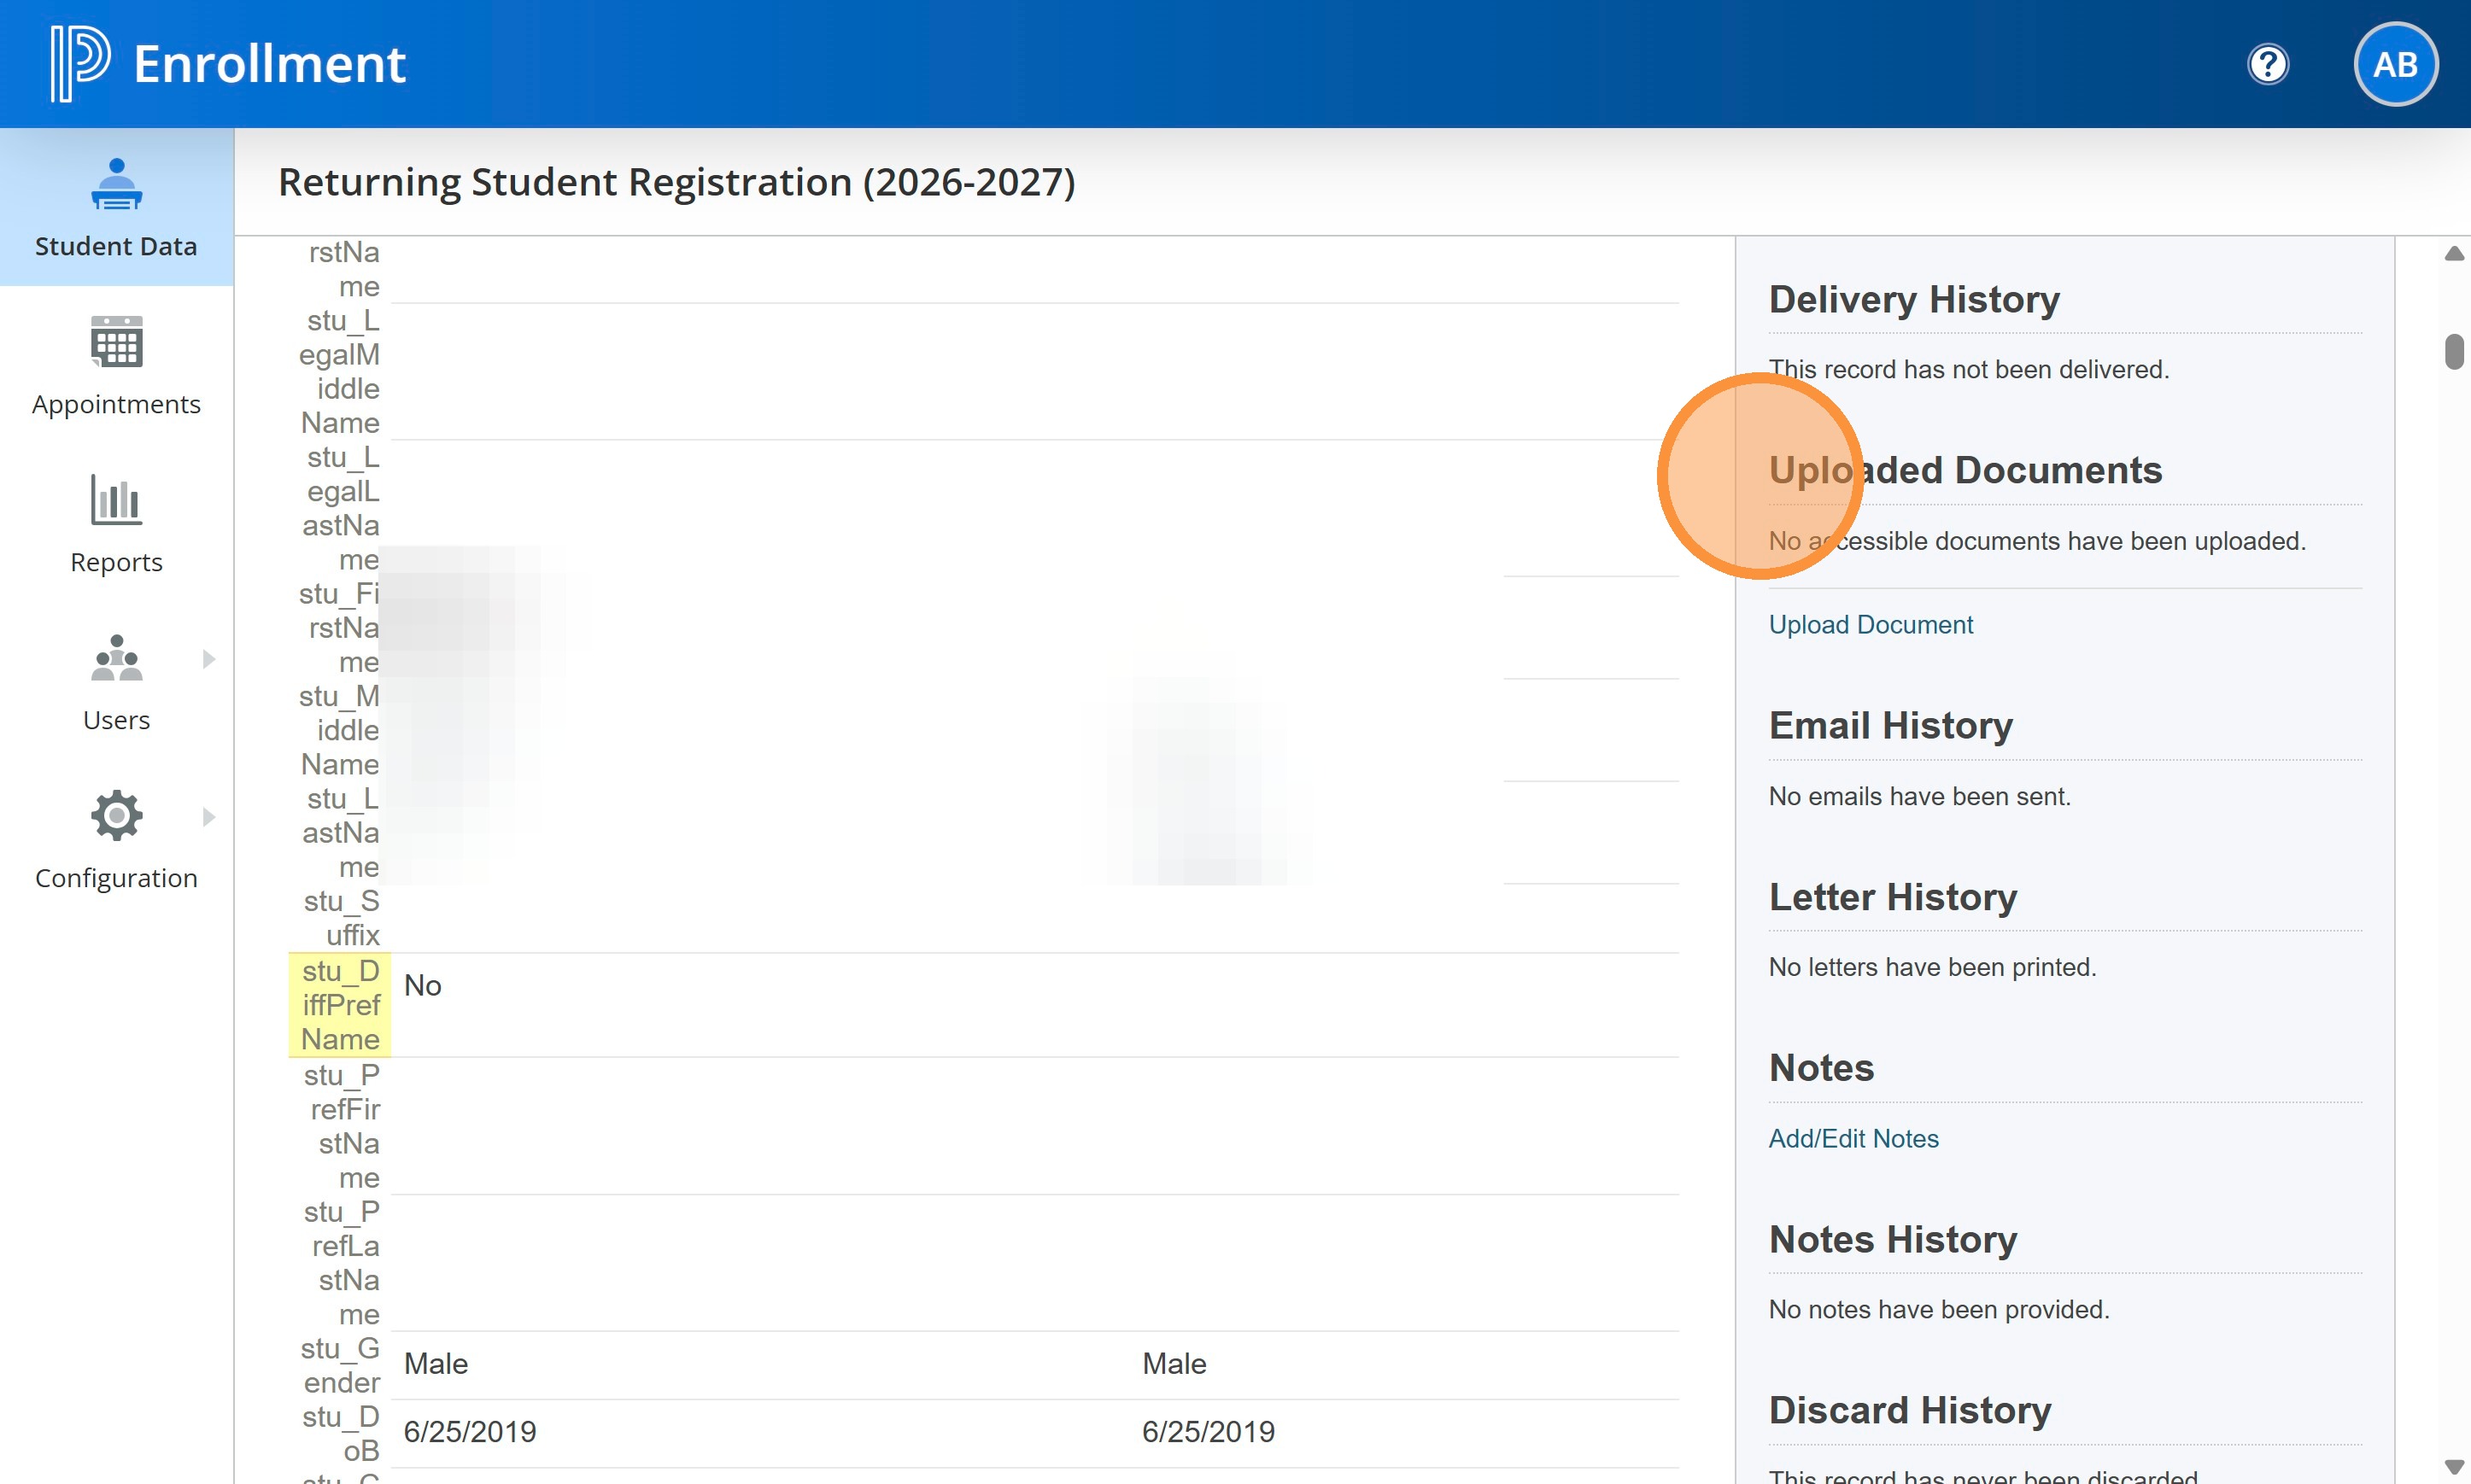
8. You can also check to see if they provide any new documents while submitting the form in the Uploaded Documents section.
If they didn't, follow the old steps of: contact parent, get copy of identity/citizenship, upload to PASI and add new record to Compliance screen.
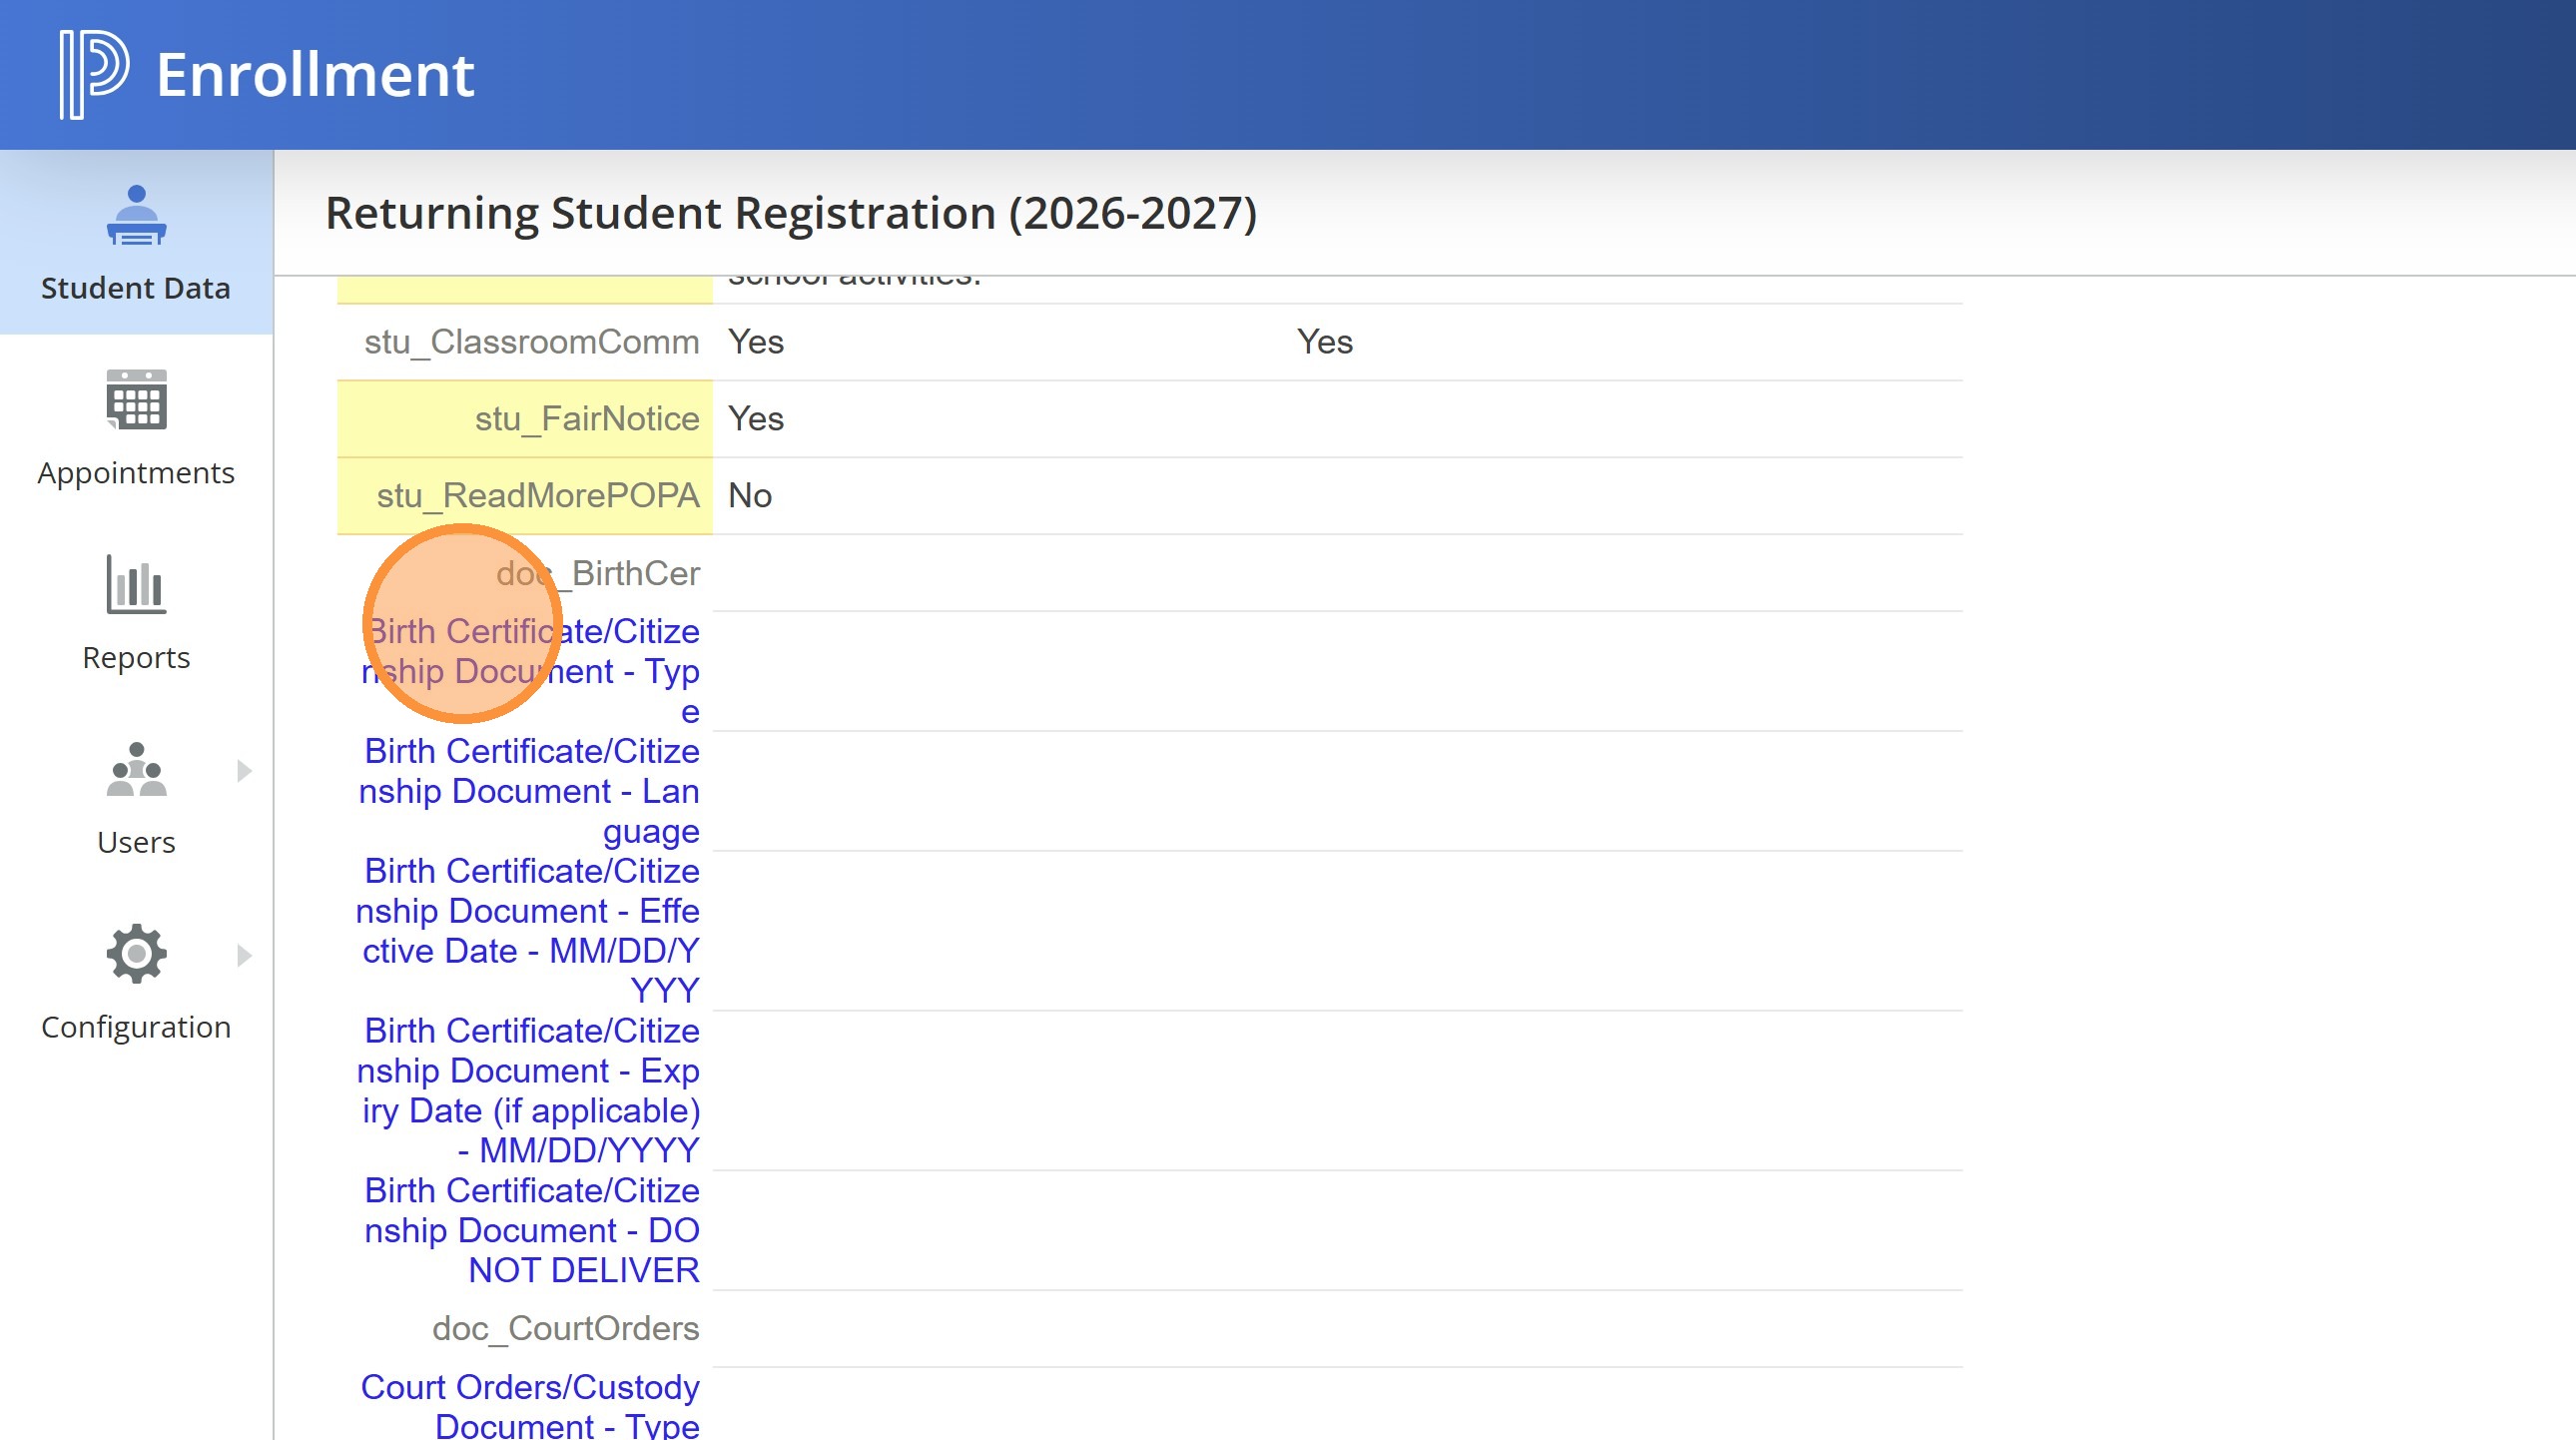
9. If they did provide a document, complete the blue fields at the bottom of the screen with the new information. Type, Language, Issue Date, etc.
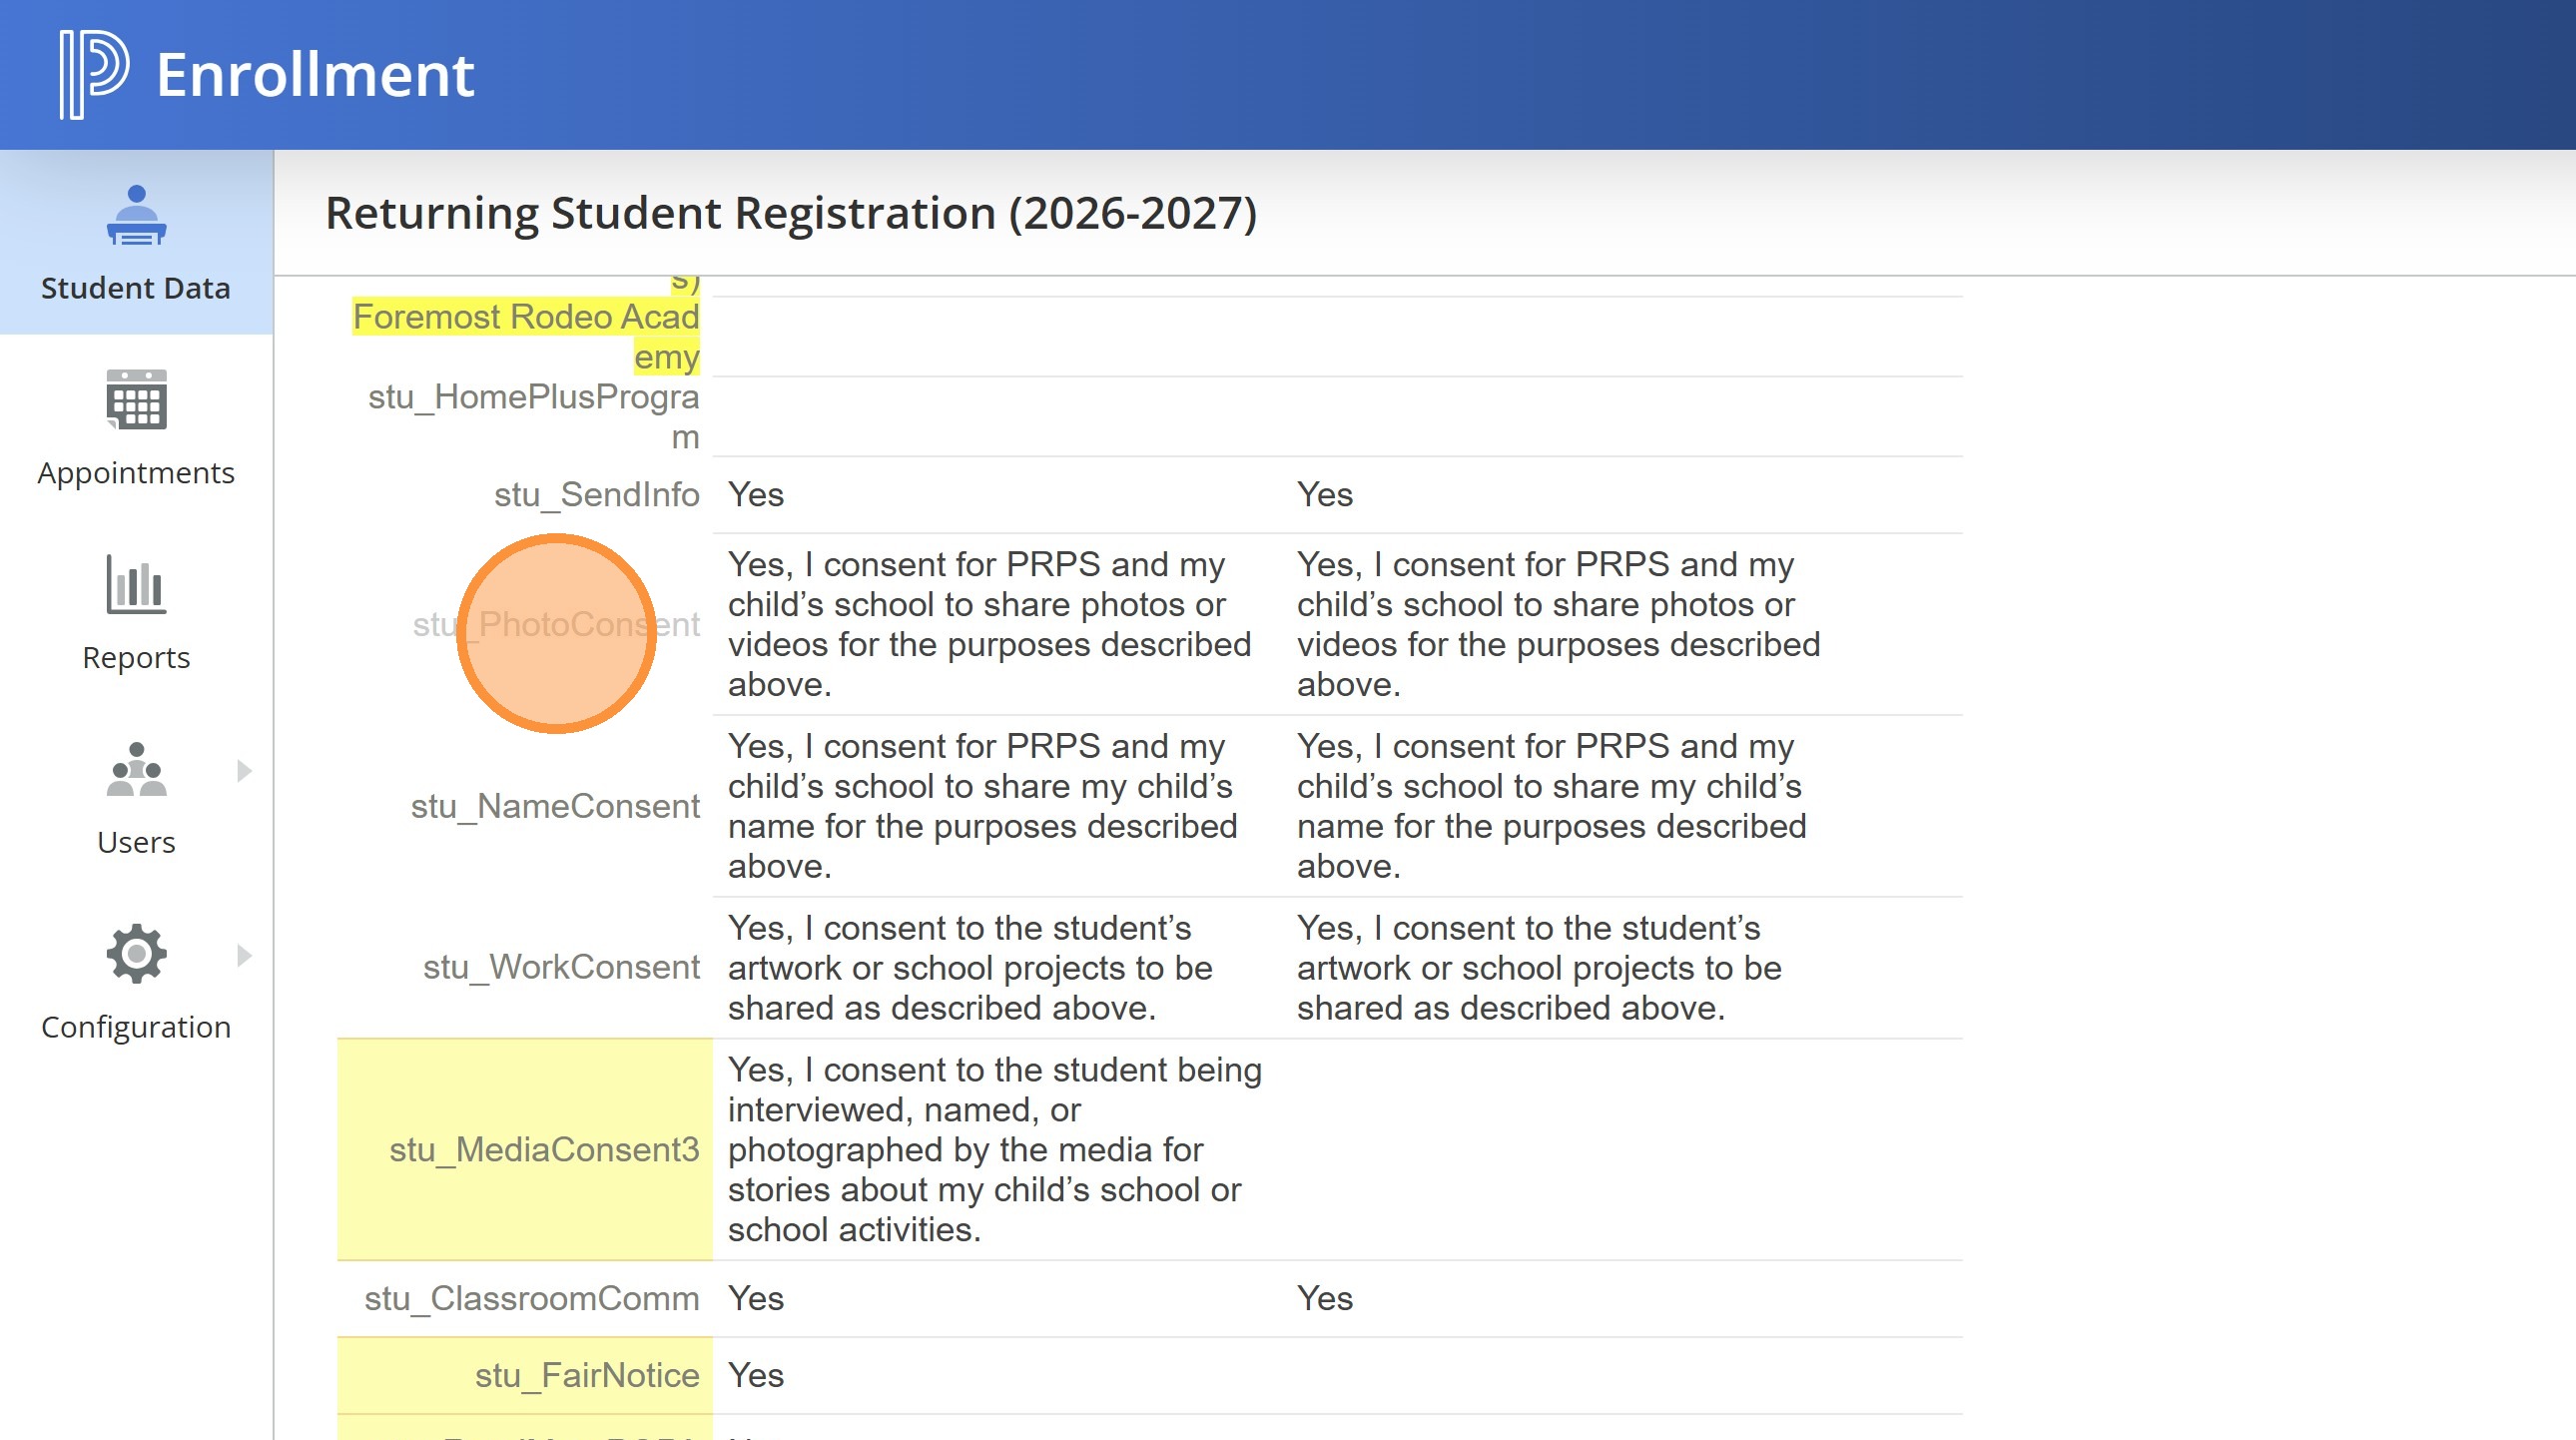
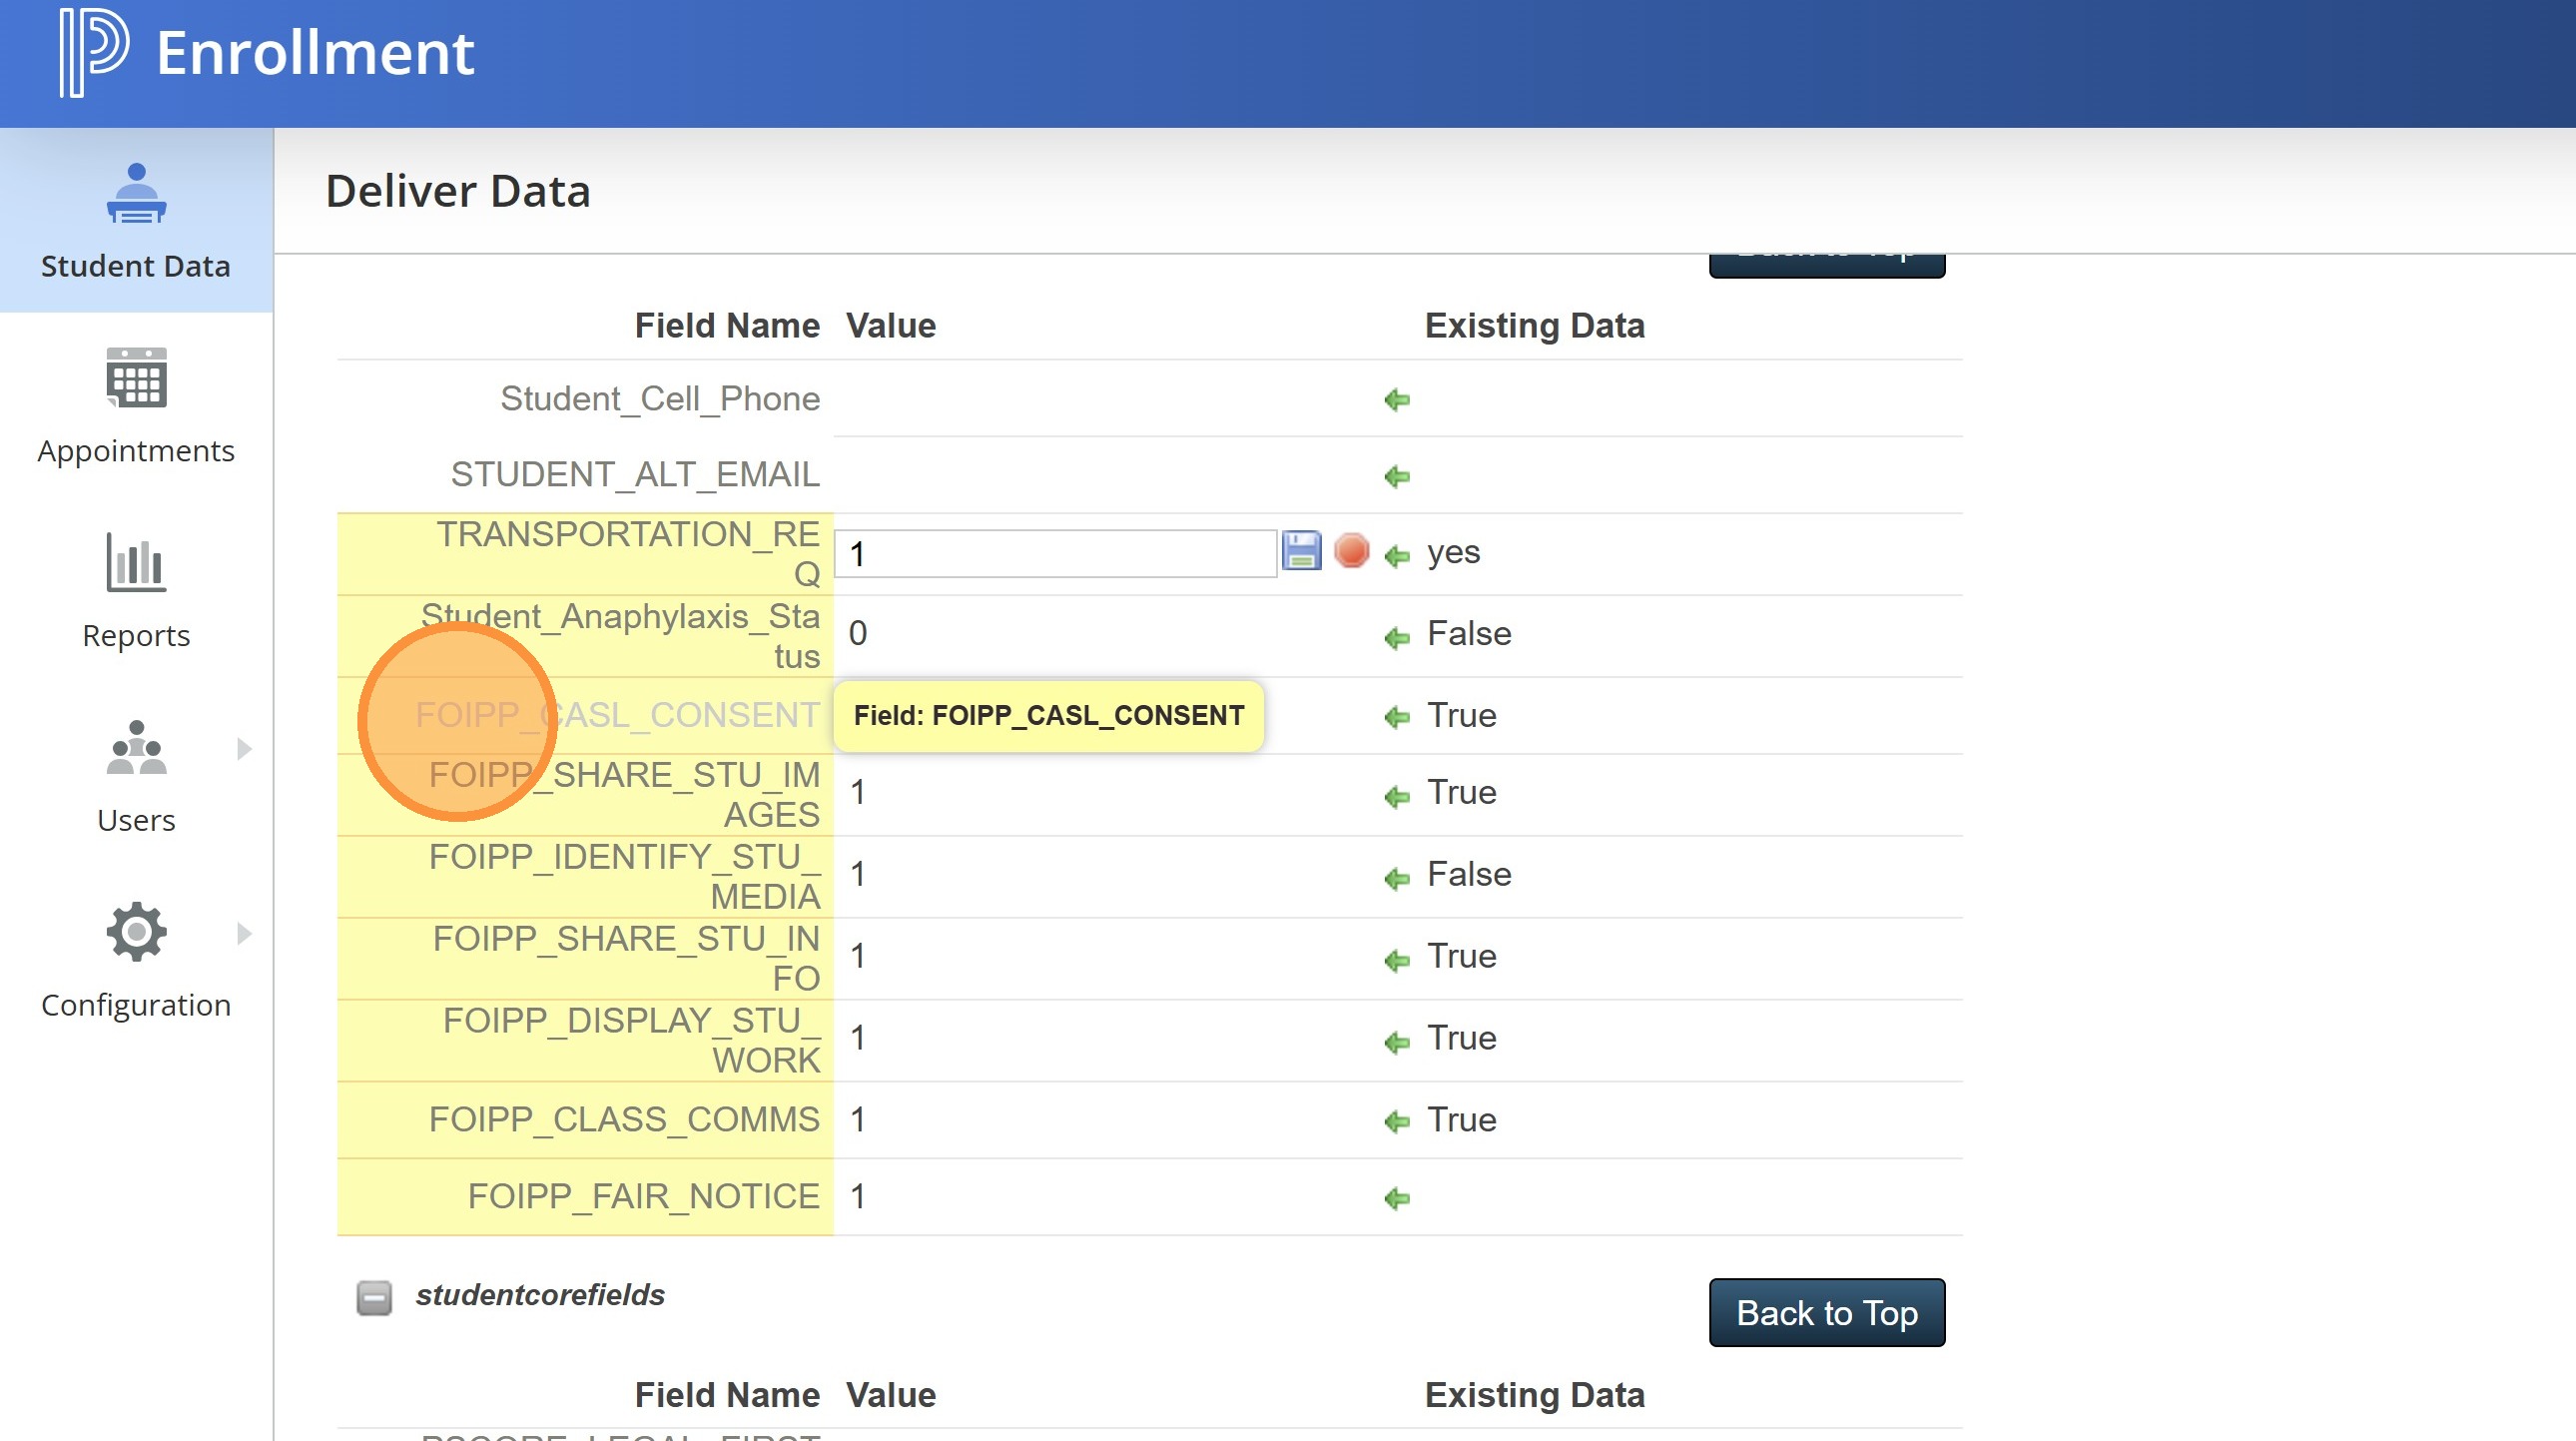
10. When you are reviewing the document you wil be able to see all the permission sections as well. We made a few changes to this section to accomodate the new POPA legislation. You still will have photo/video consent, name consent, artwork consent, media consent, and CASL consent as Yes or No questions.
There is a new Fair Notice question which is just a required checkbox and we have changed the Classroom Communications to the same. With the move to the new PowerSchool Hub it will not be possible to turn the classroom messaging component off and on for some people. Feel free to review the changes to the questions in the paper version of the PRPS registration form (pages 2 and 4). https://drive.google.com/file/d/1ywHh9WxqtPaRFIiZKwgEWr_zBxdvDiBu/view?usp=drive_link
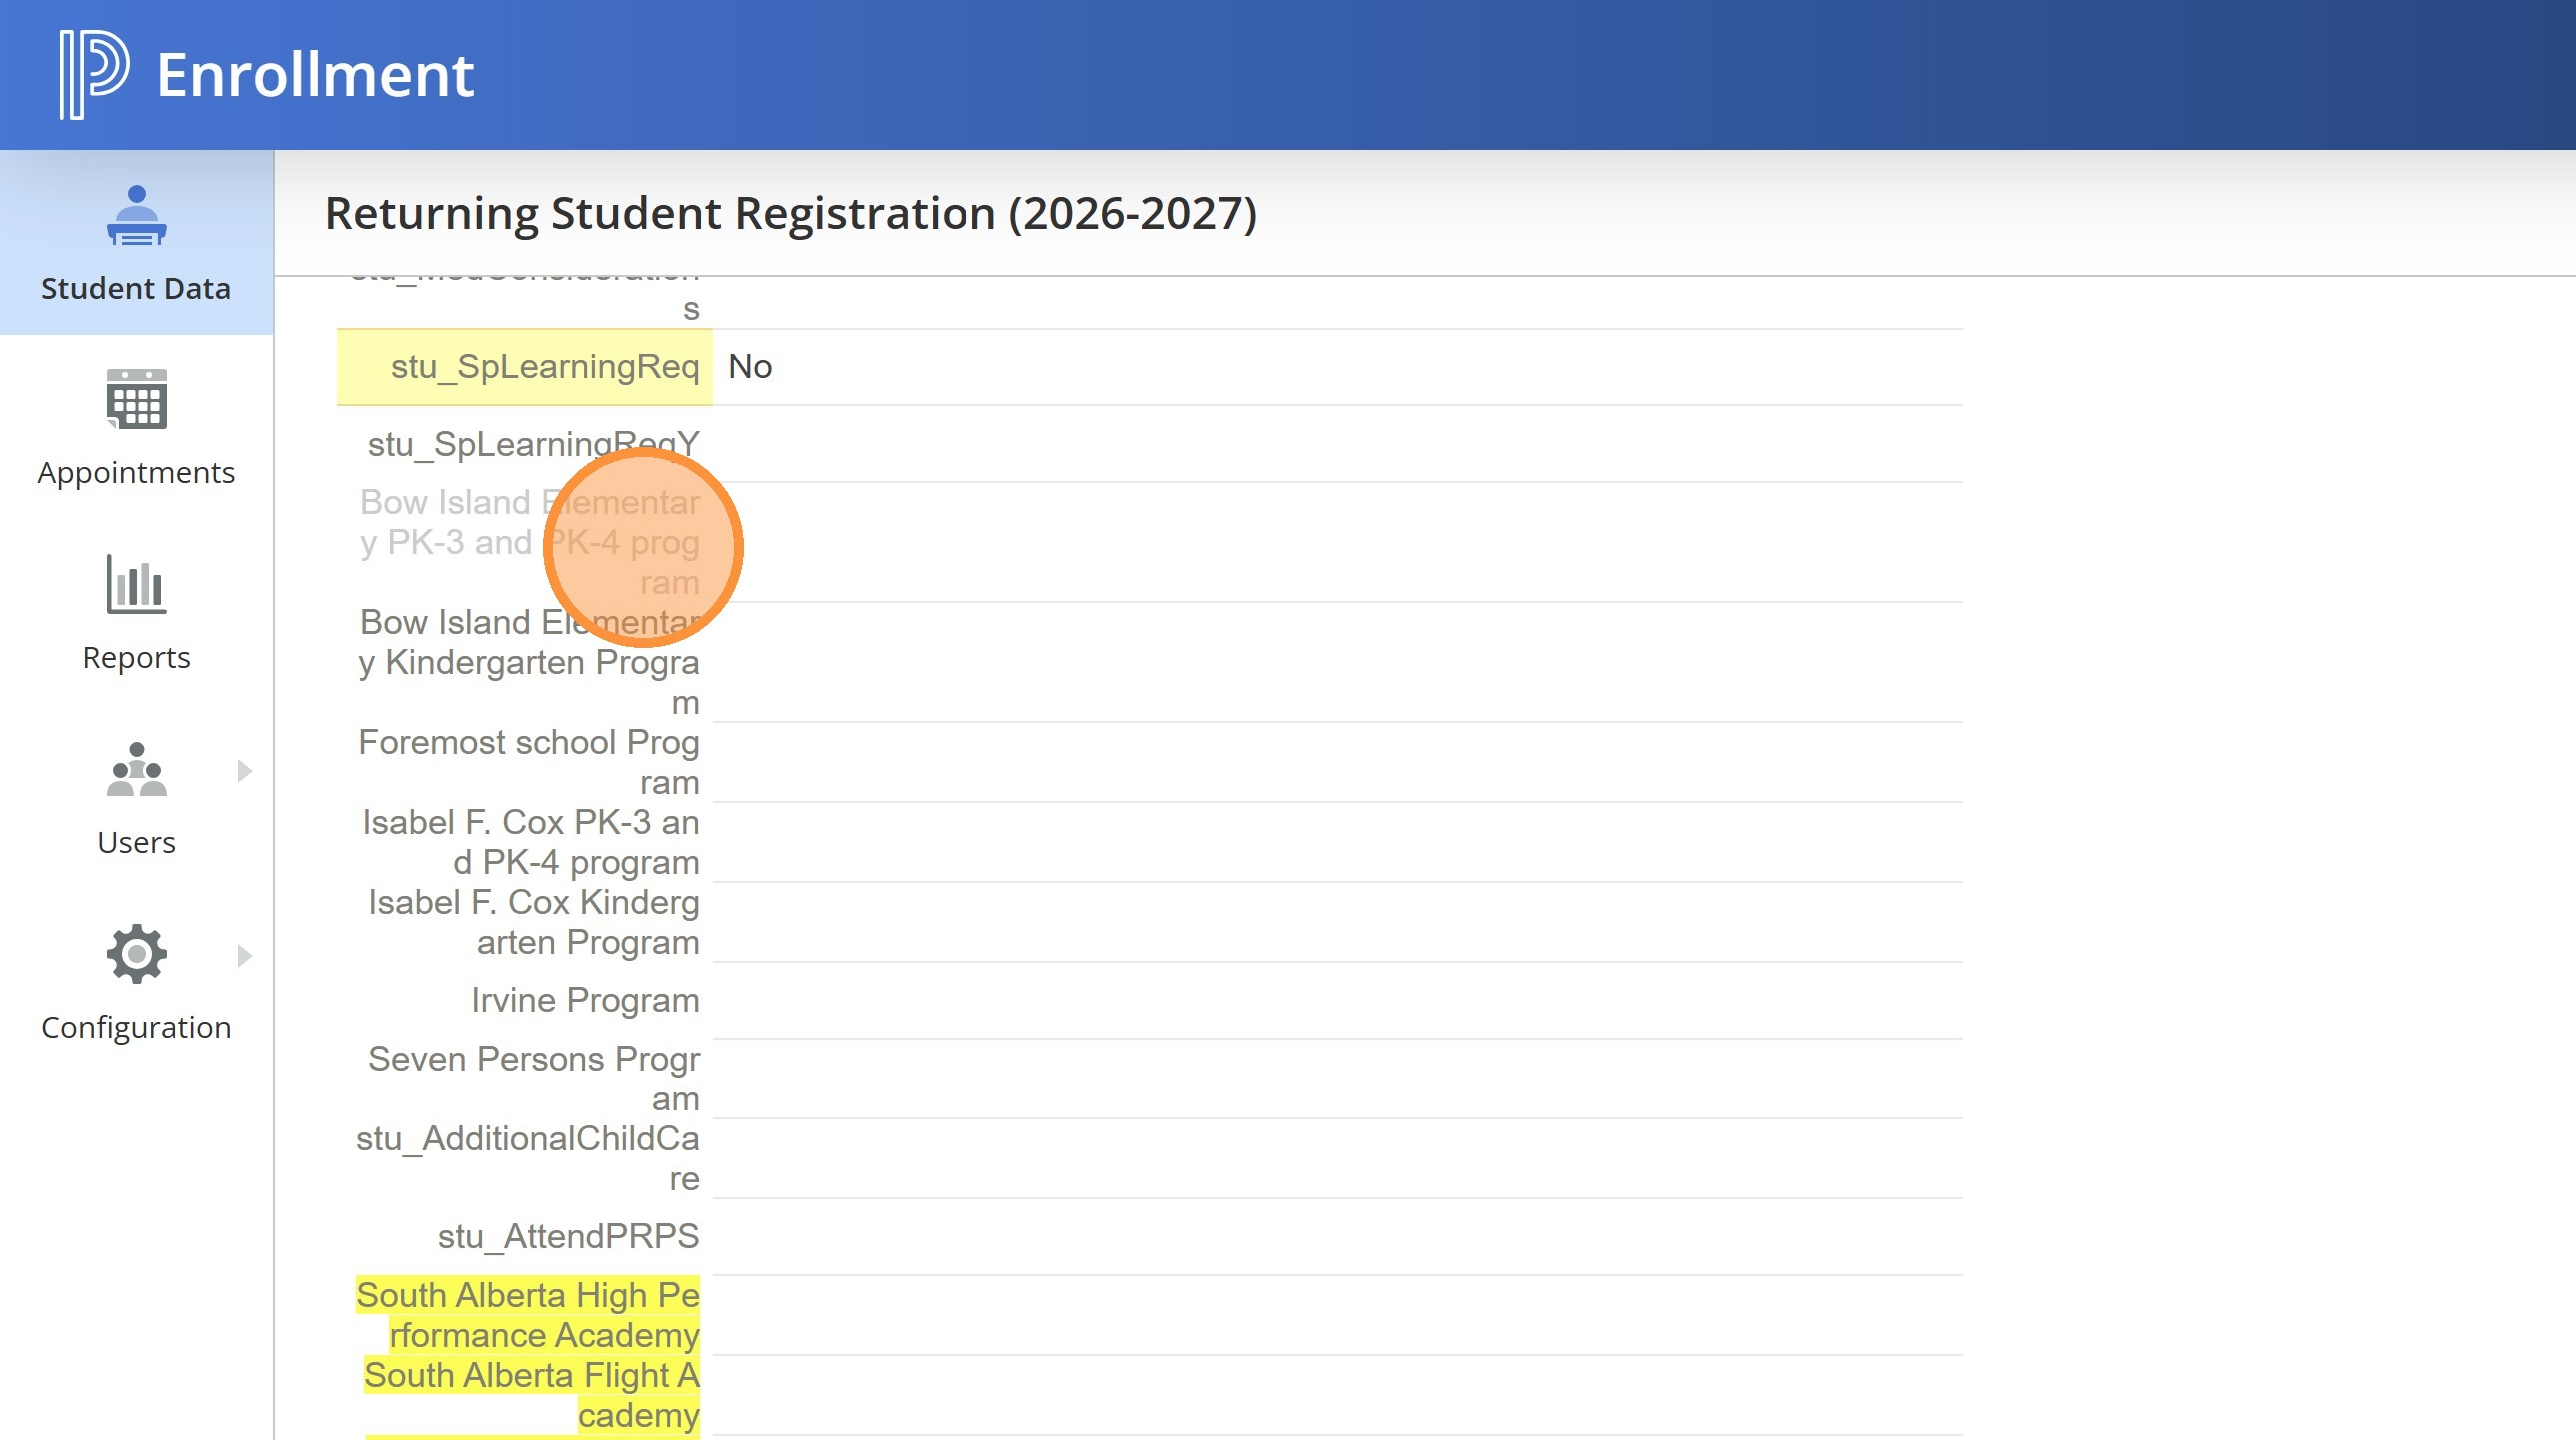
11. If your school offers a PK3/4 or K program with more than one option, an academy program, or a before and after school program, you will also be able to note those choices in the form.
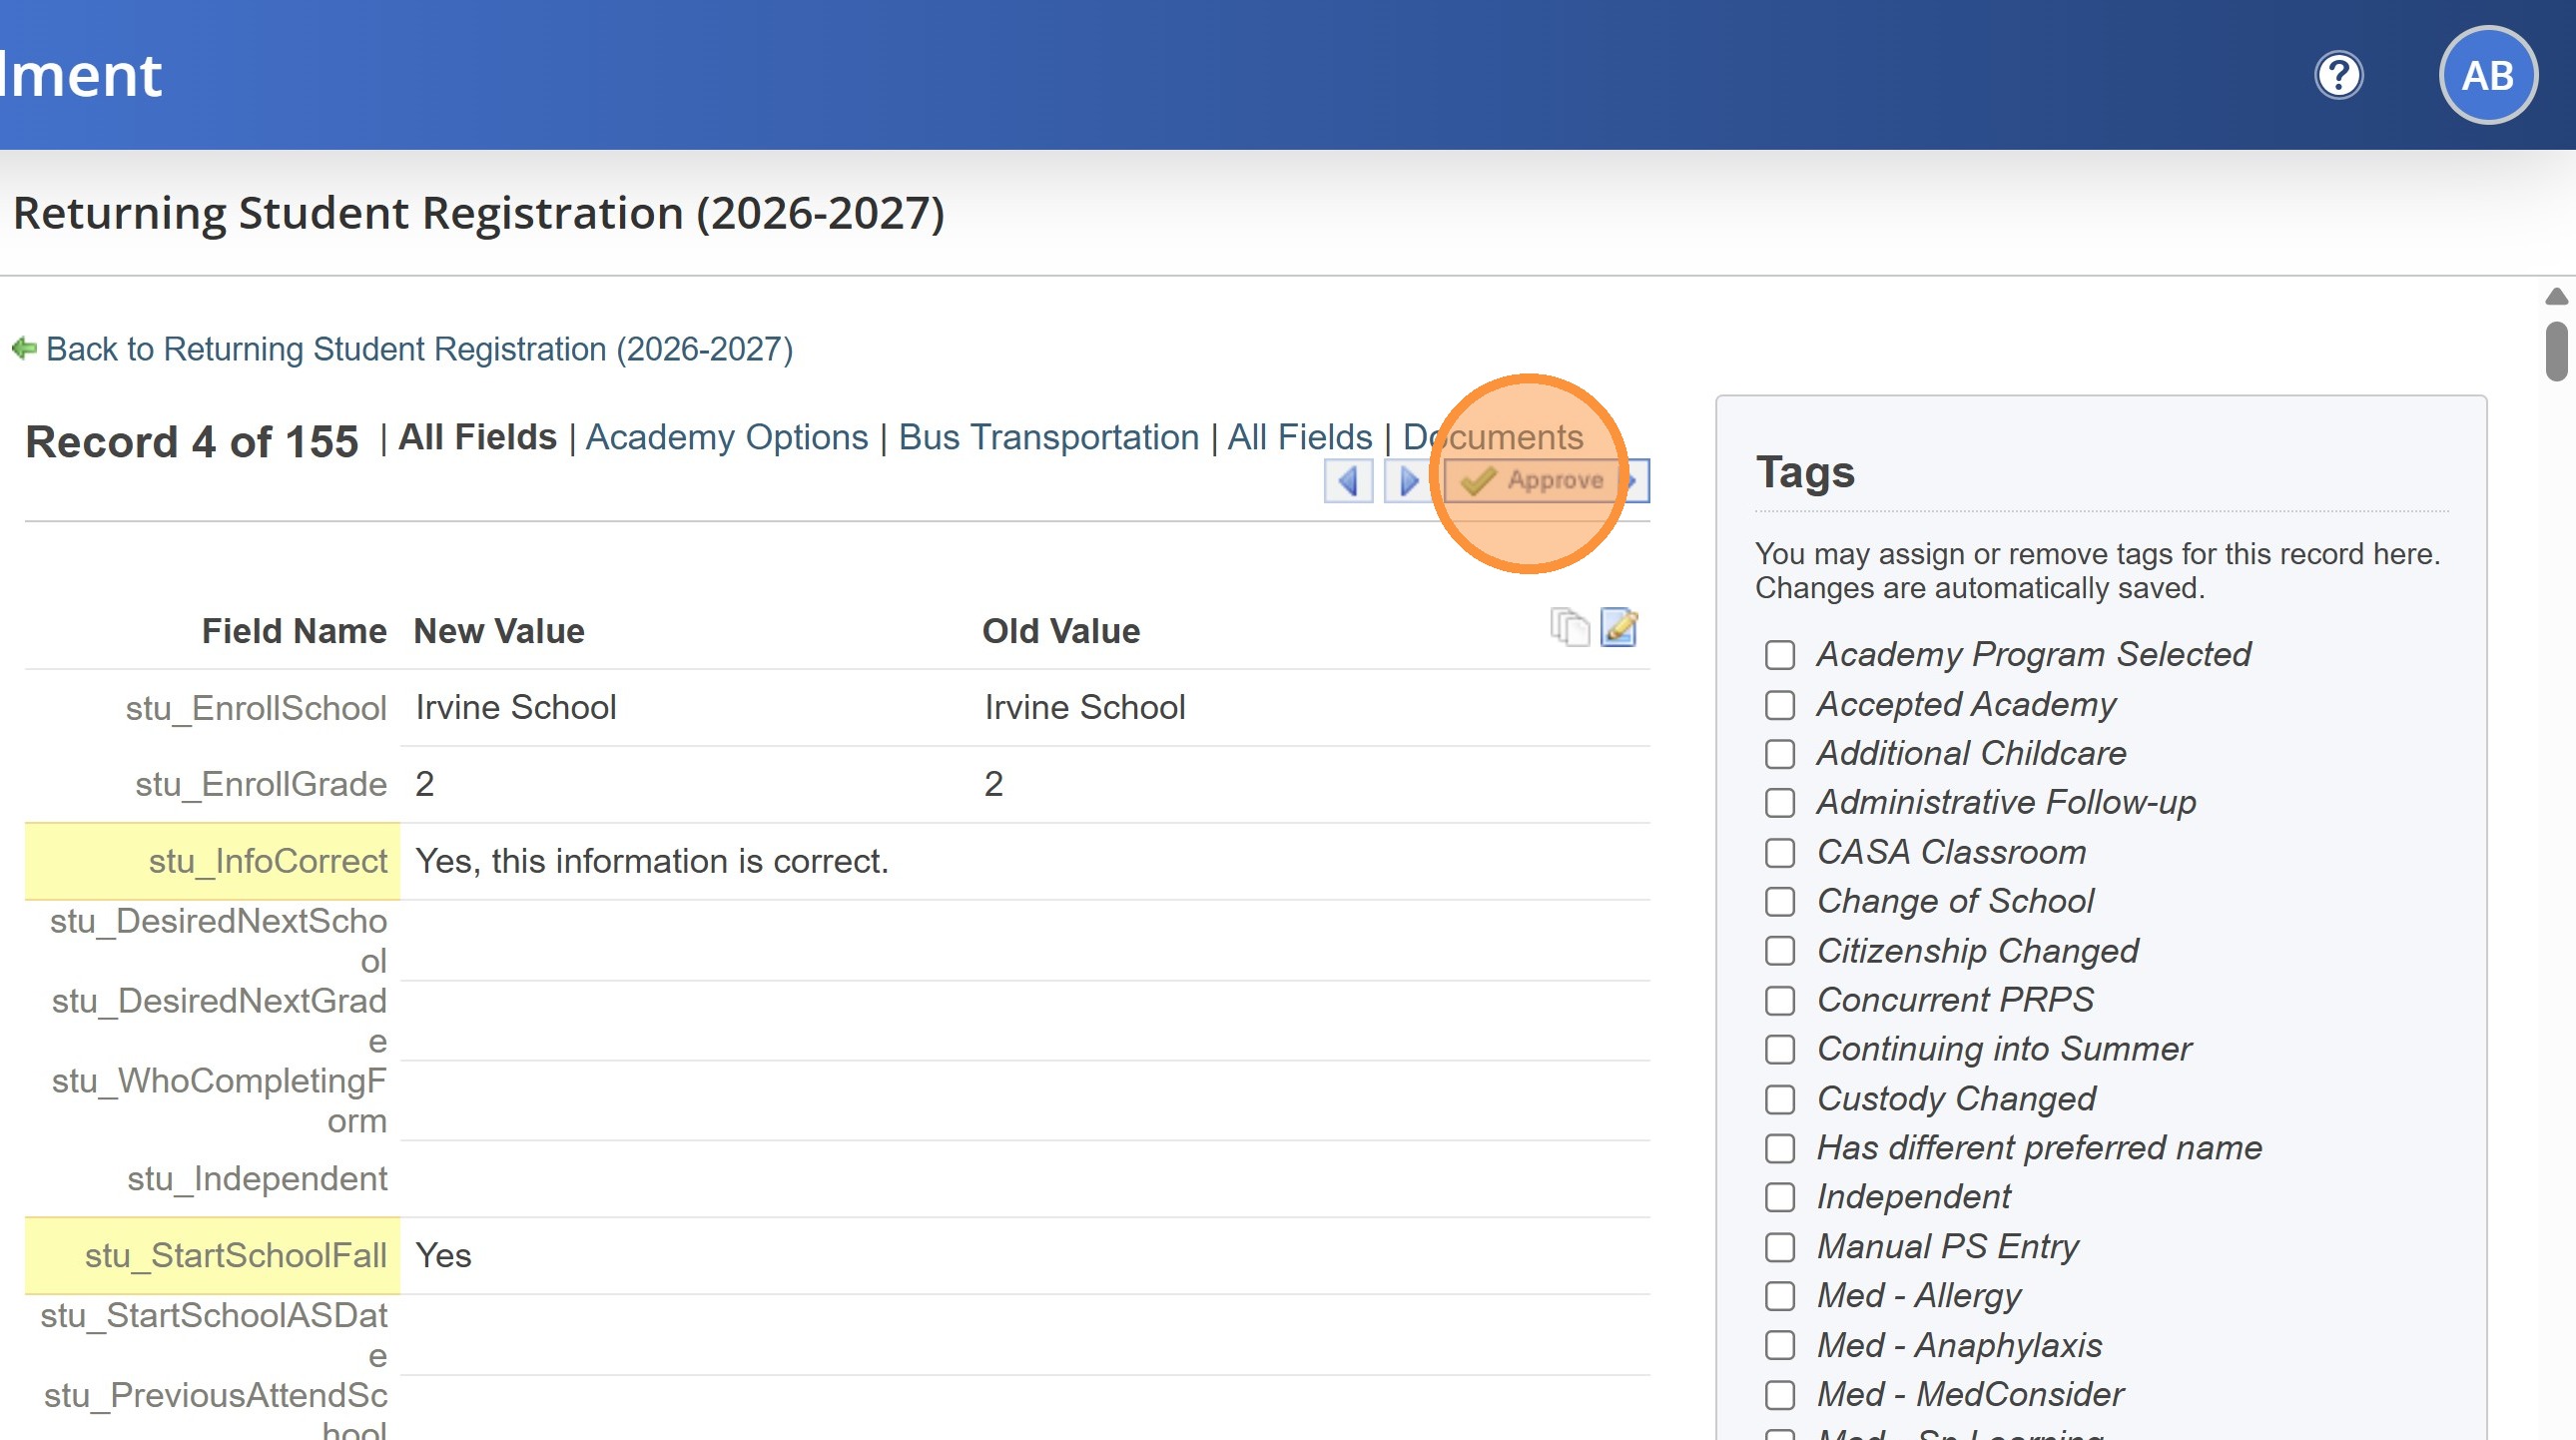
12. Once you have finished reviewing the form, you can click Approve.
13. Click "Back to Returning Student Registration (2026-2027)"

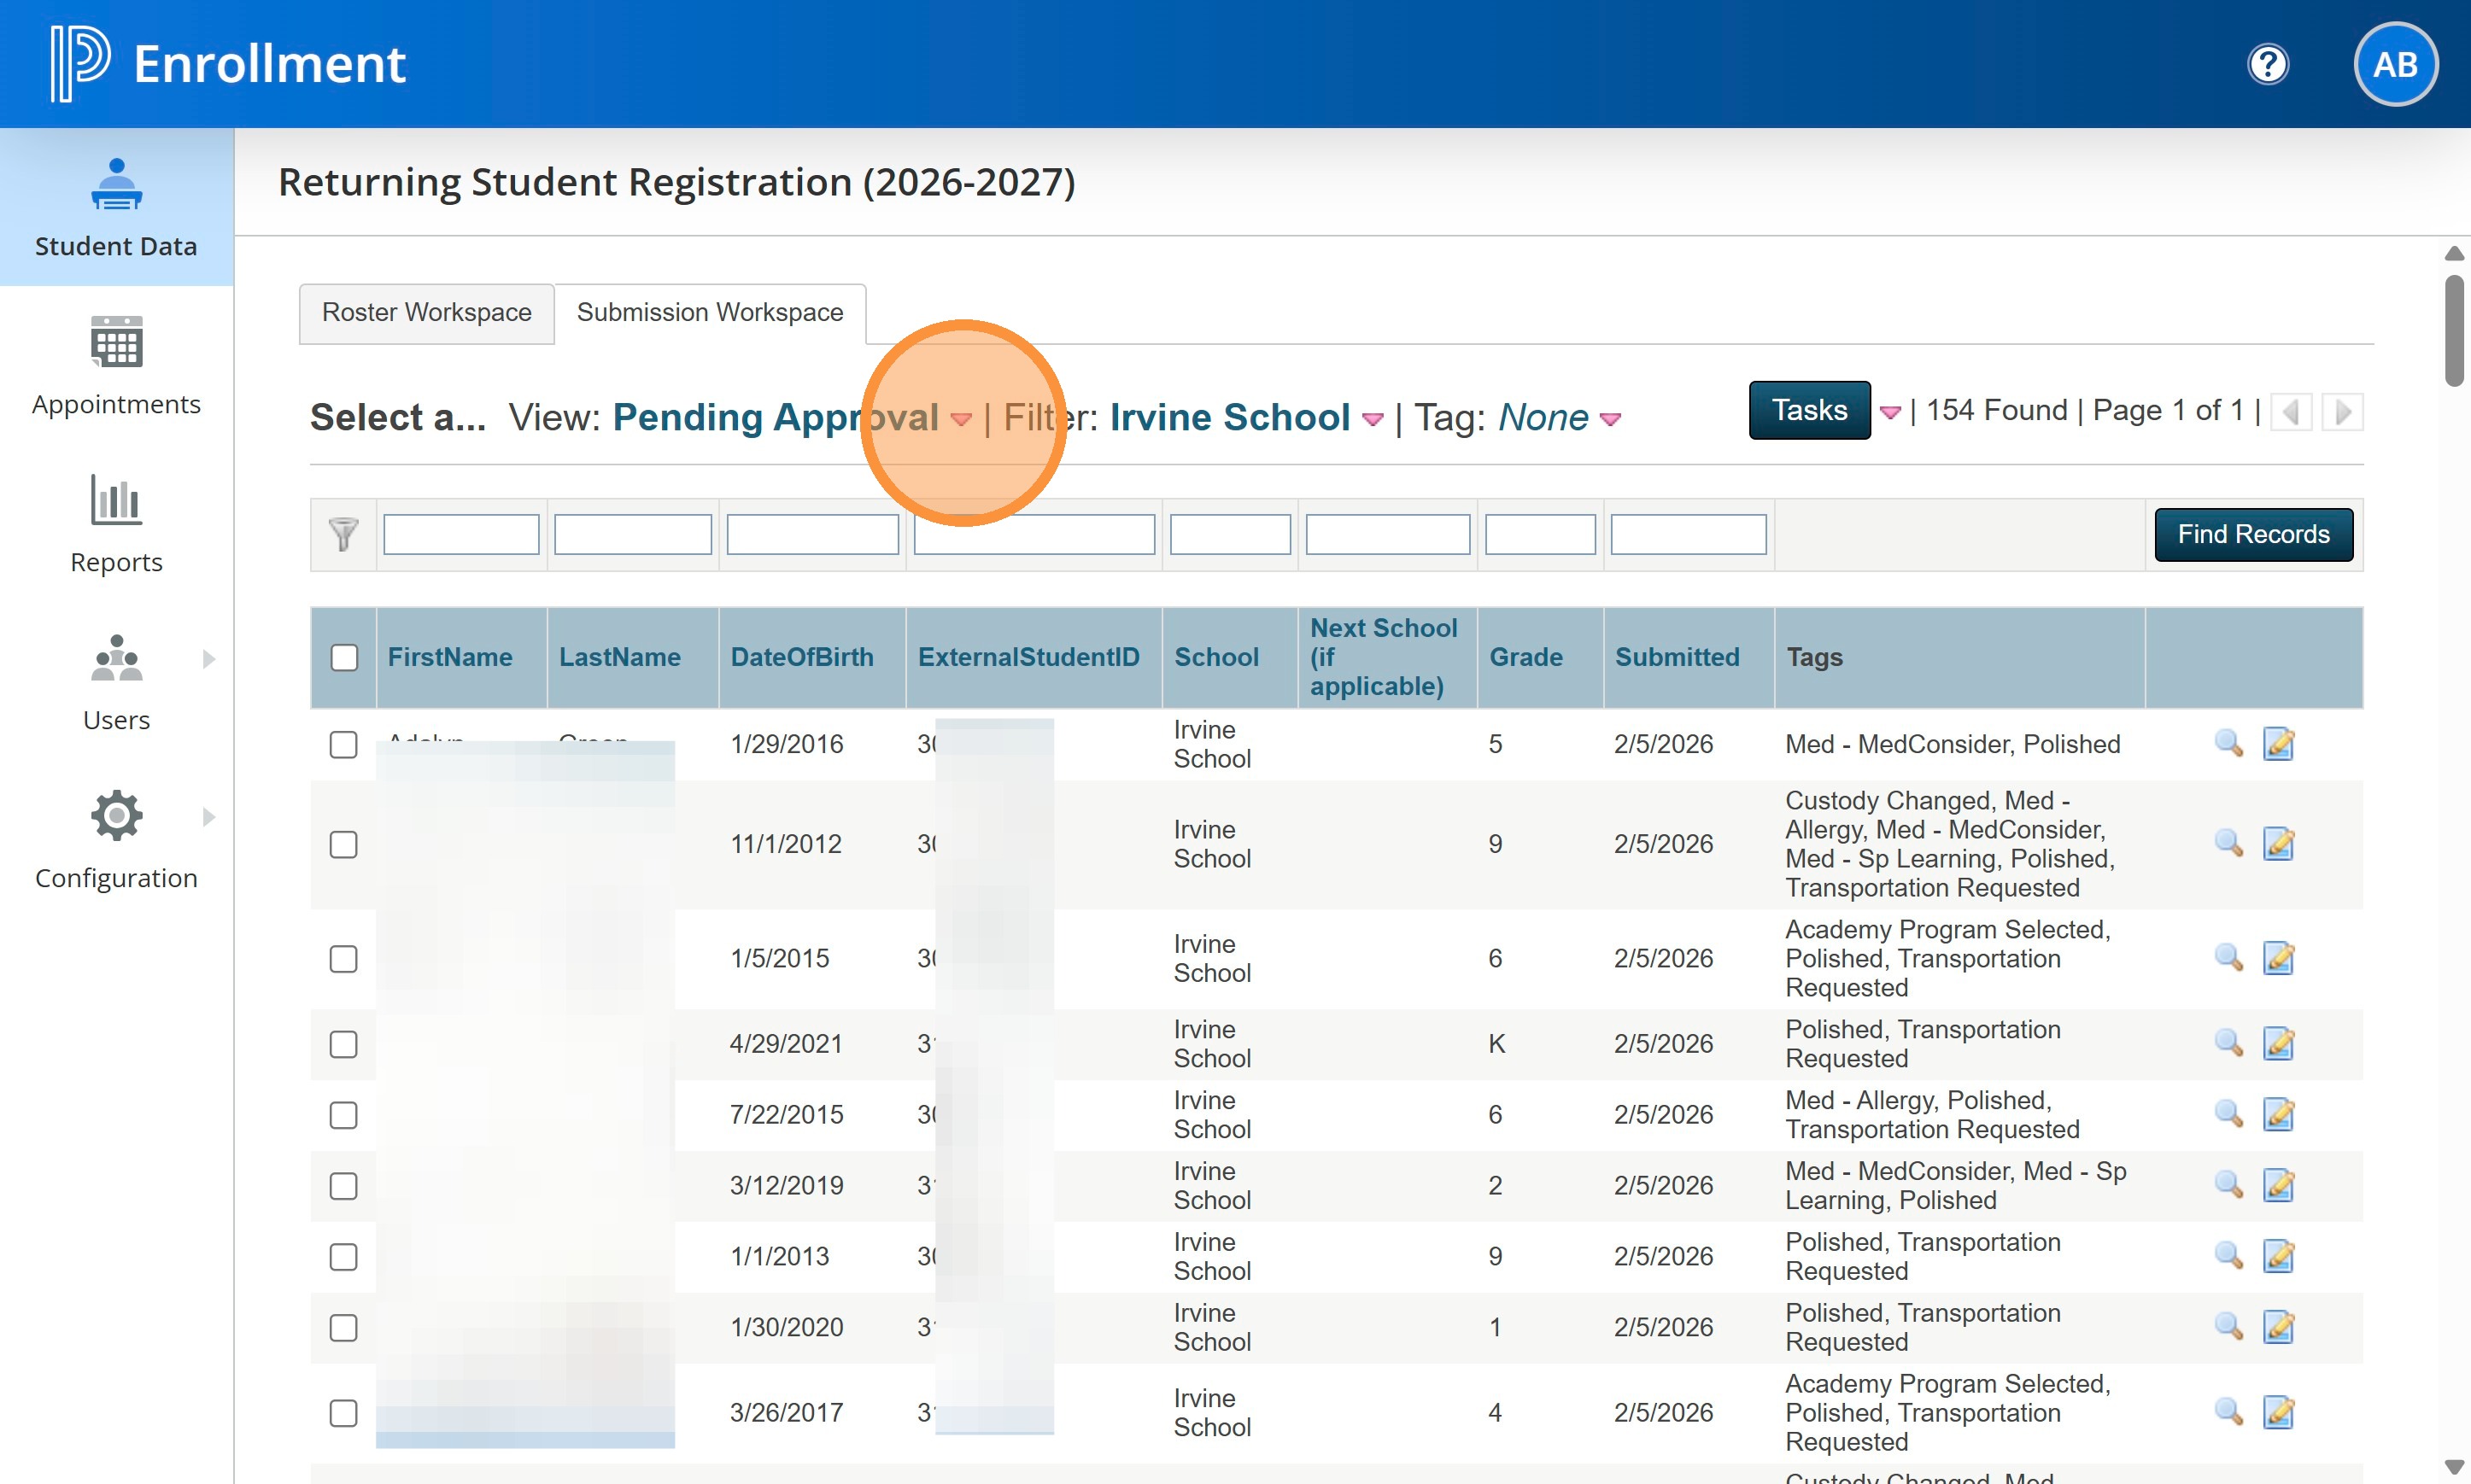
14. The student will no longer be in the Pending Approval view. Click the red arrow to view them in the Approved view.
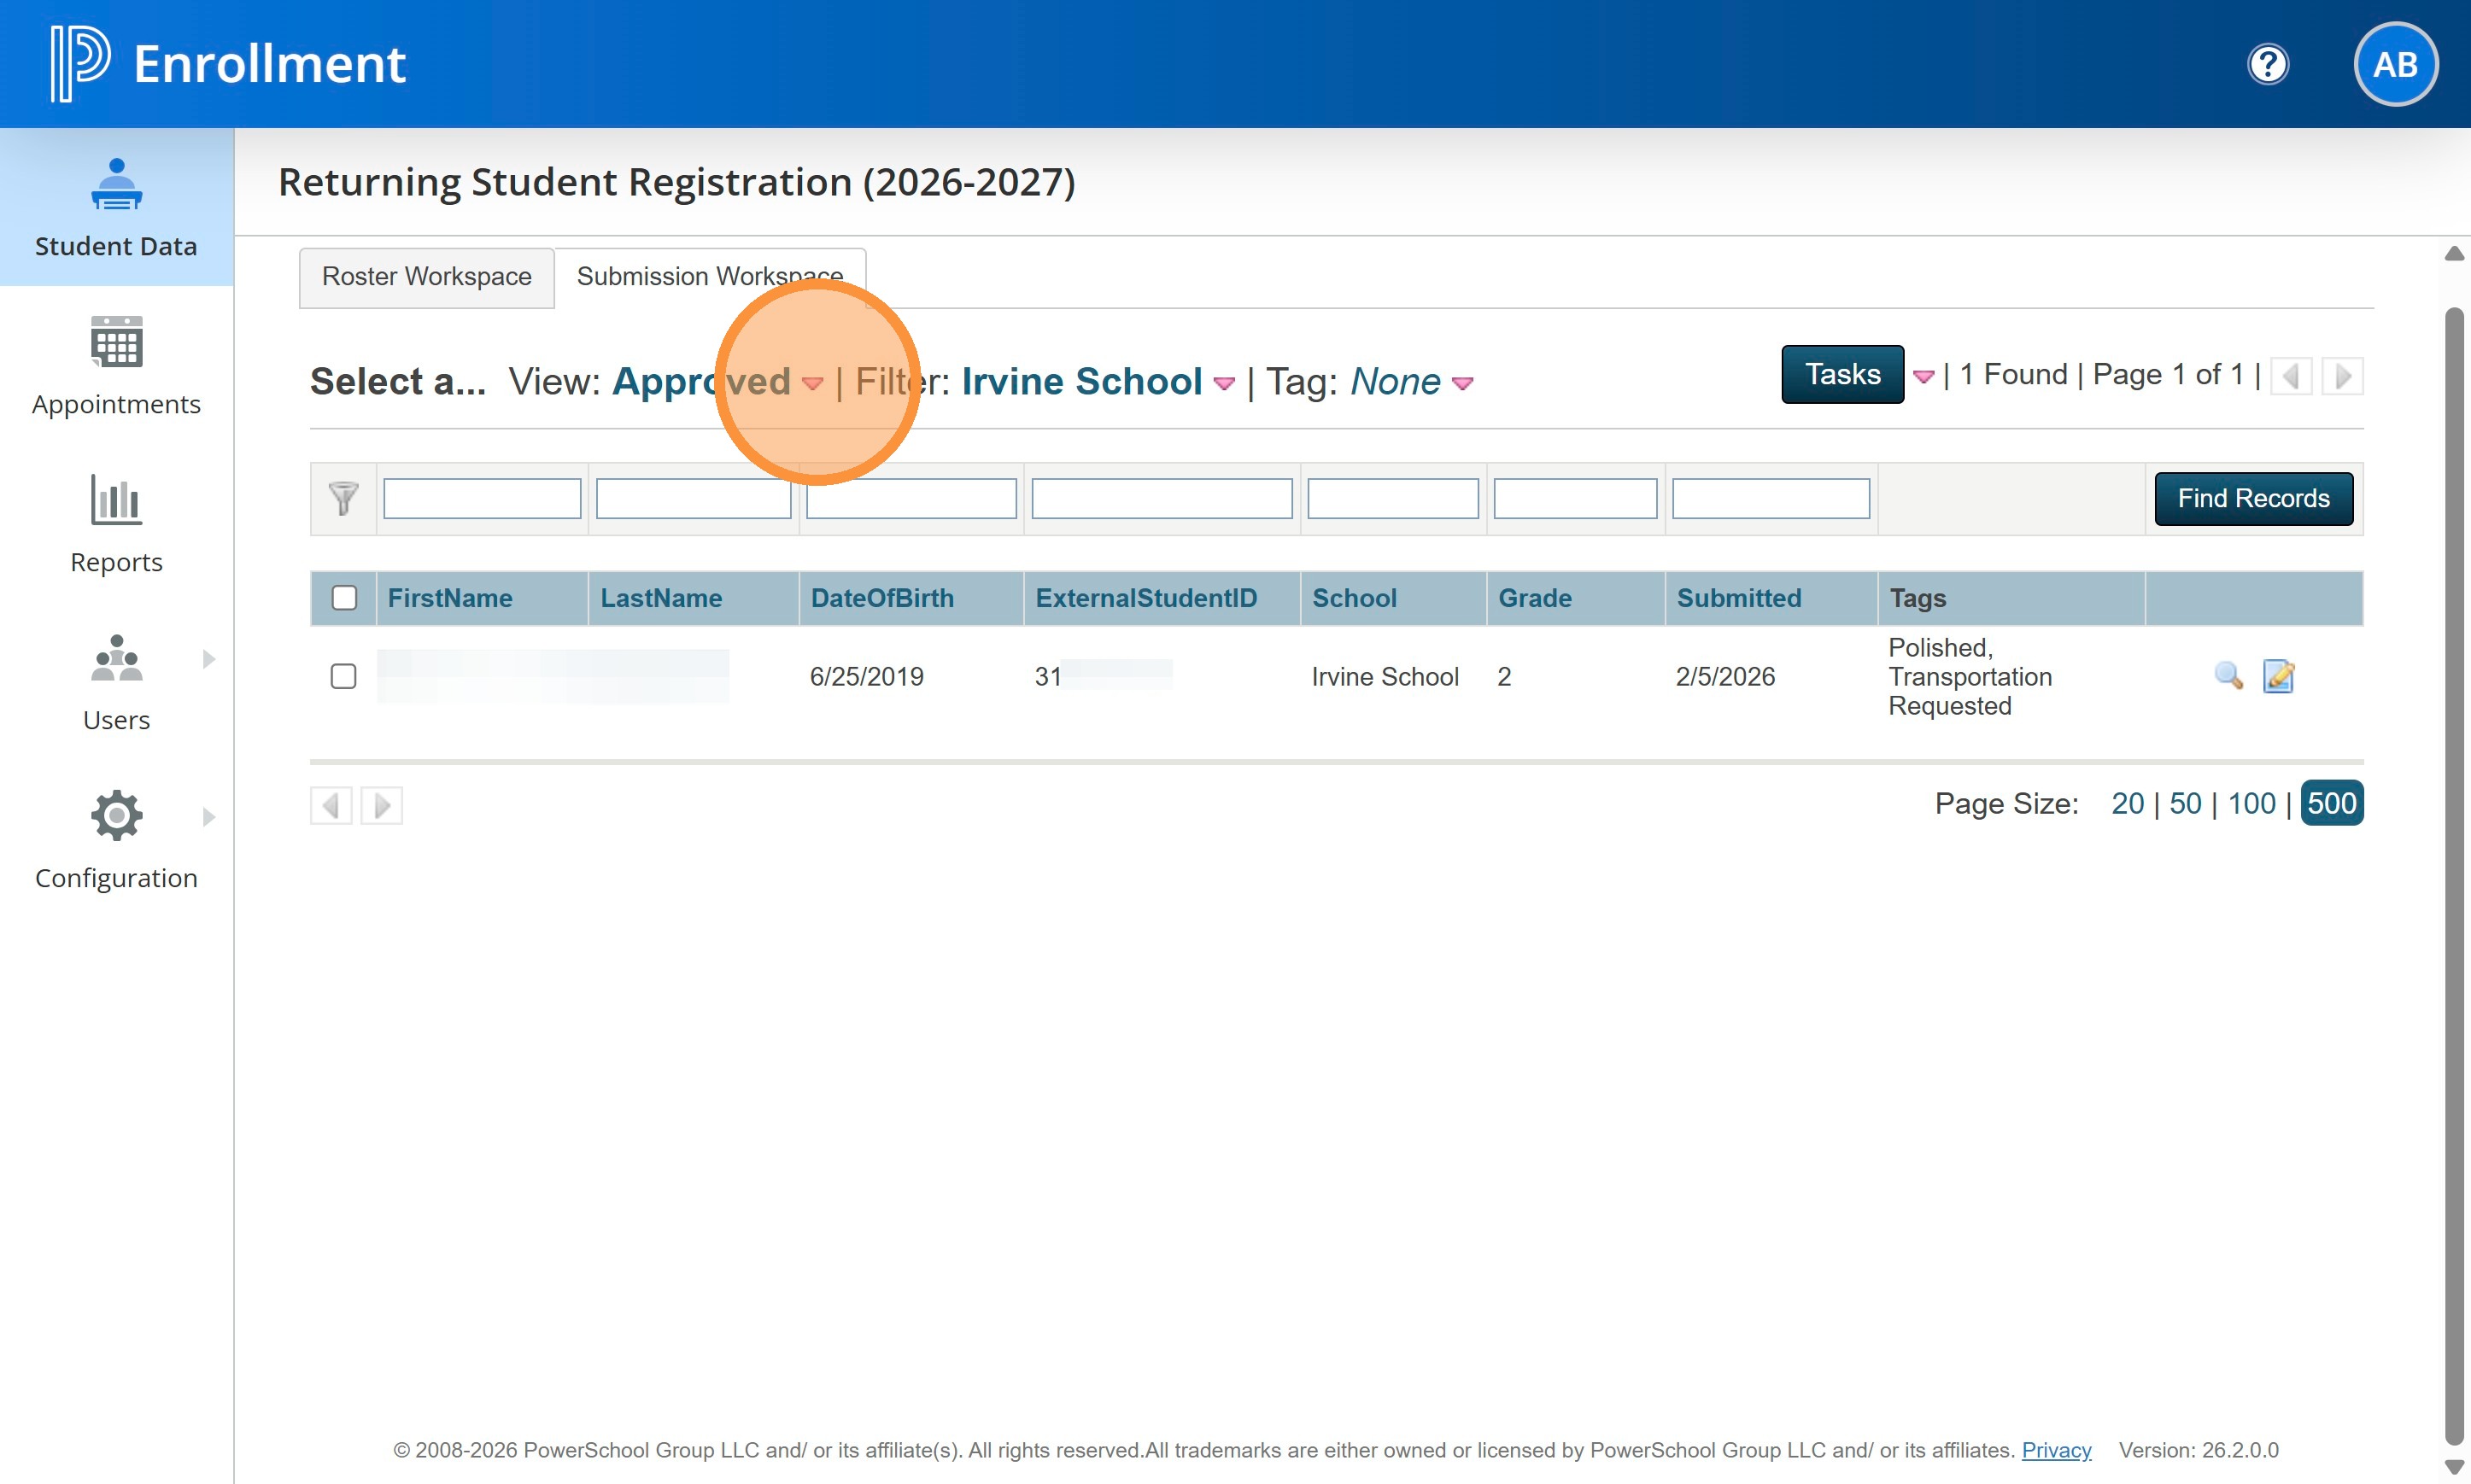
15. The Approved view is essentially the same as the Pending Delivery view, but it allows you to do different tasks. In most cases, you will just use this view to track who you have approved already.
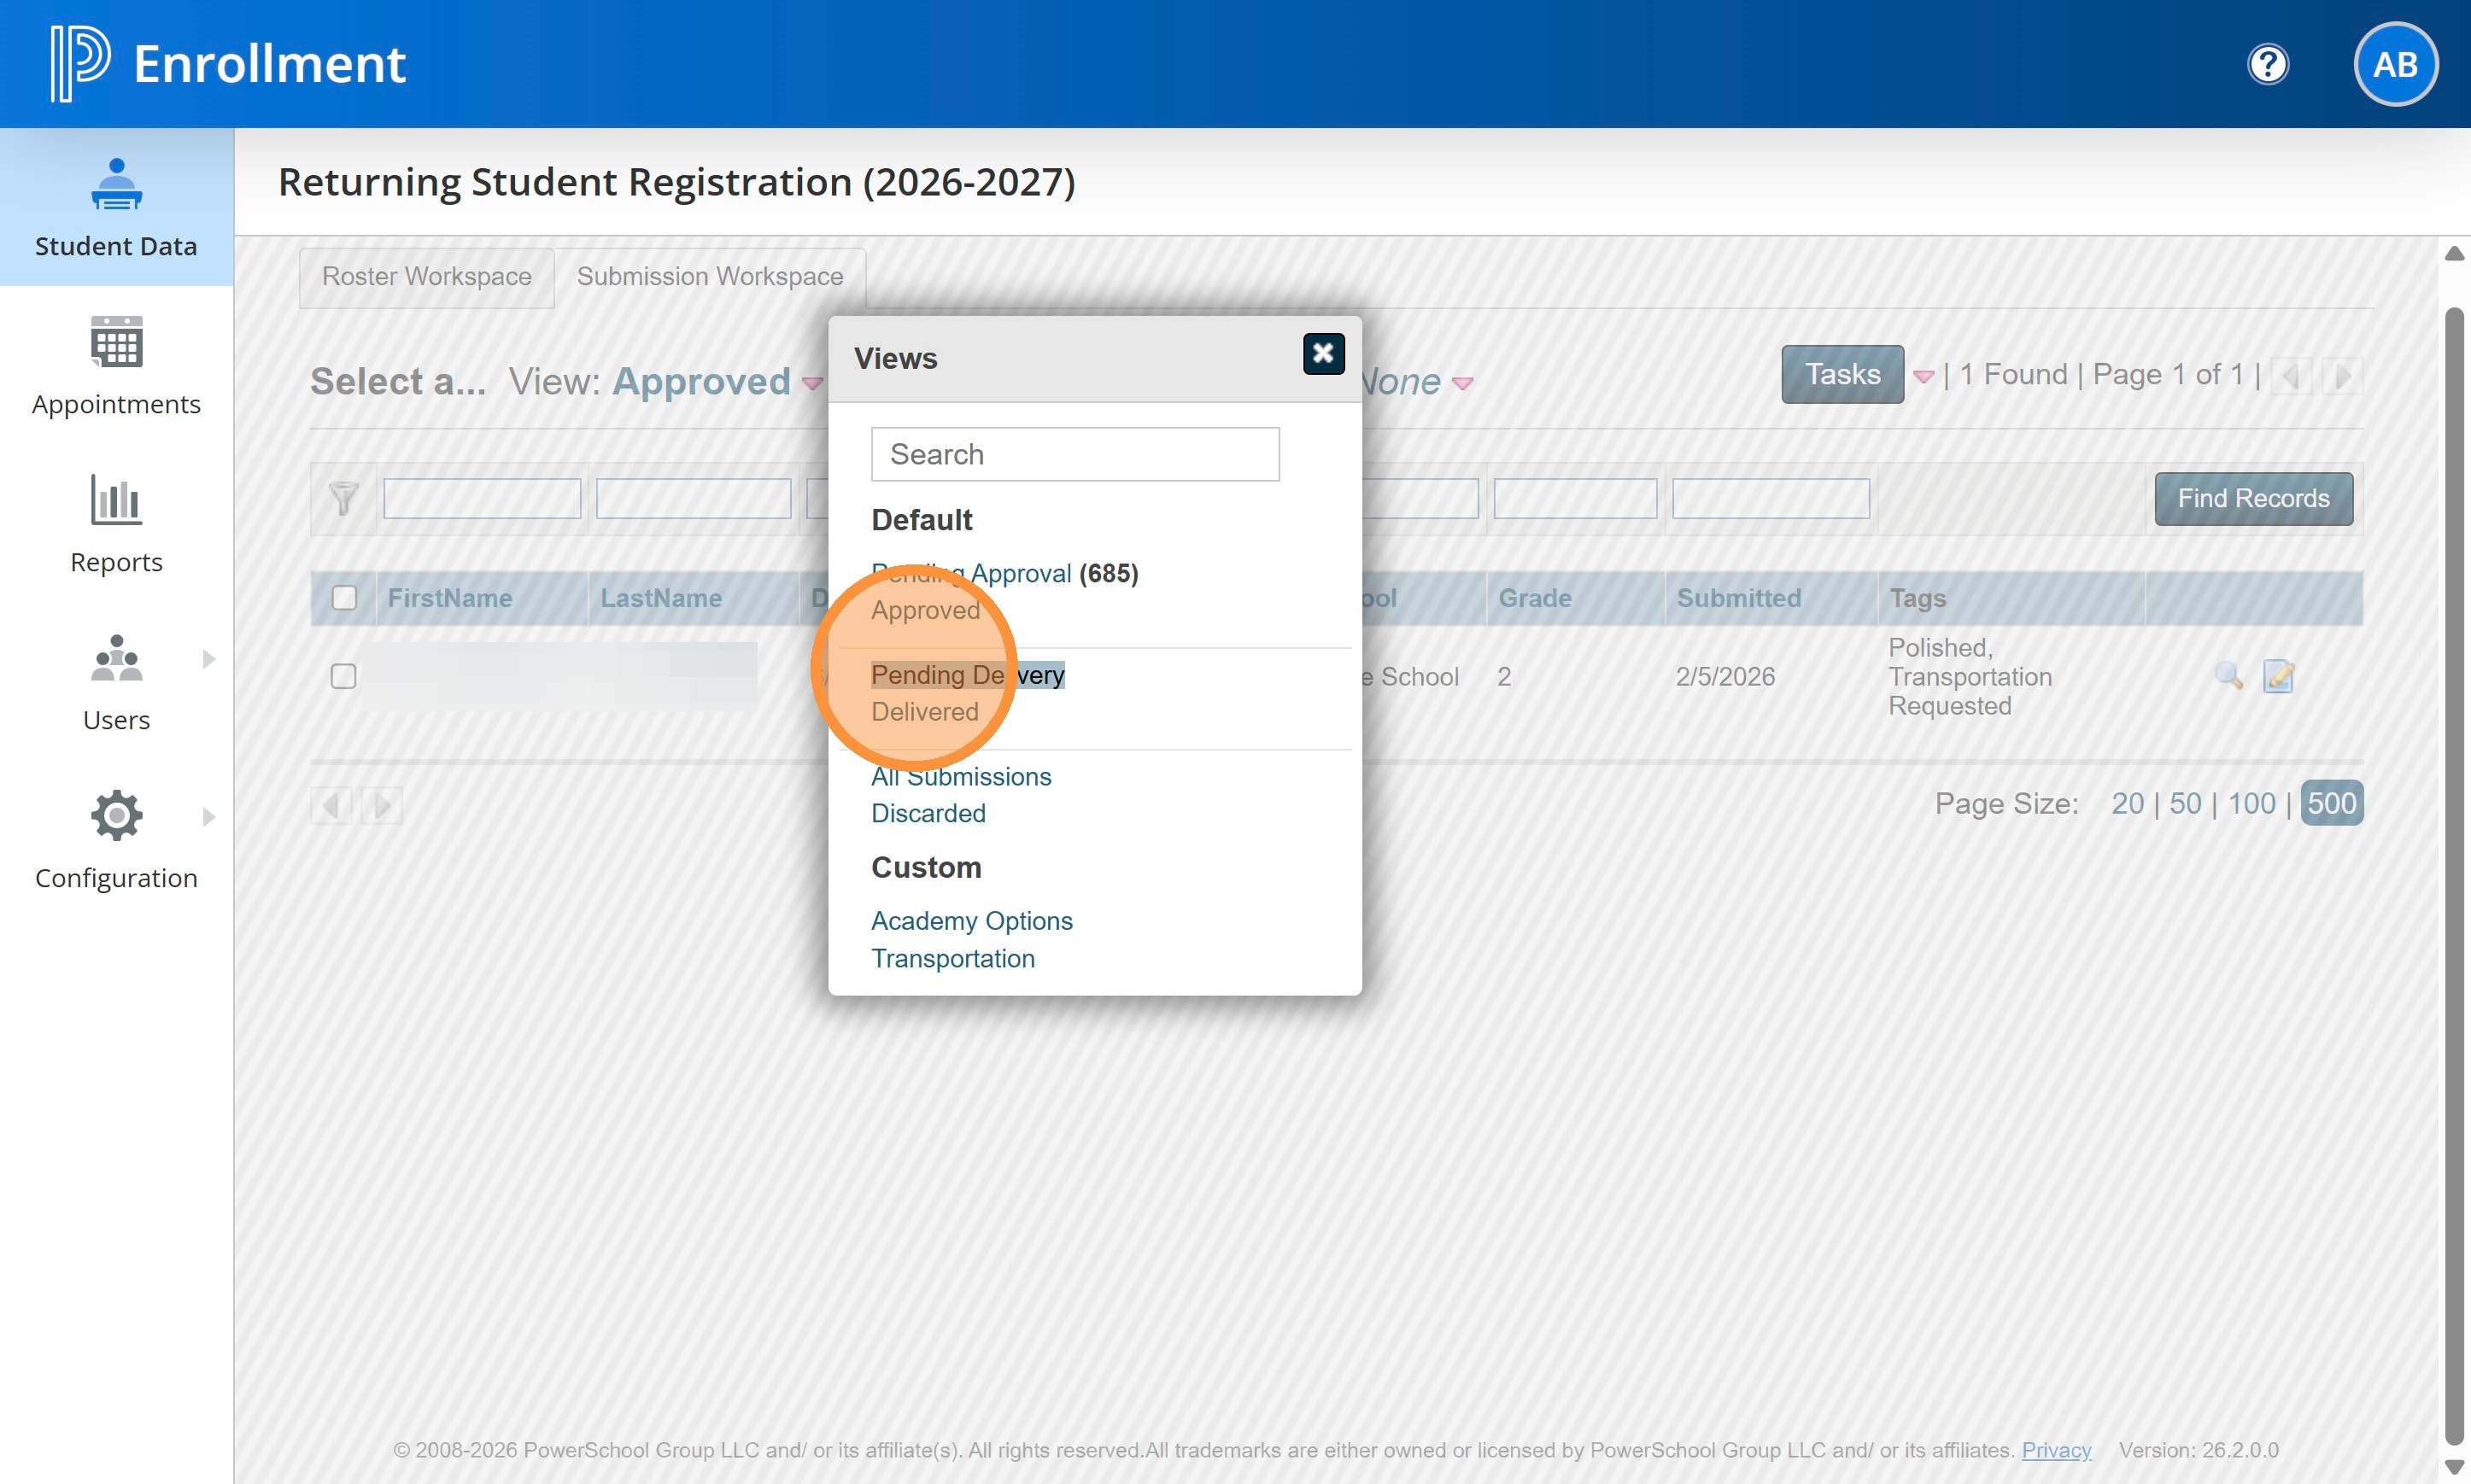
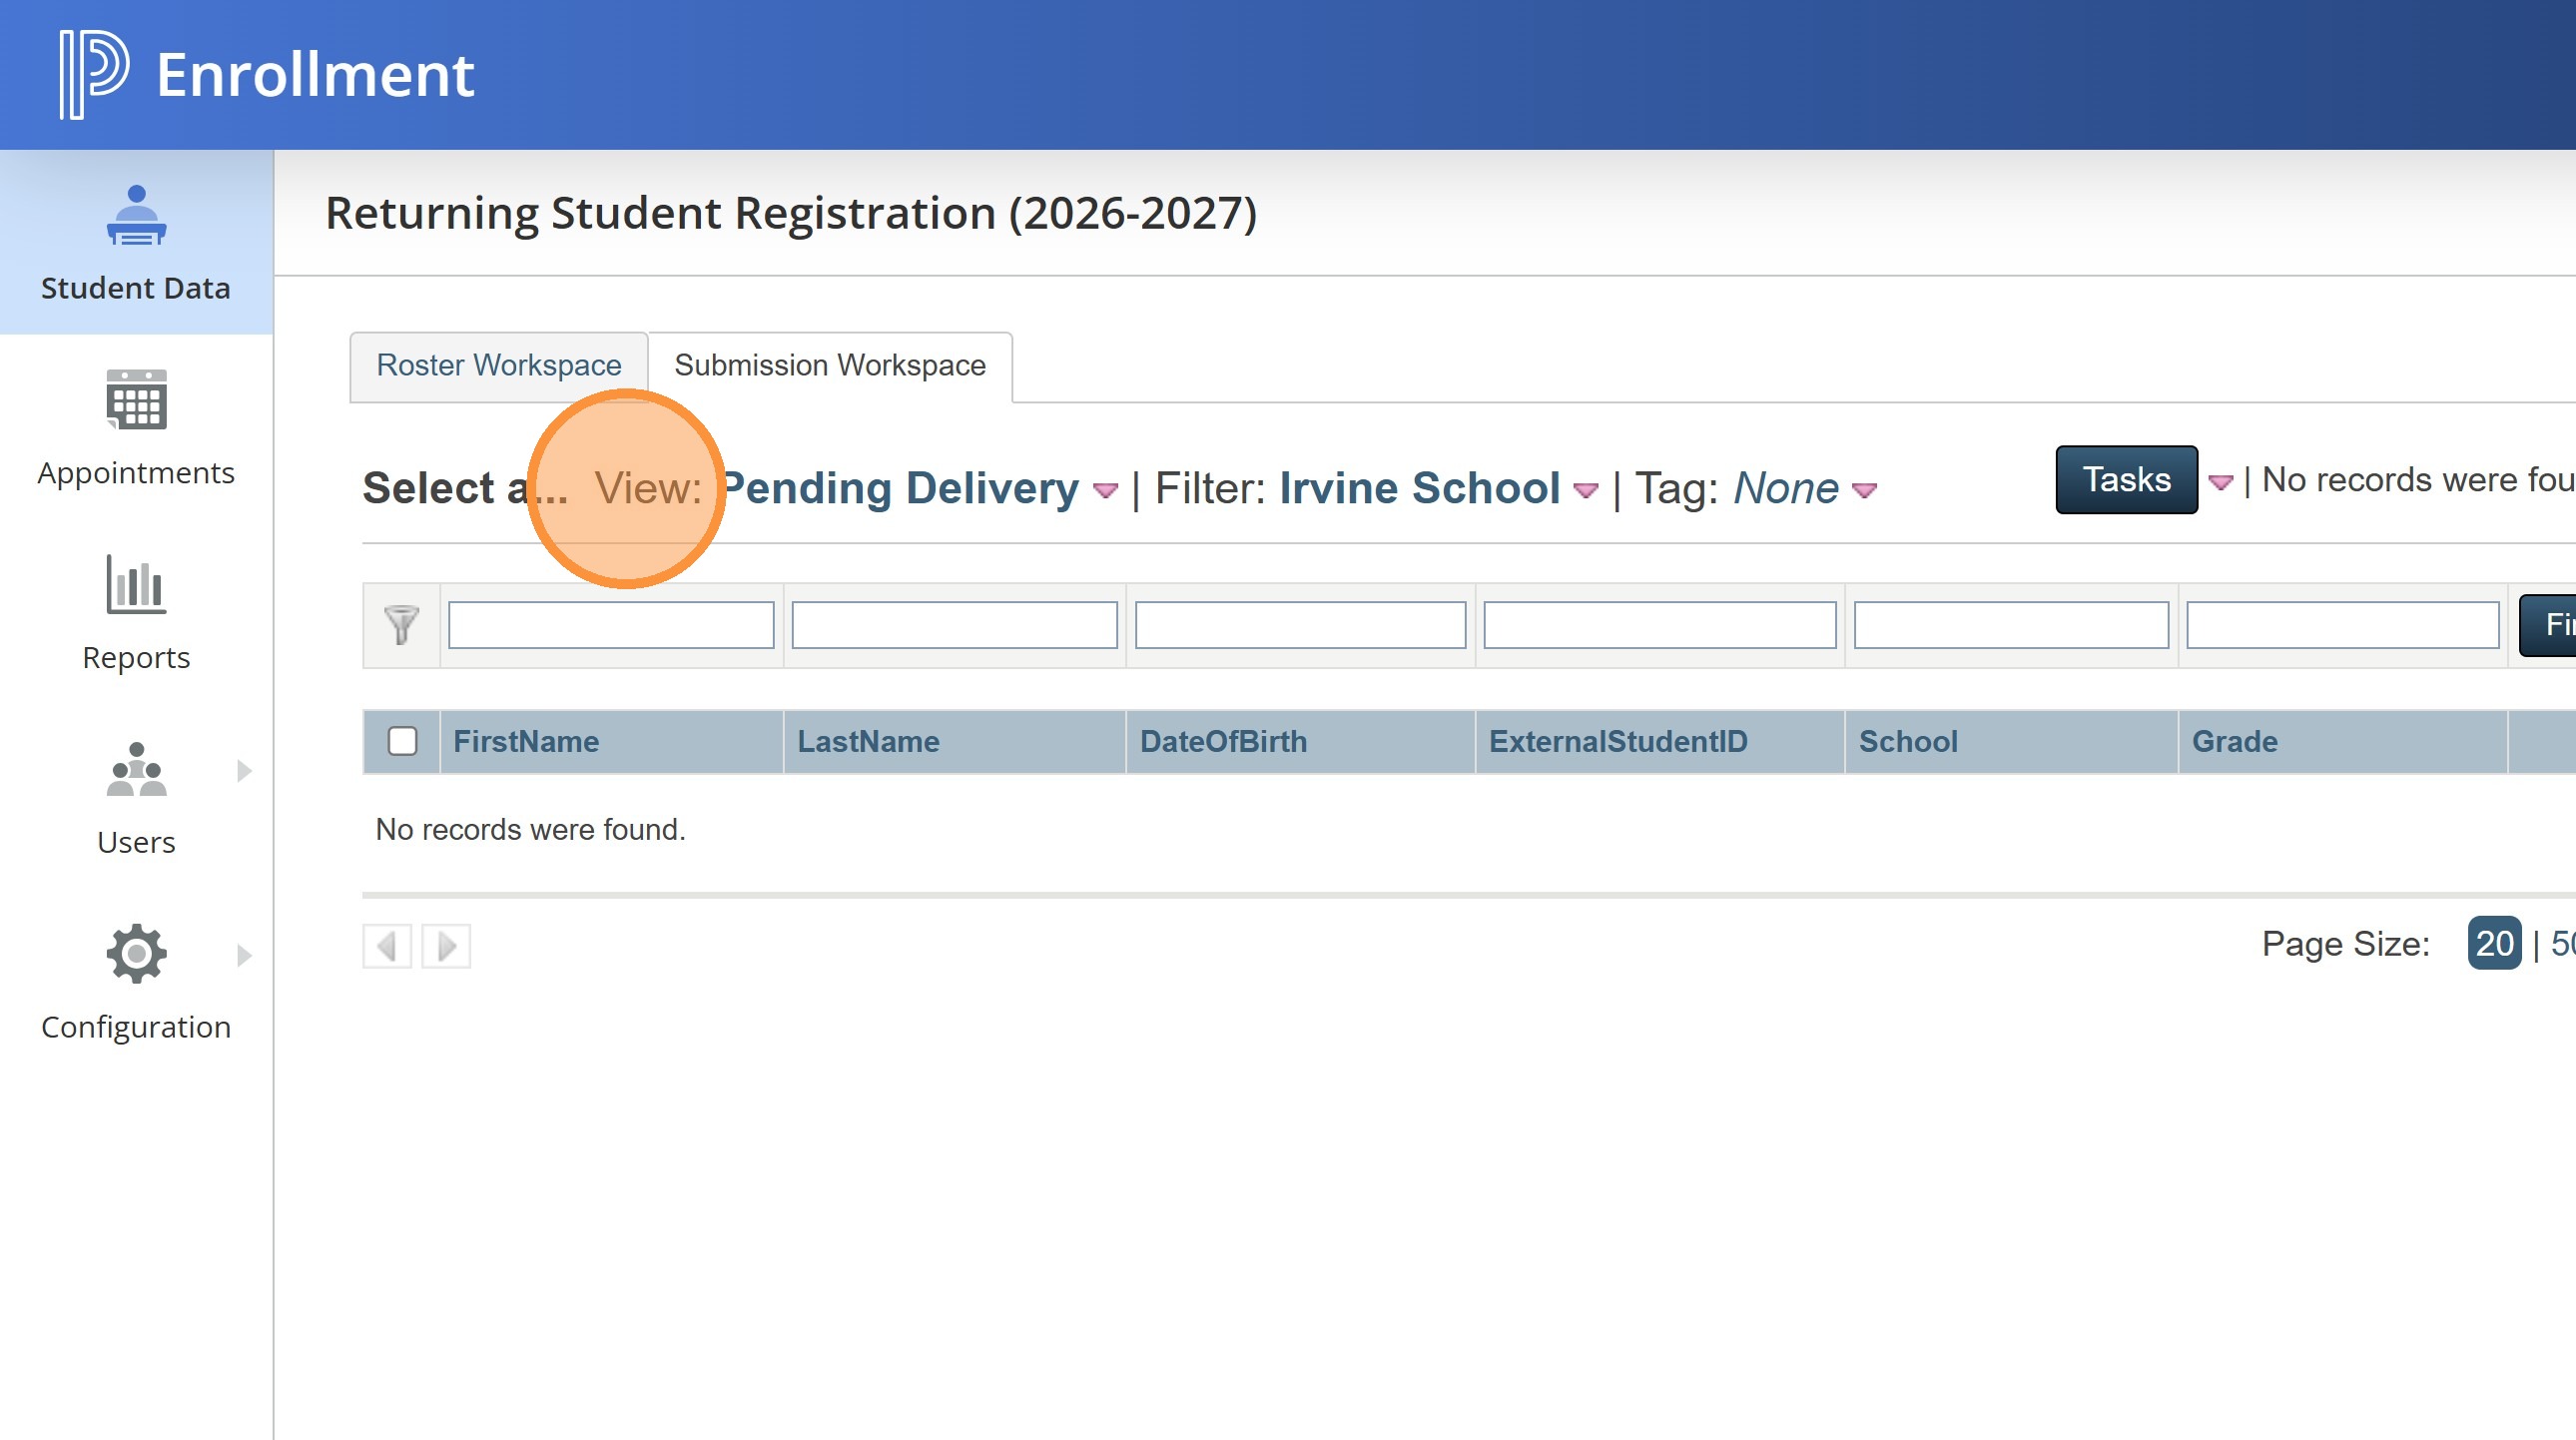
16. To deliver the student information into PowerSchool SIS, you will need to change to the Pending Delivery view.
17. Your student(s) who have been Approved will now show up here.
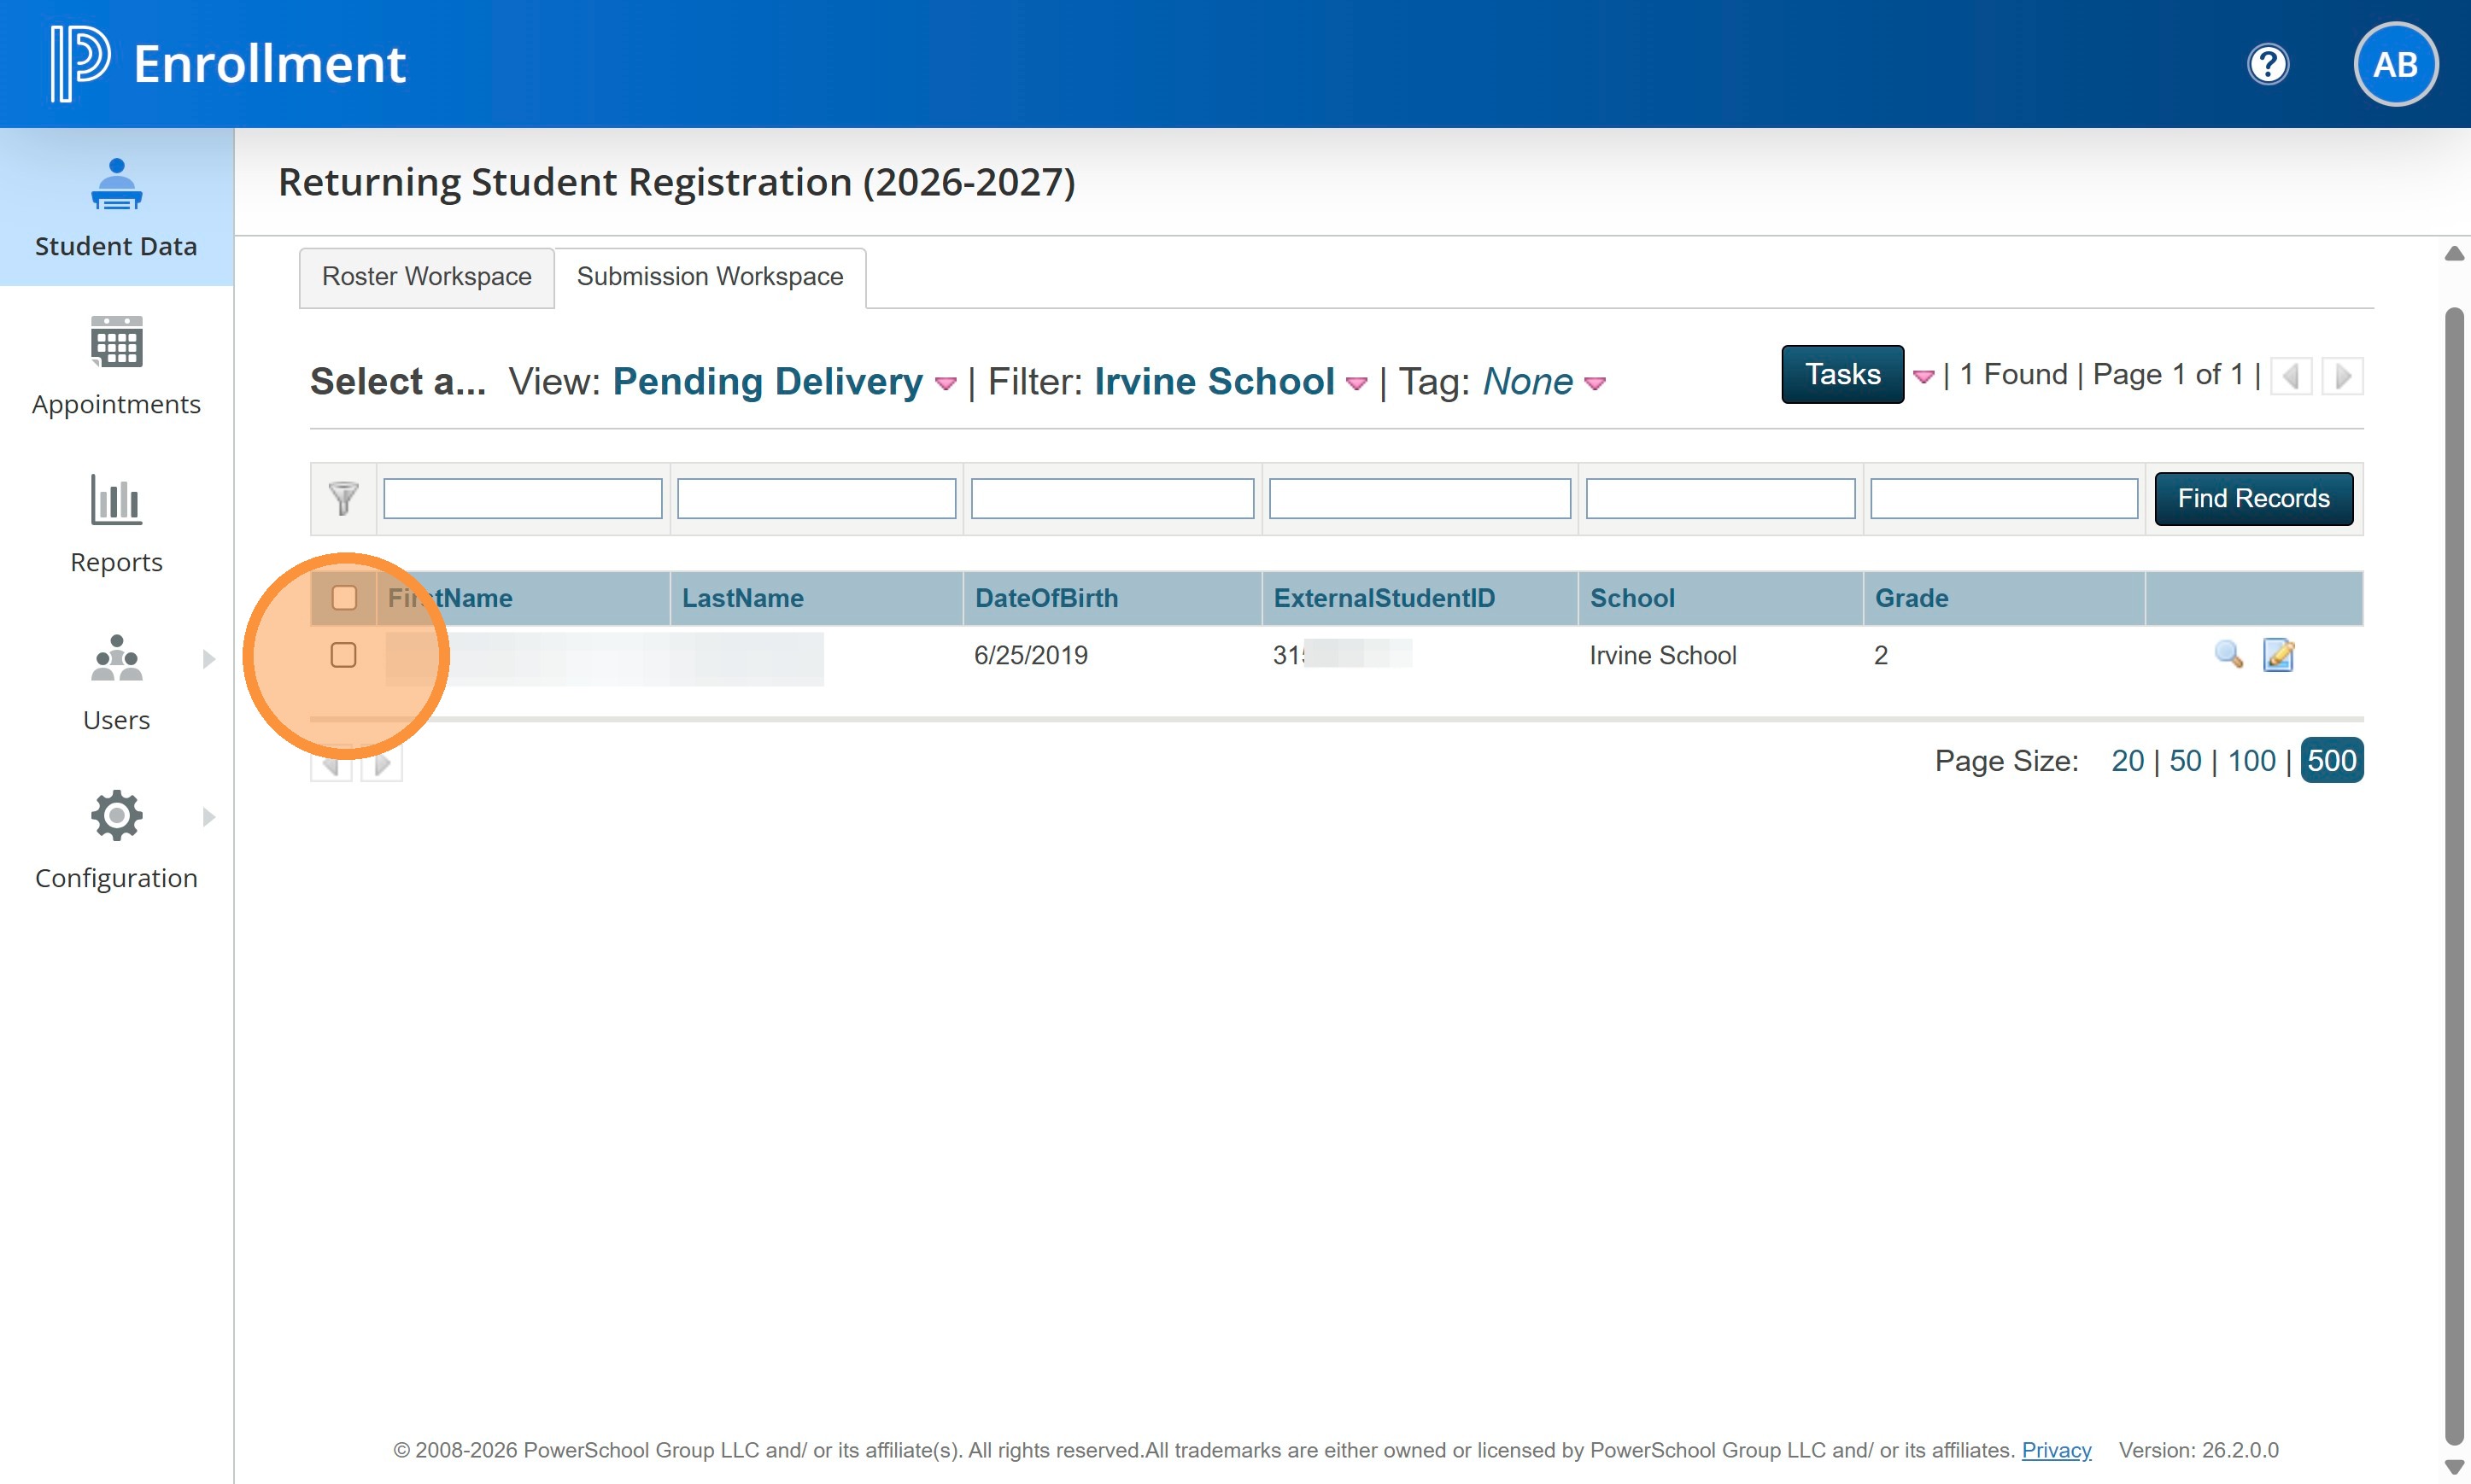
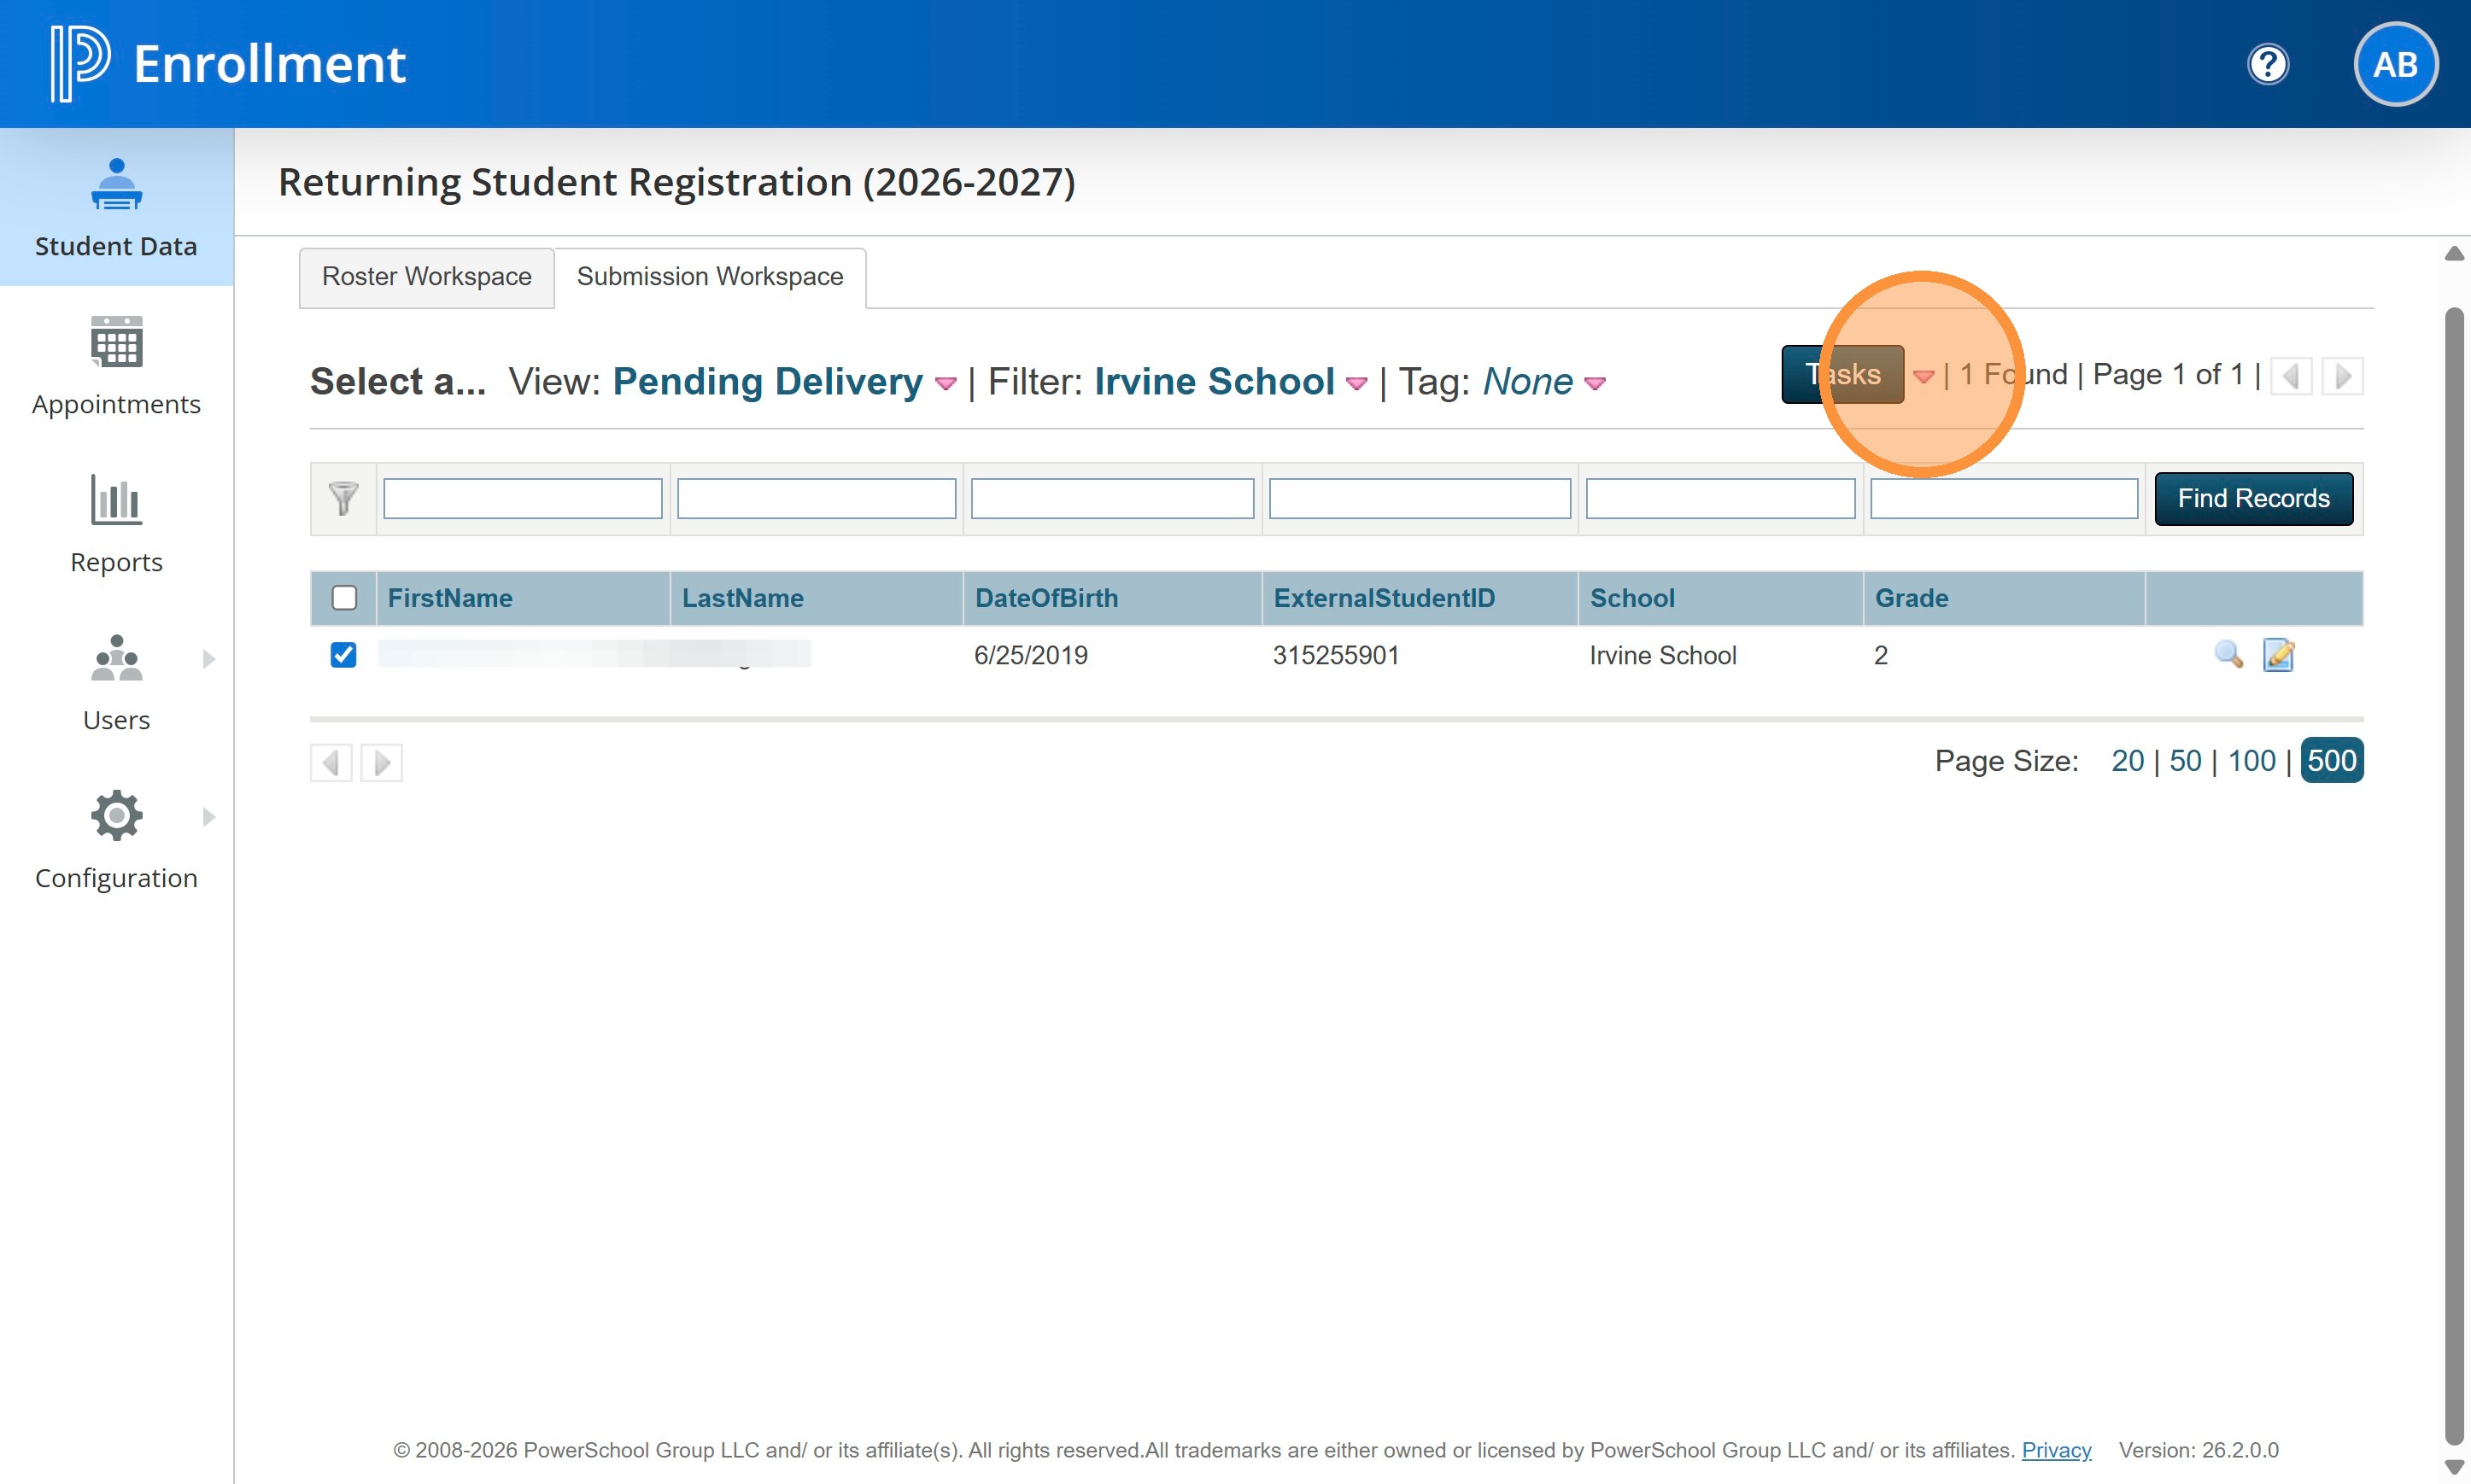
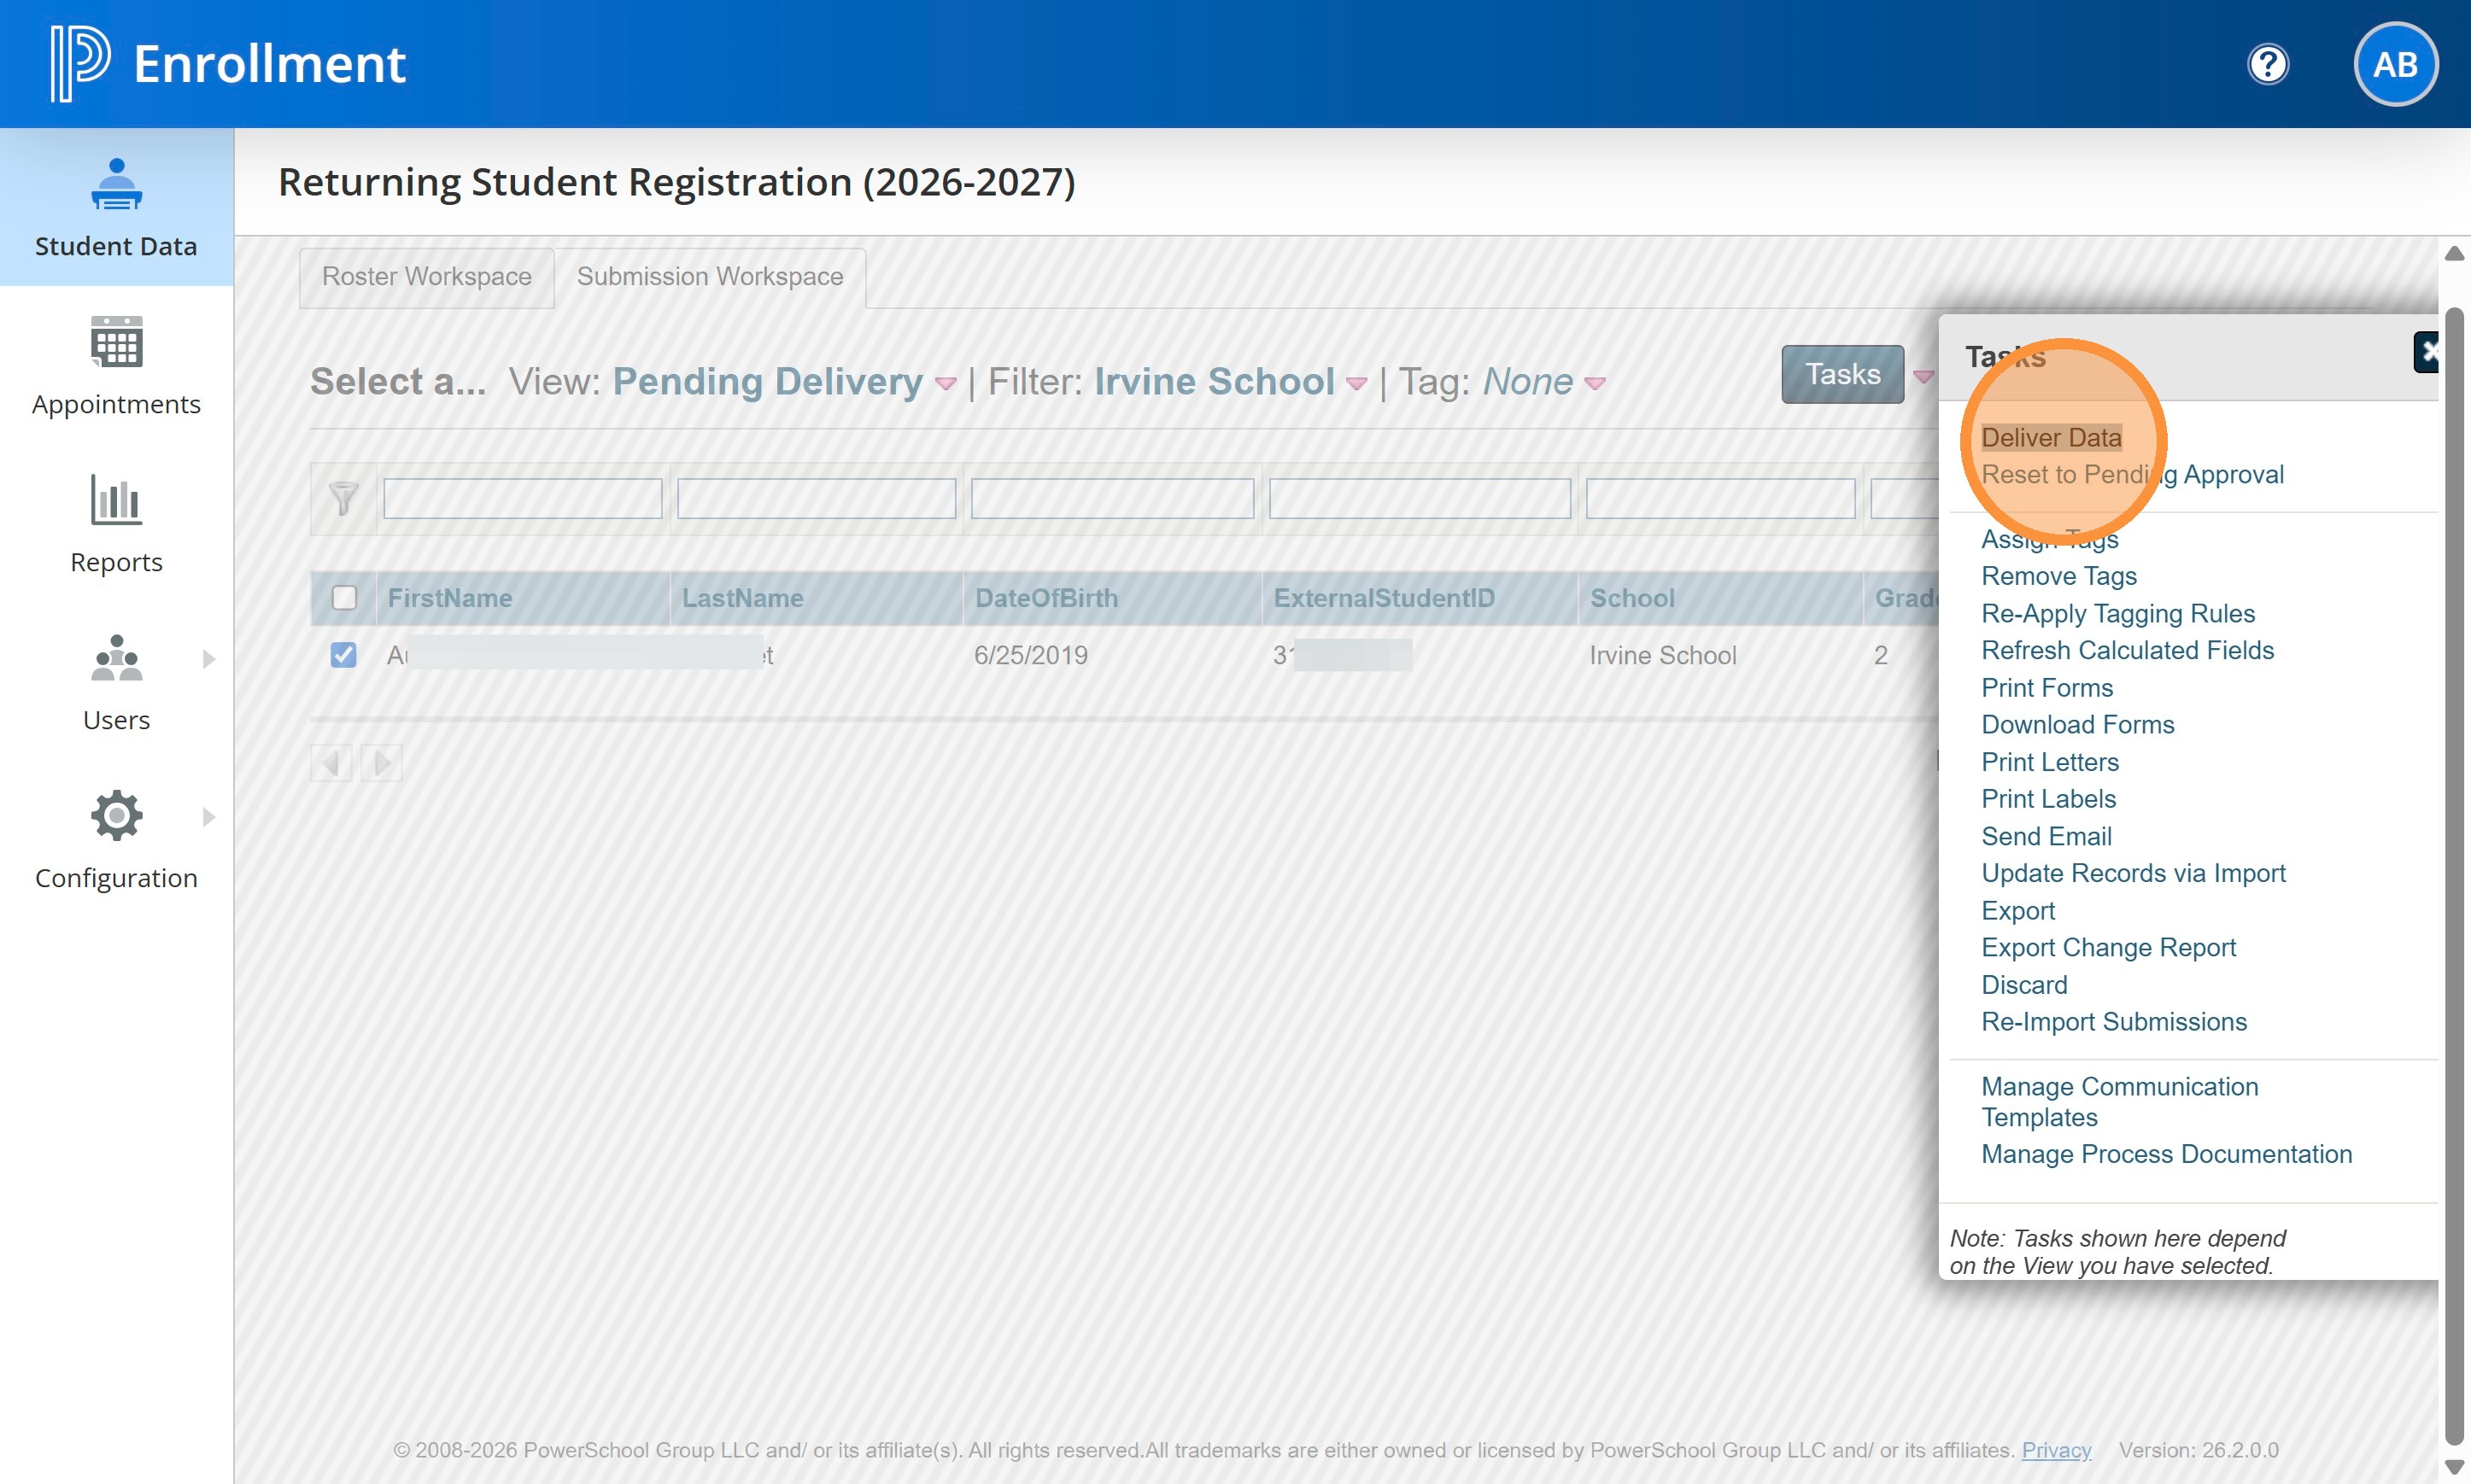
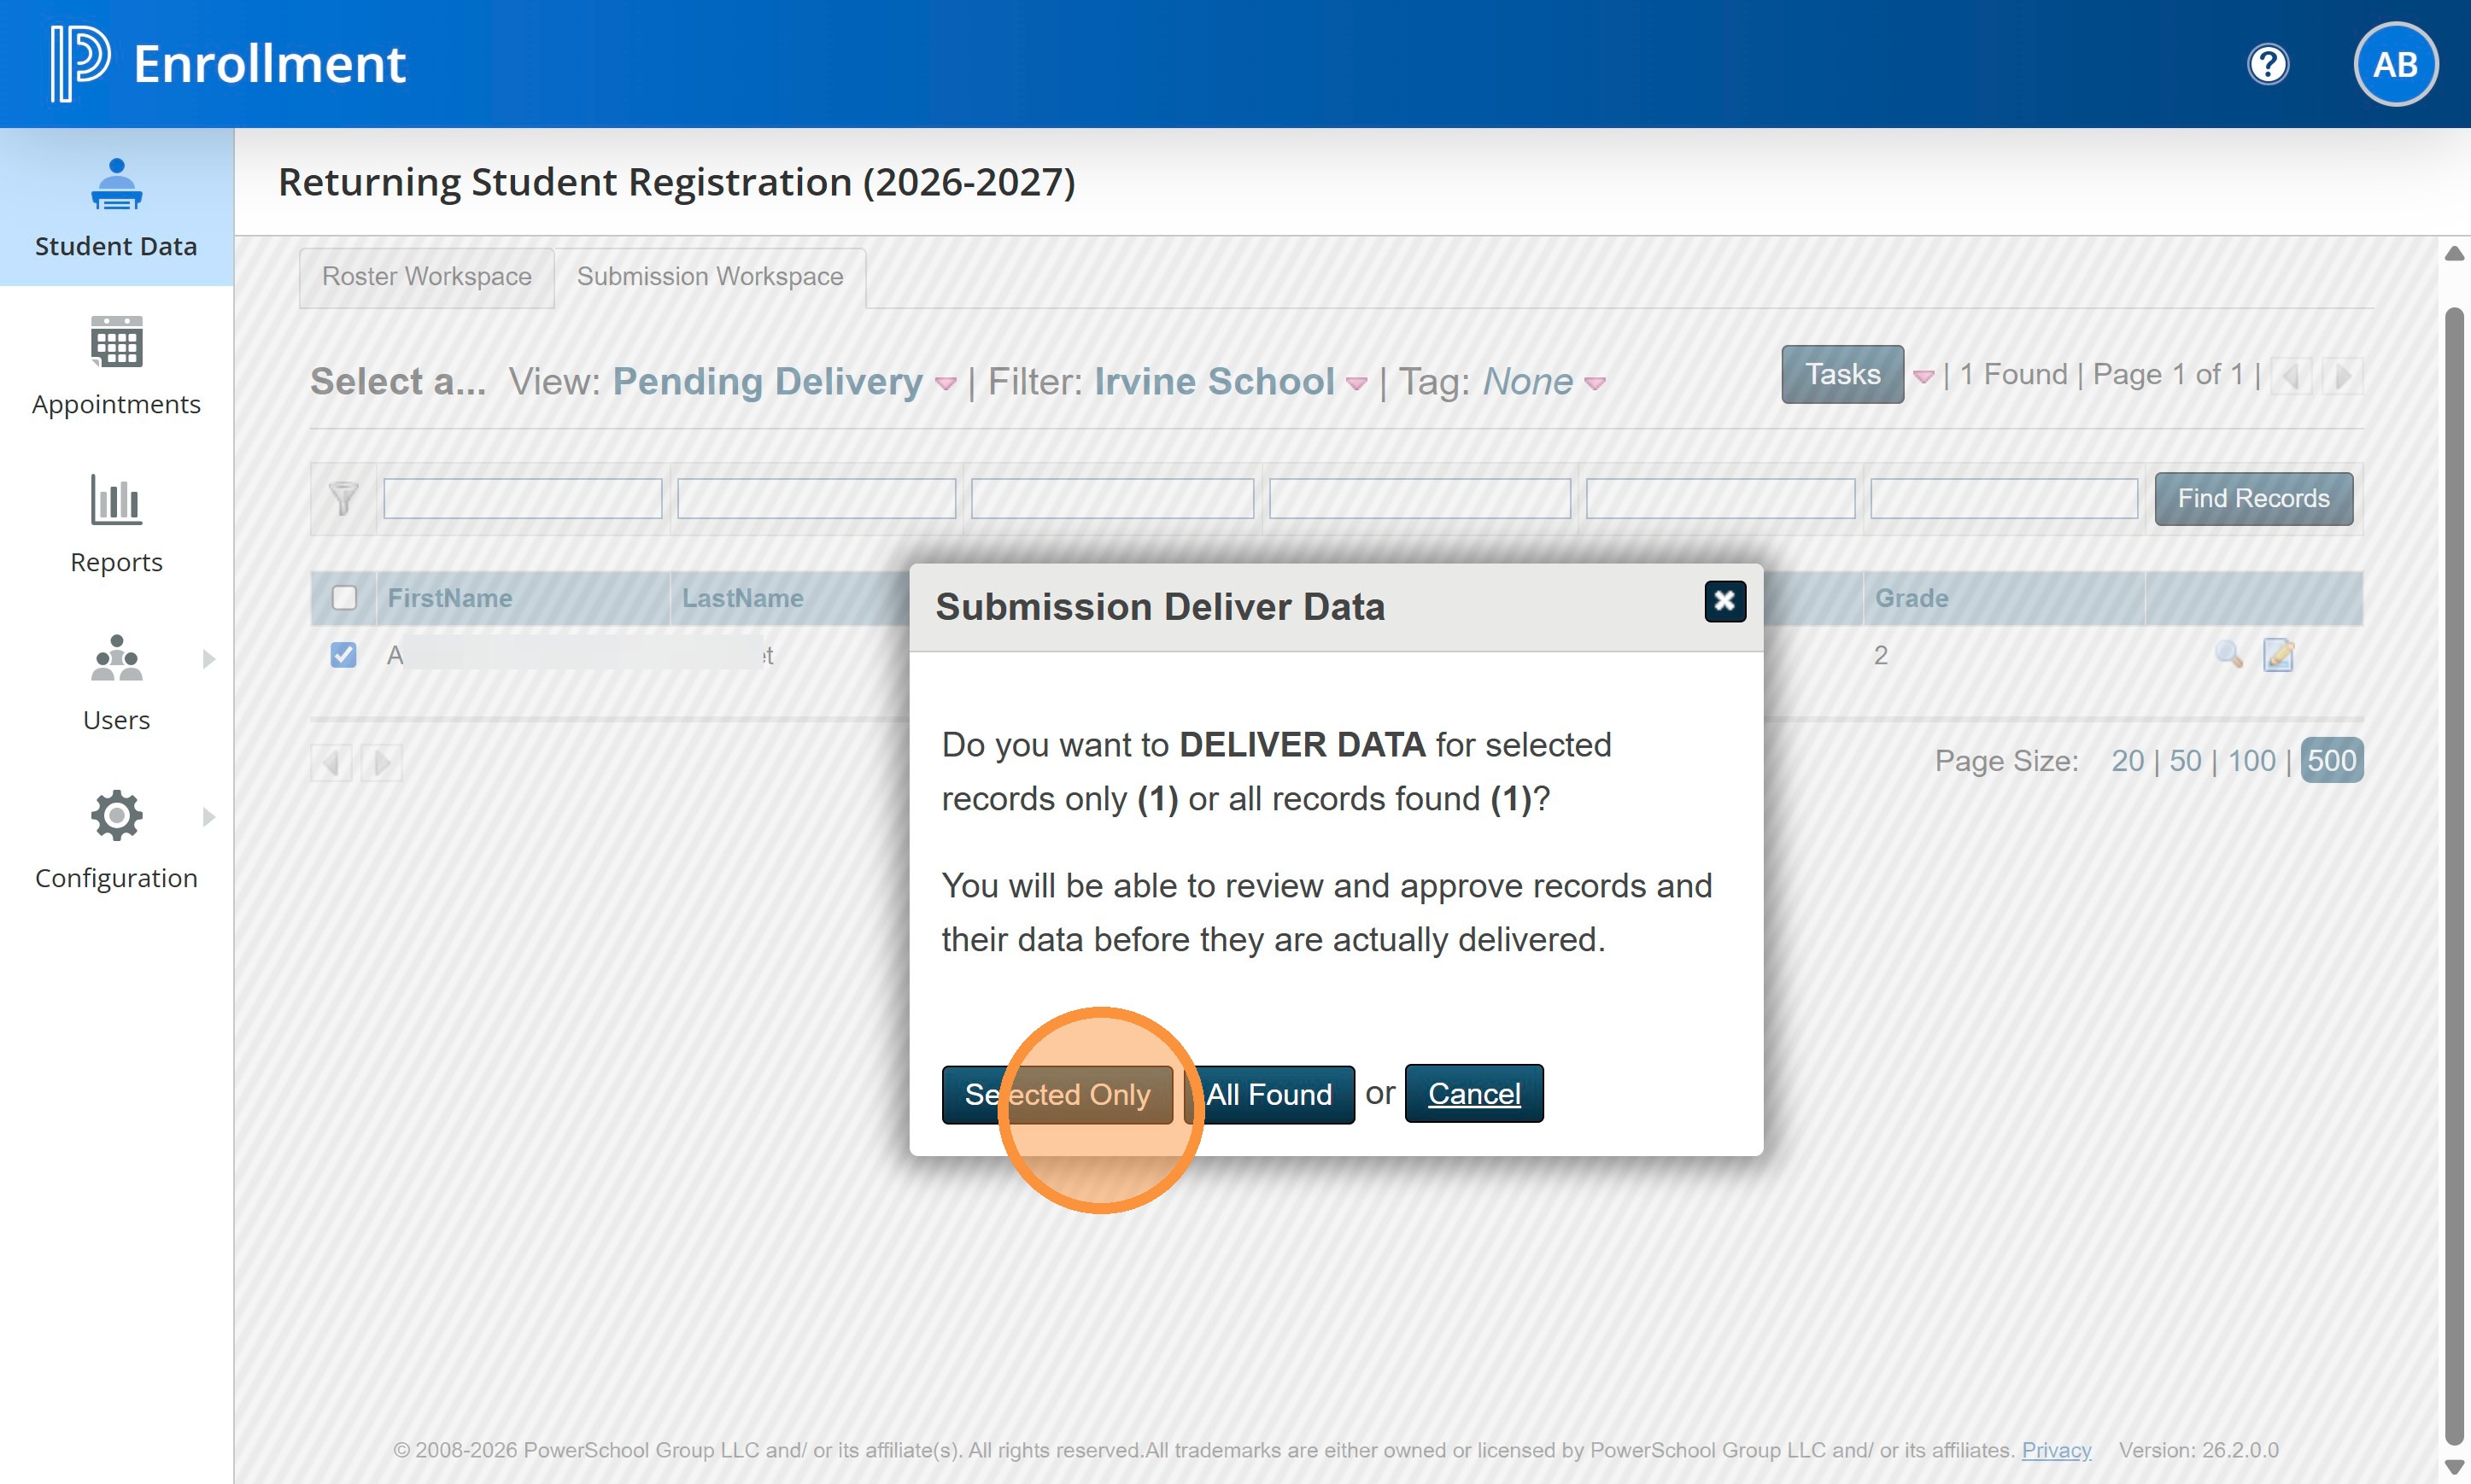
18. You can deliver a single student or run a group of students at one time. In this instance I checked the single student I want to deliver. After you do that, click on Tasks and choose Deliver Data.
19. Click "Deliver Data"
20. Choose Selected Only to just deliver the one student you selected.
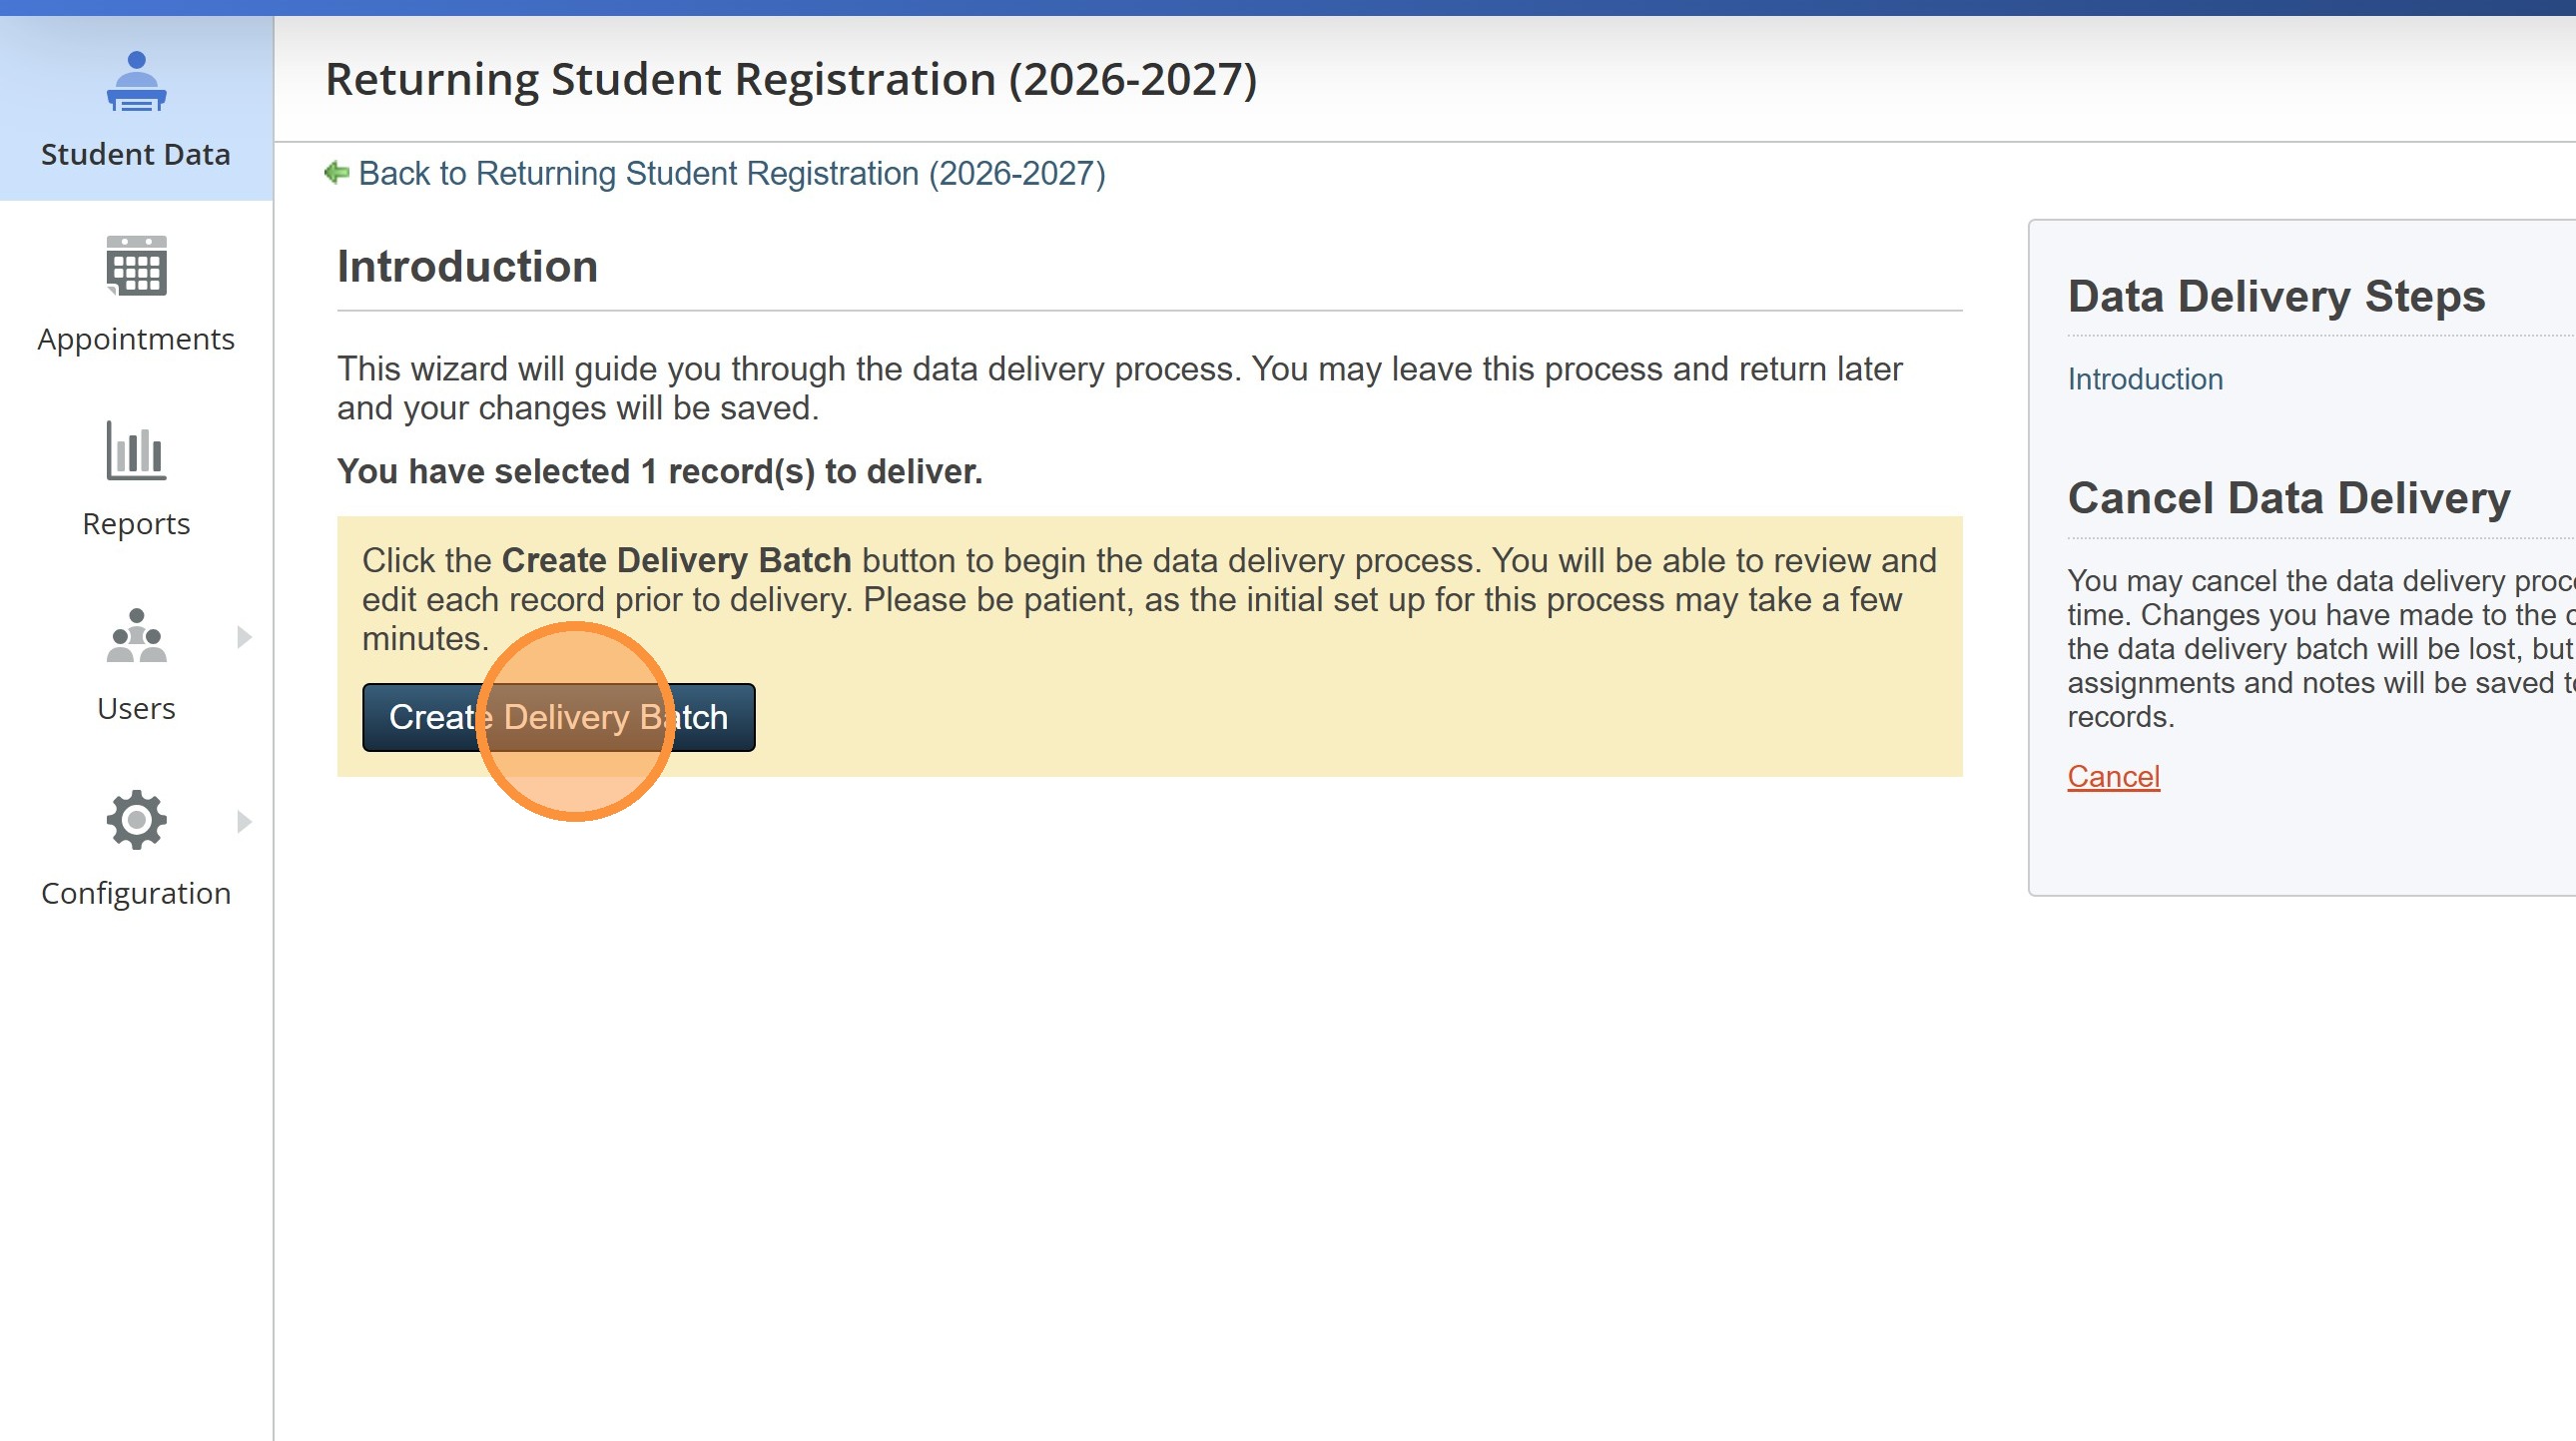
21. Create a Delivery Batch.
22. Once the Batch has processed, click Close.

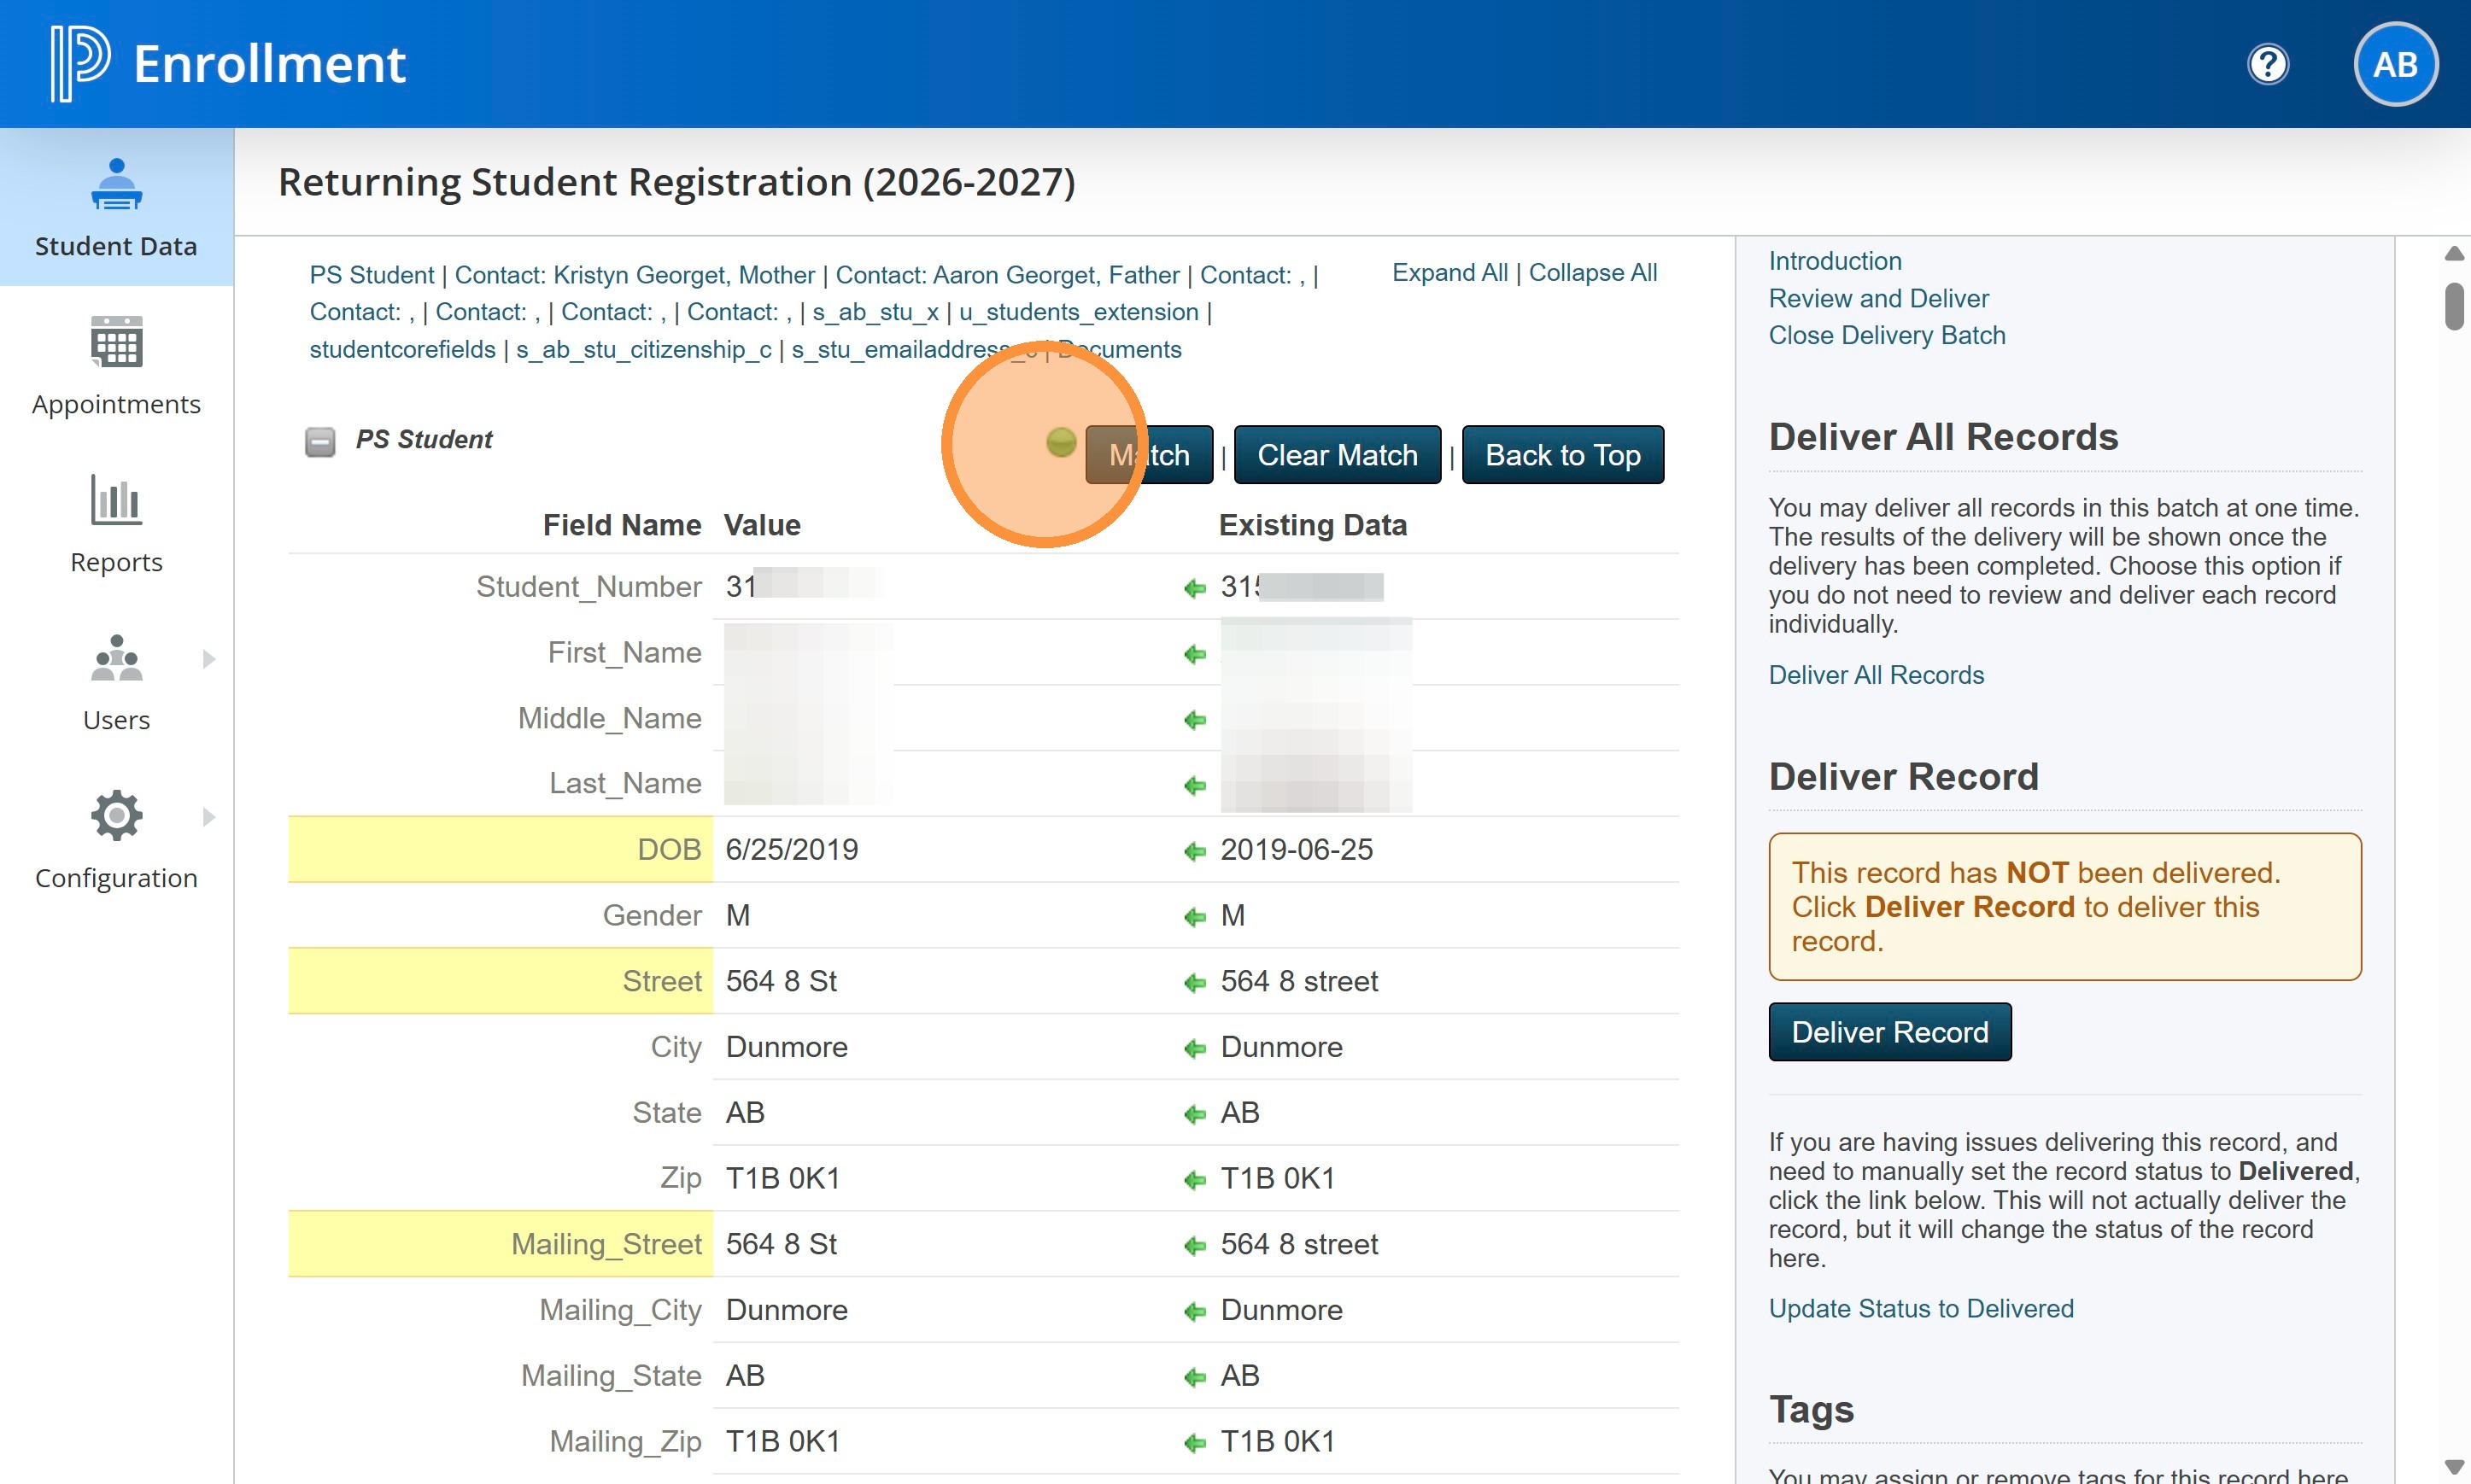
23. As you review the student for Delivery, you will want to pay attention to the lights beside the Match sections. In this case, the student was matched with one in SIS.
On the left you will see what is on the form from the parent filled out or changed. On the right is what is currently in the SIS.
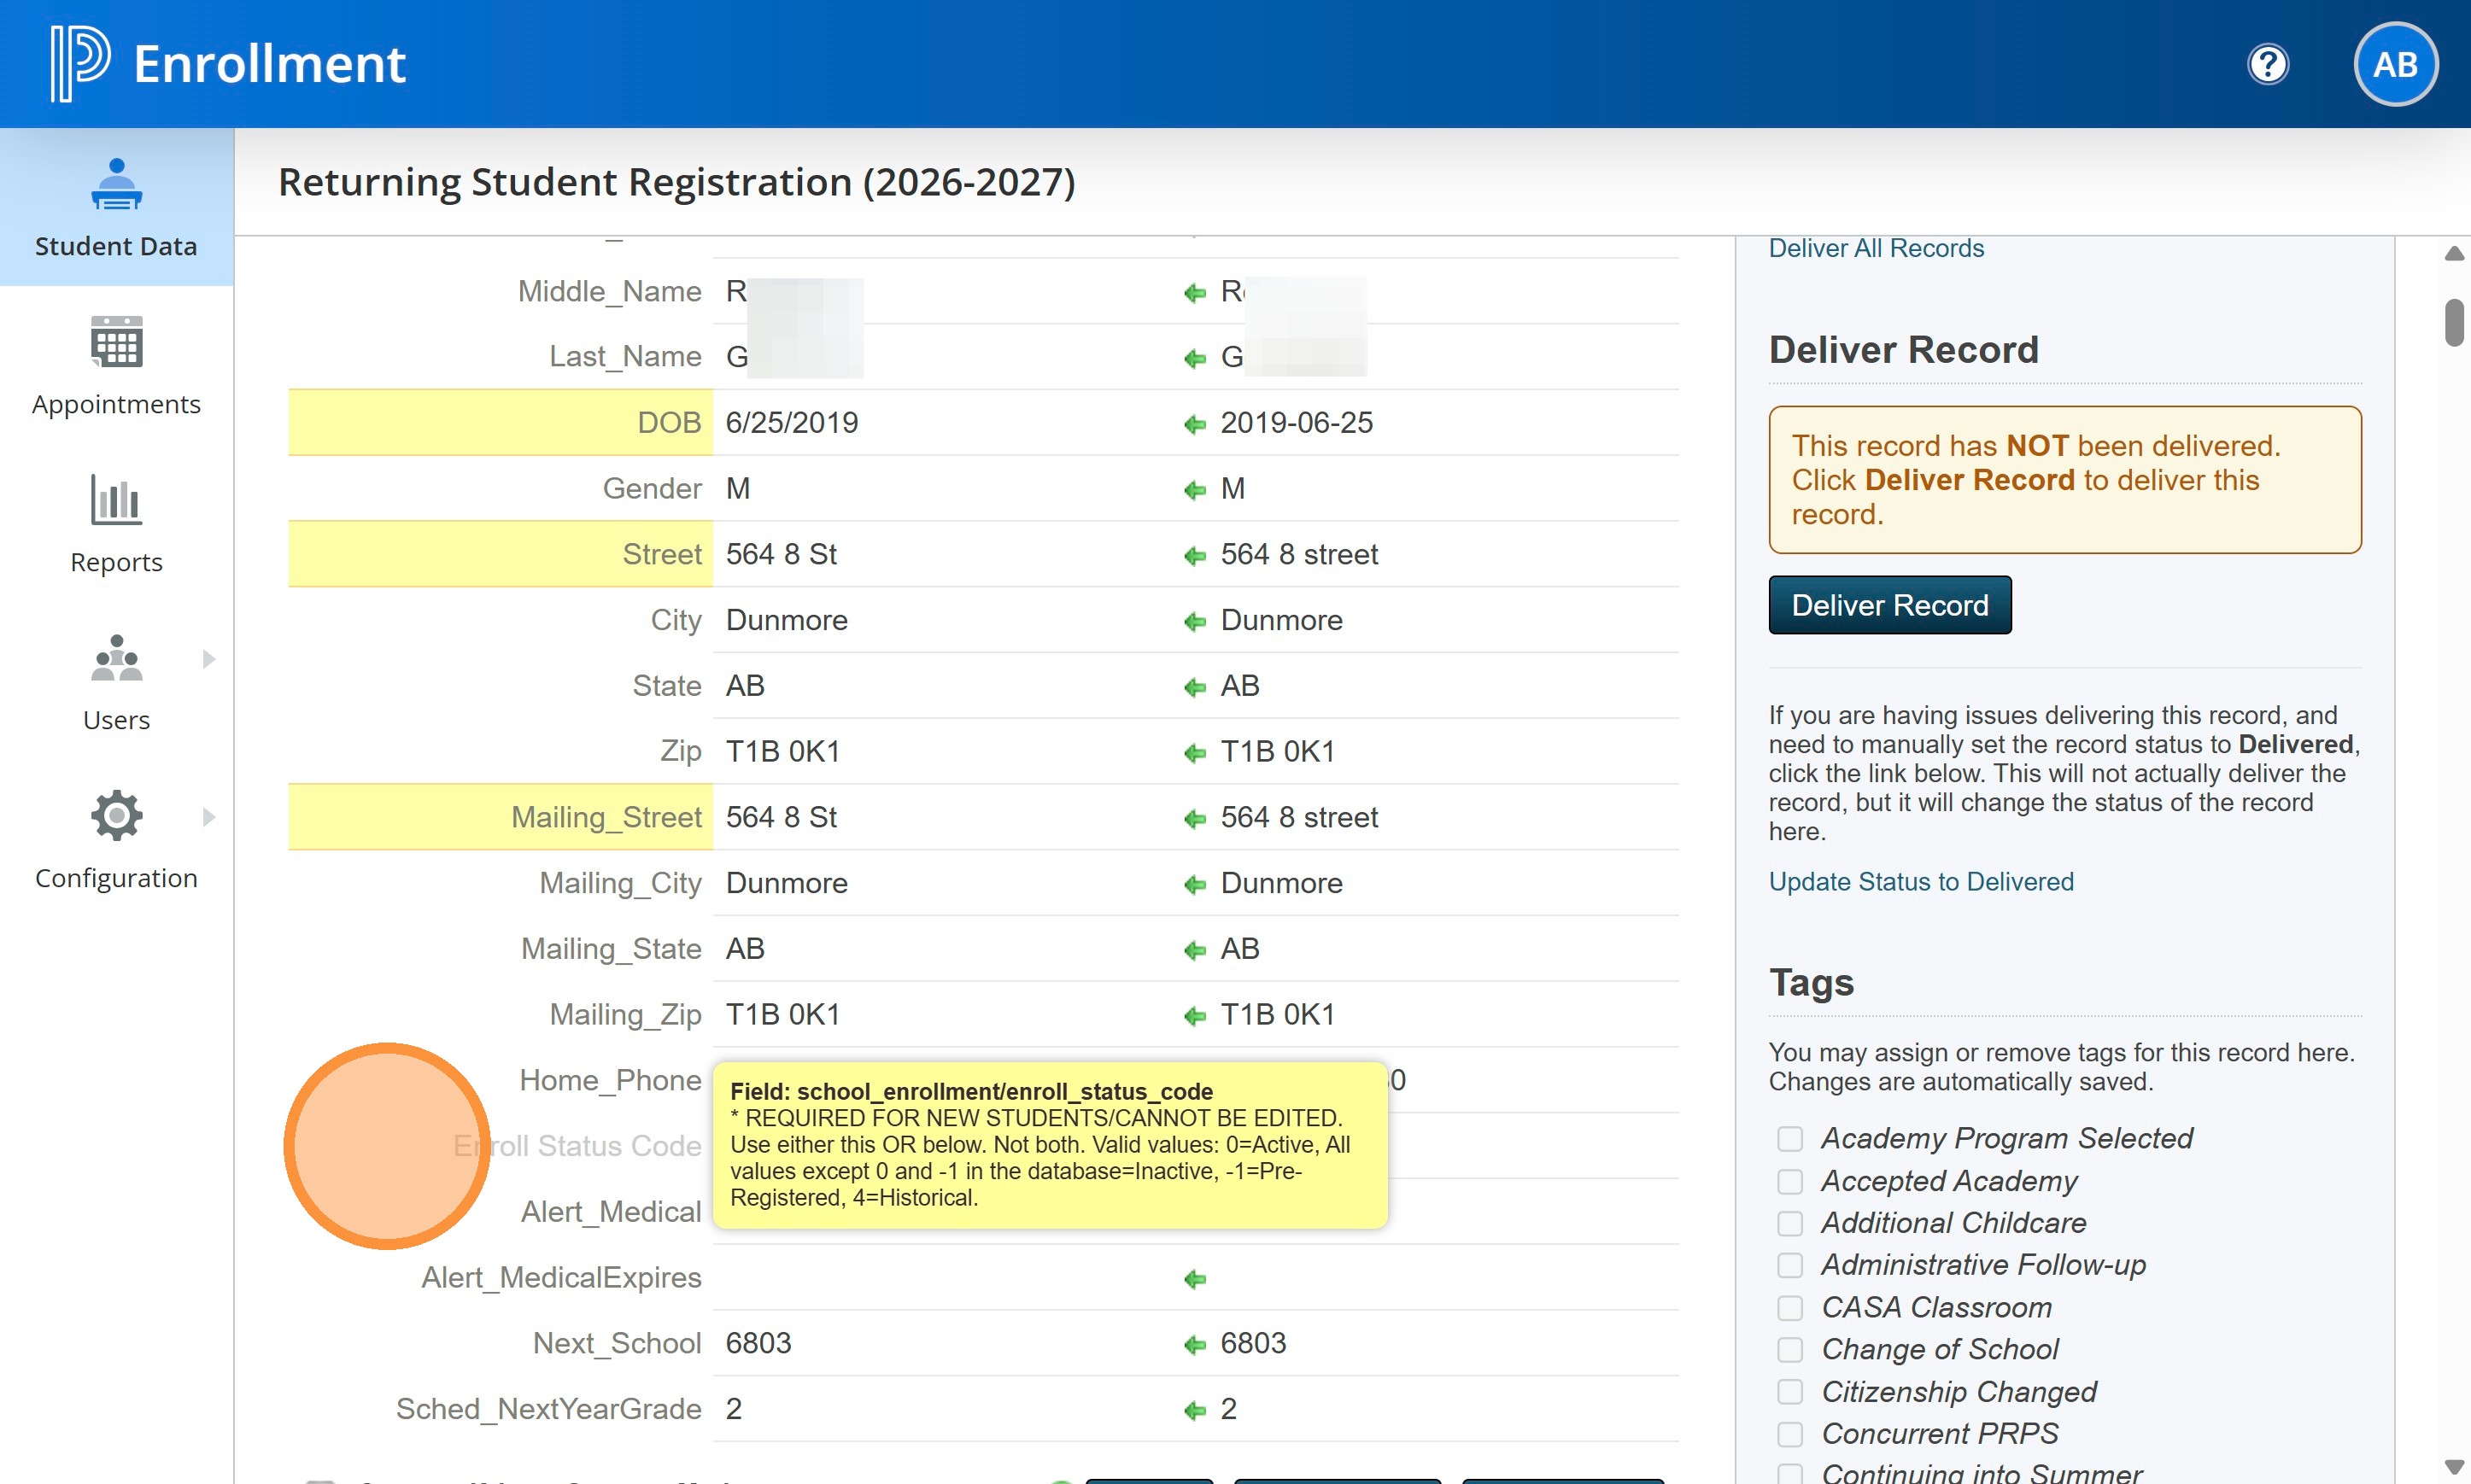
24. The form should default to Enroll Status Code 0. As these students are active, confirm it is set to 0.
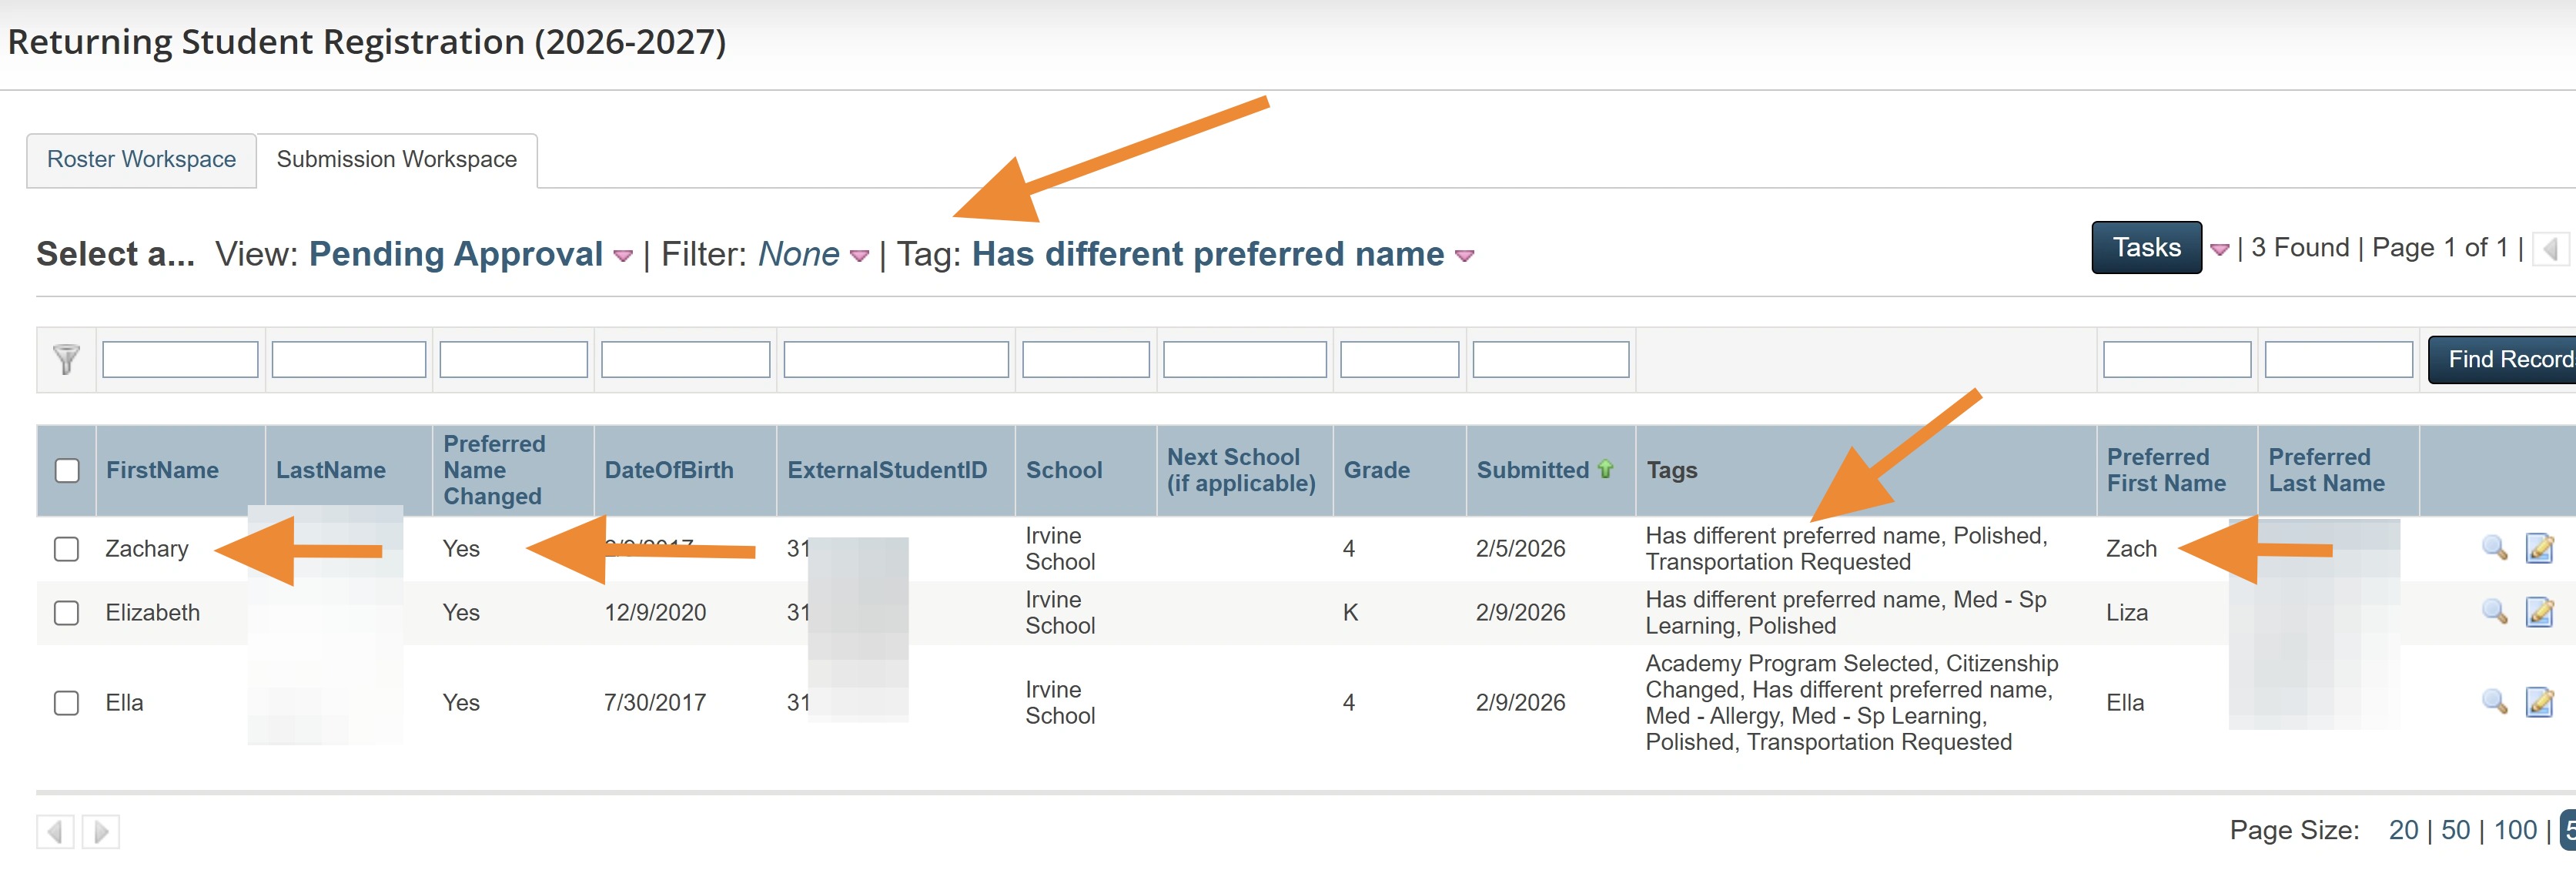
25. A side note about students with Preferred names.
Apparently the system cannot writeover a name in the SIS once the student has been delivered the first time. We have created a TAG and a column that will allow you to filter by students who have different Preferred Names to their Legal Name. Unfortunately at this time, we cannot write those back to SIS. This will be something you will need to watch for on your Returning Forms and update manually in the SIS.
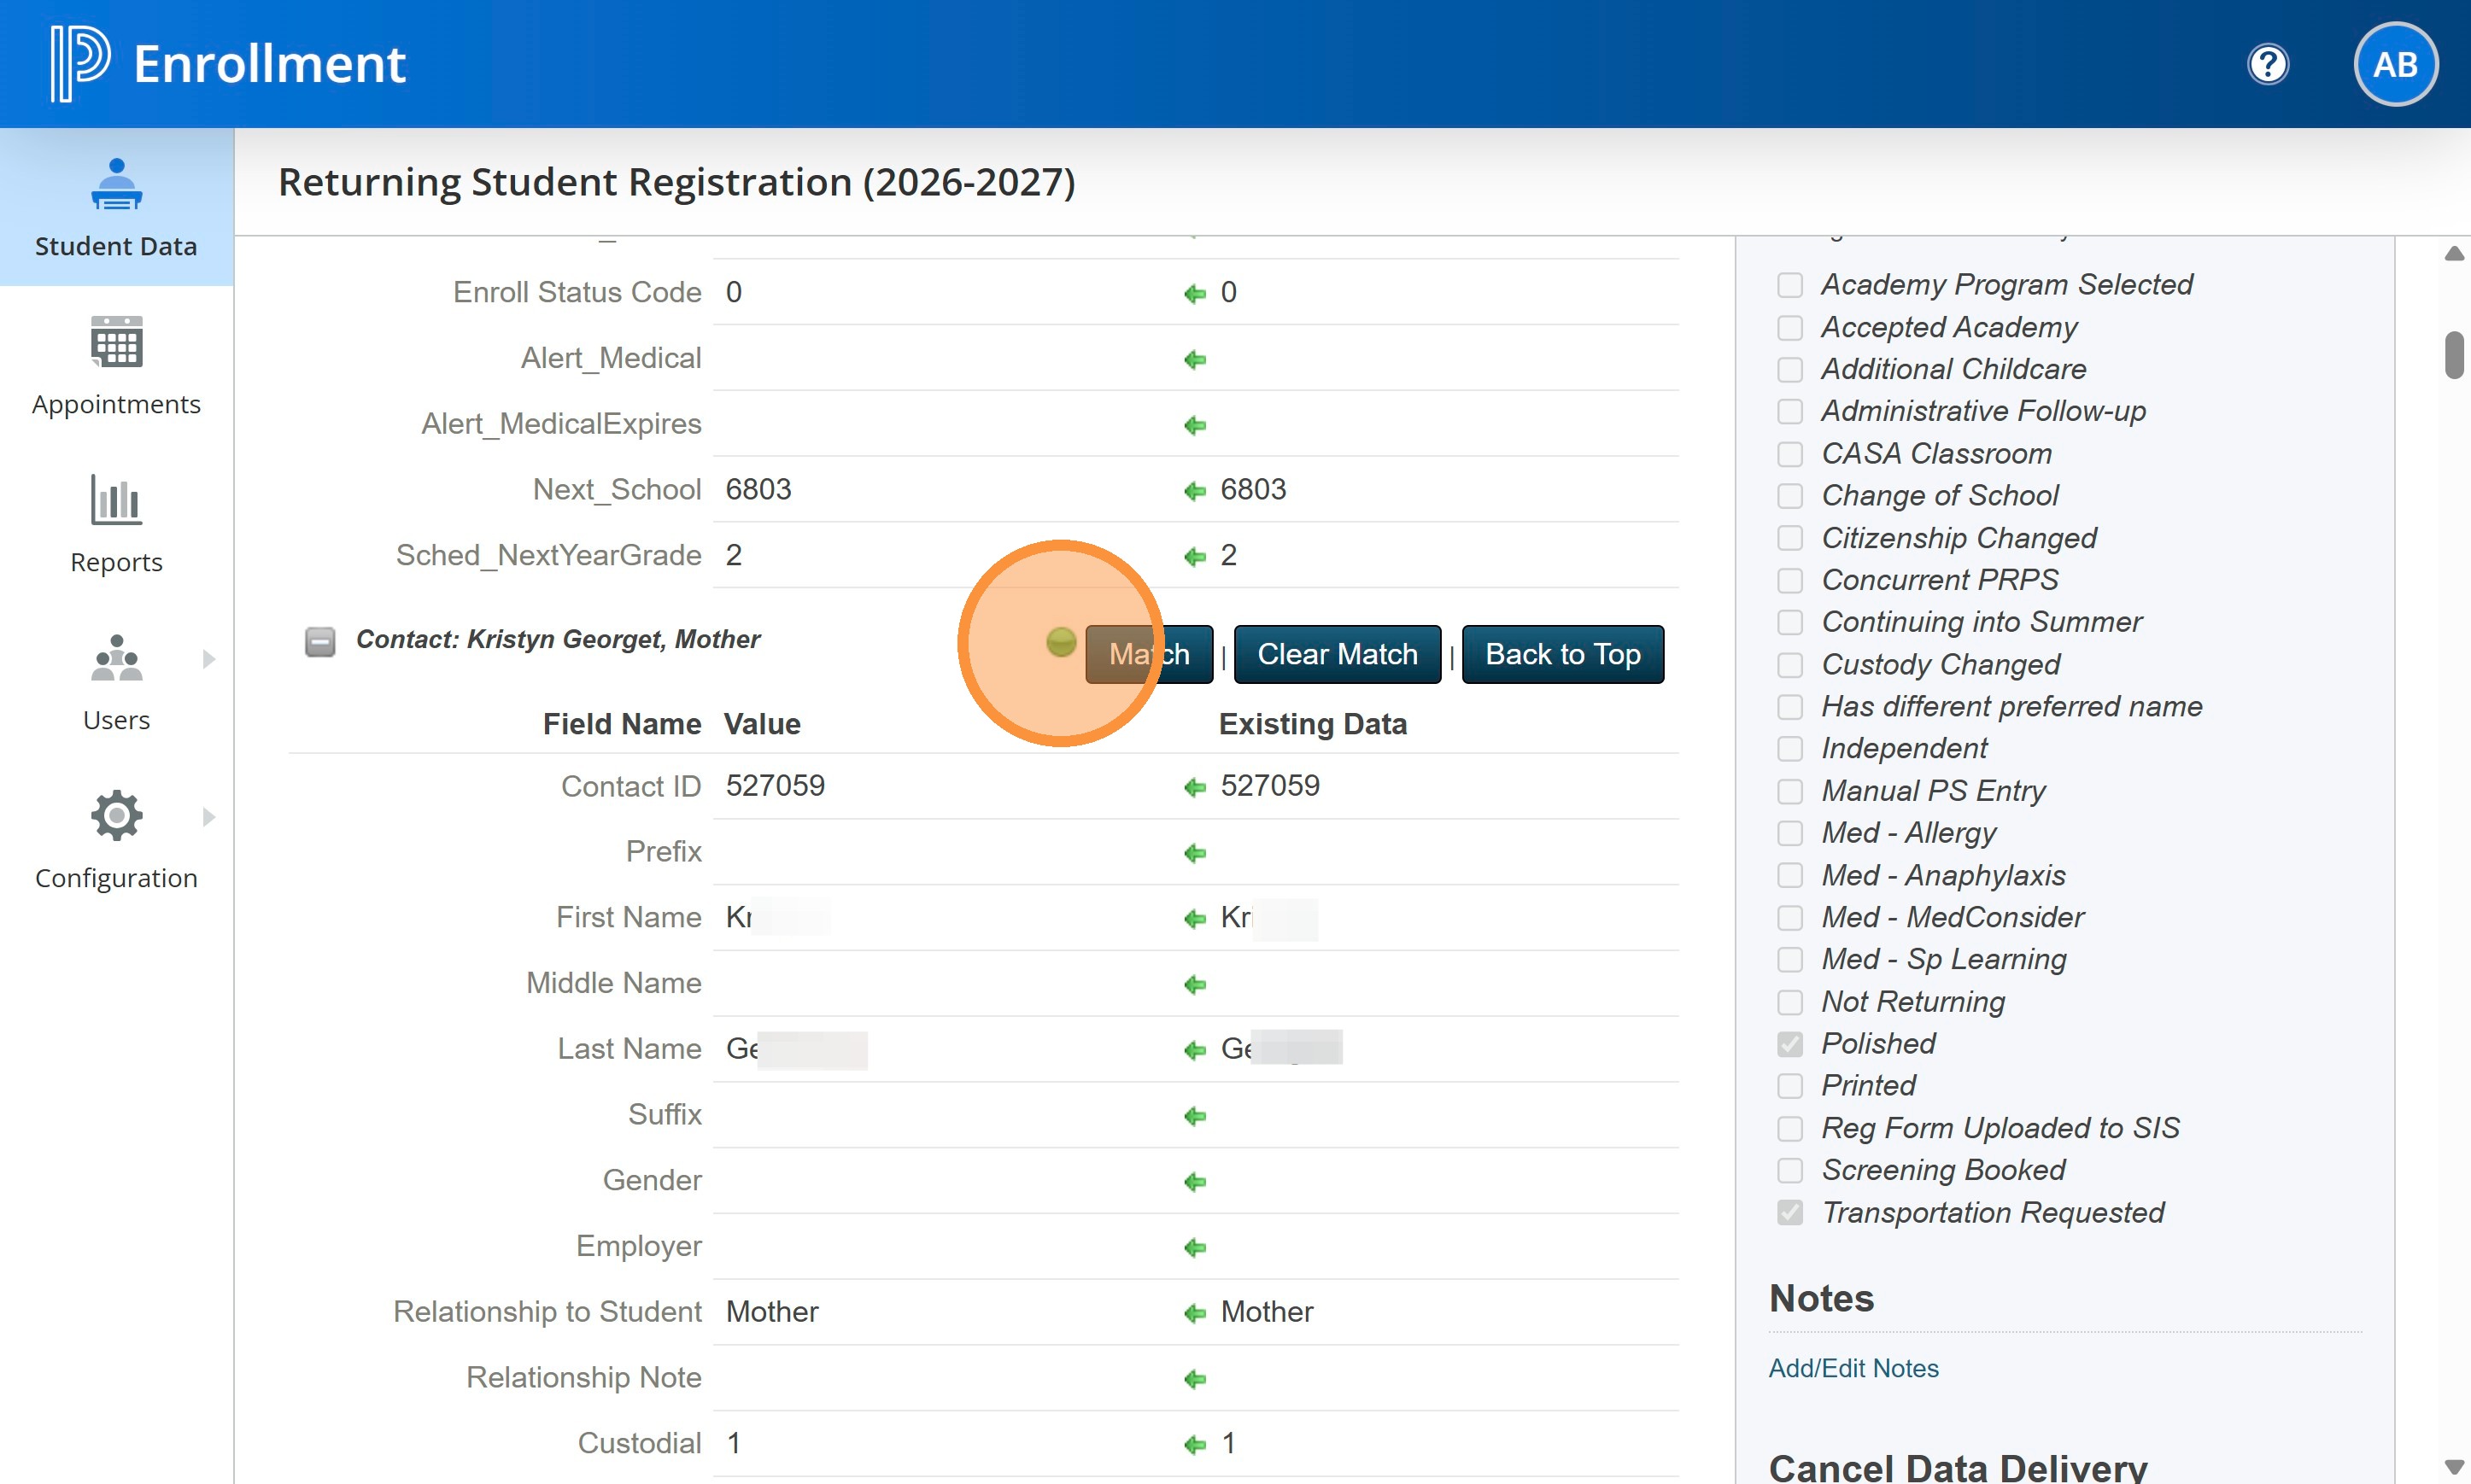
26. Watch your matches as you review the Contacts for the student. Sometimes we have parents with the same names or there have been duplicates created in the SIS. Parents who have provided the same phone or email for dad and mom will also show issues. If you need to review a Match (not green but a yellow circle), you can click on the Match button to try and match your parent with another contact.
If you aren't 100% sure, feel free to reach out to Krista.
27. After you reach the end of the provided contacts, you can close the extra Contact sections to condense the form to the next section.

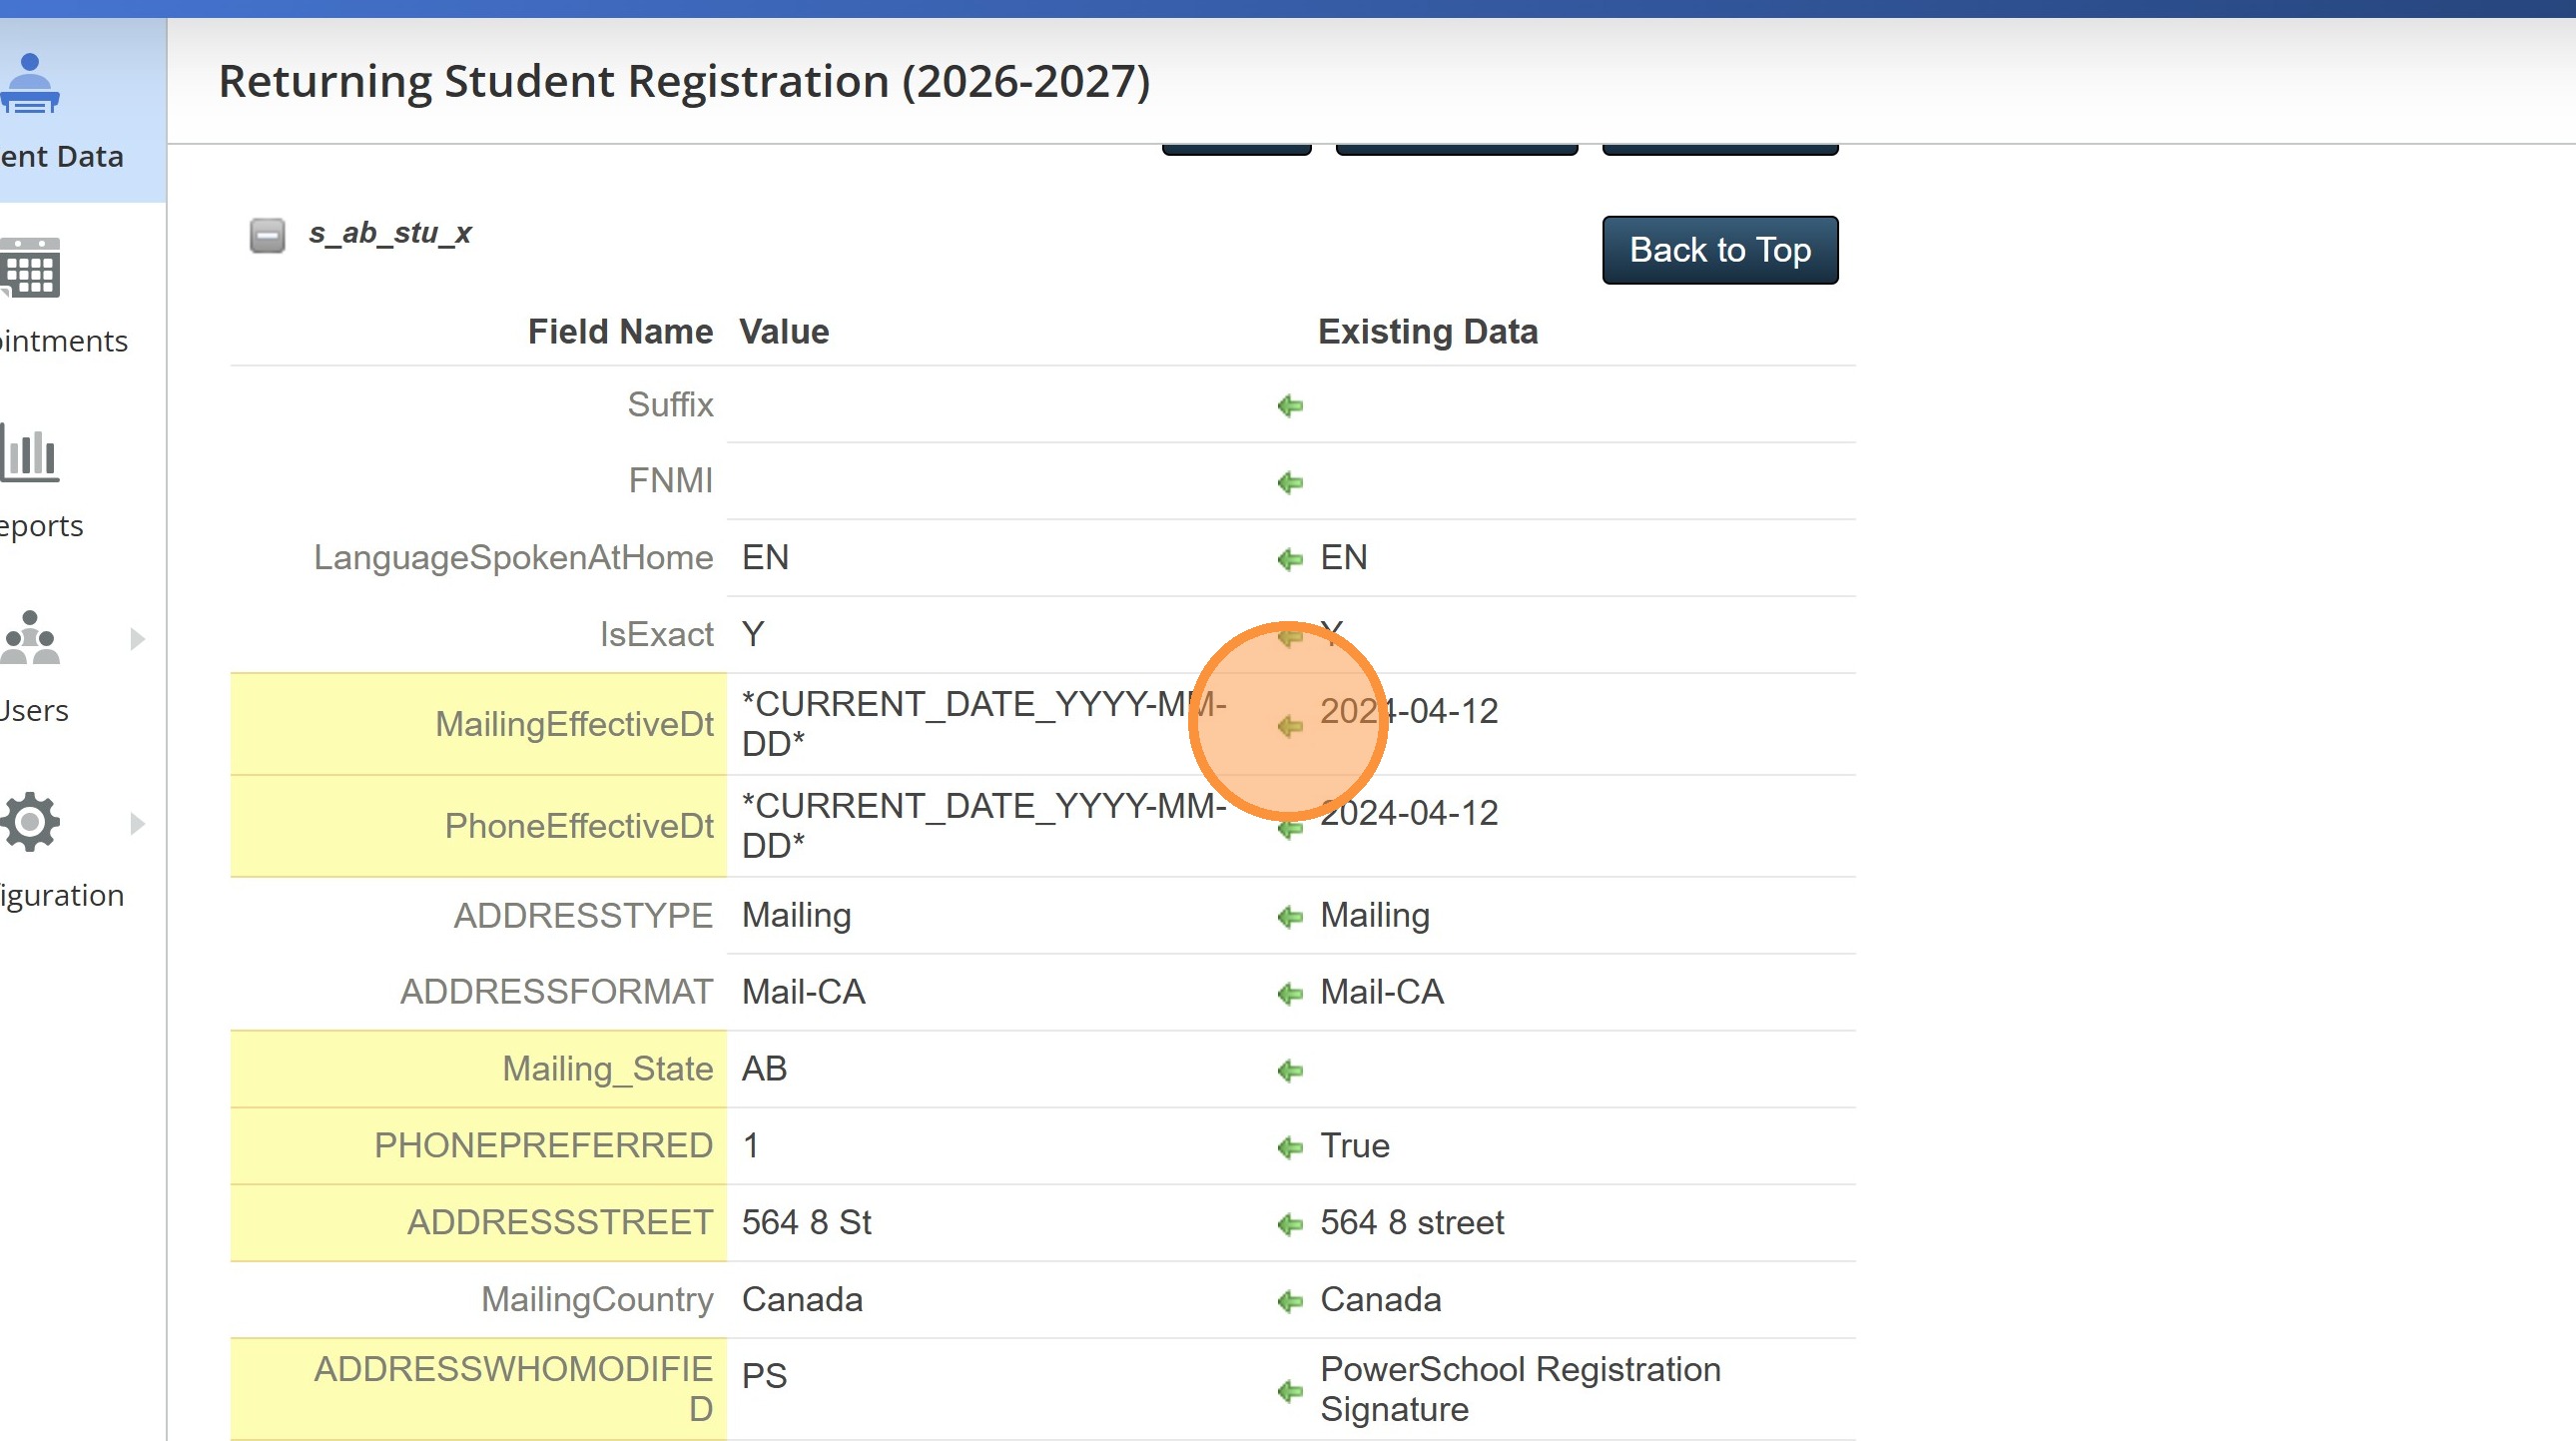
28. Move over the Existing Data dates for the Mailing and Phone effective dates in SIS. You can do this by clicking the green arrow.
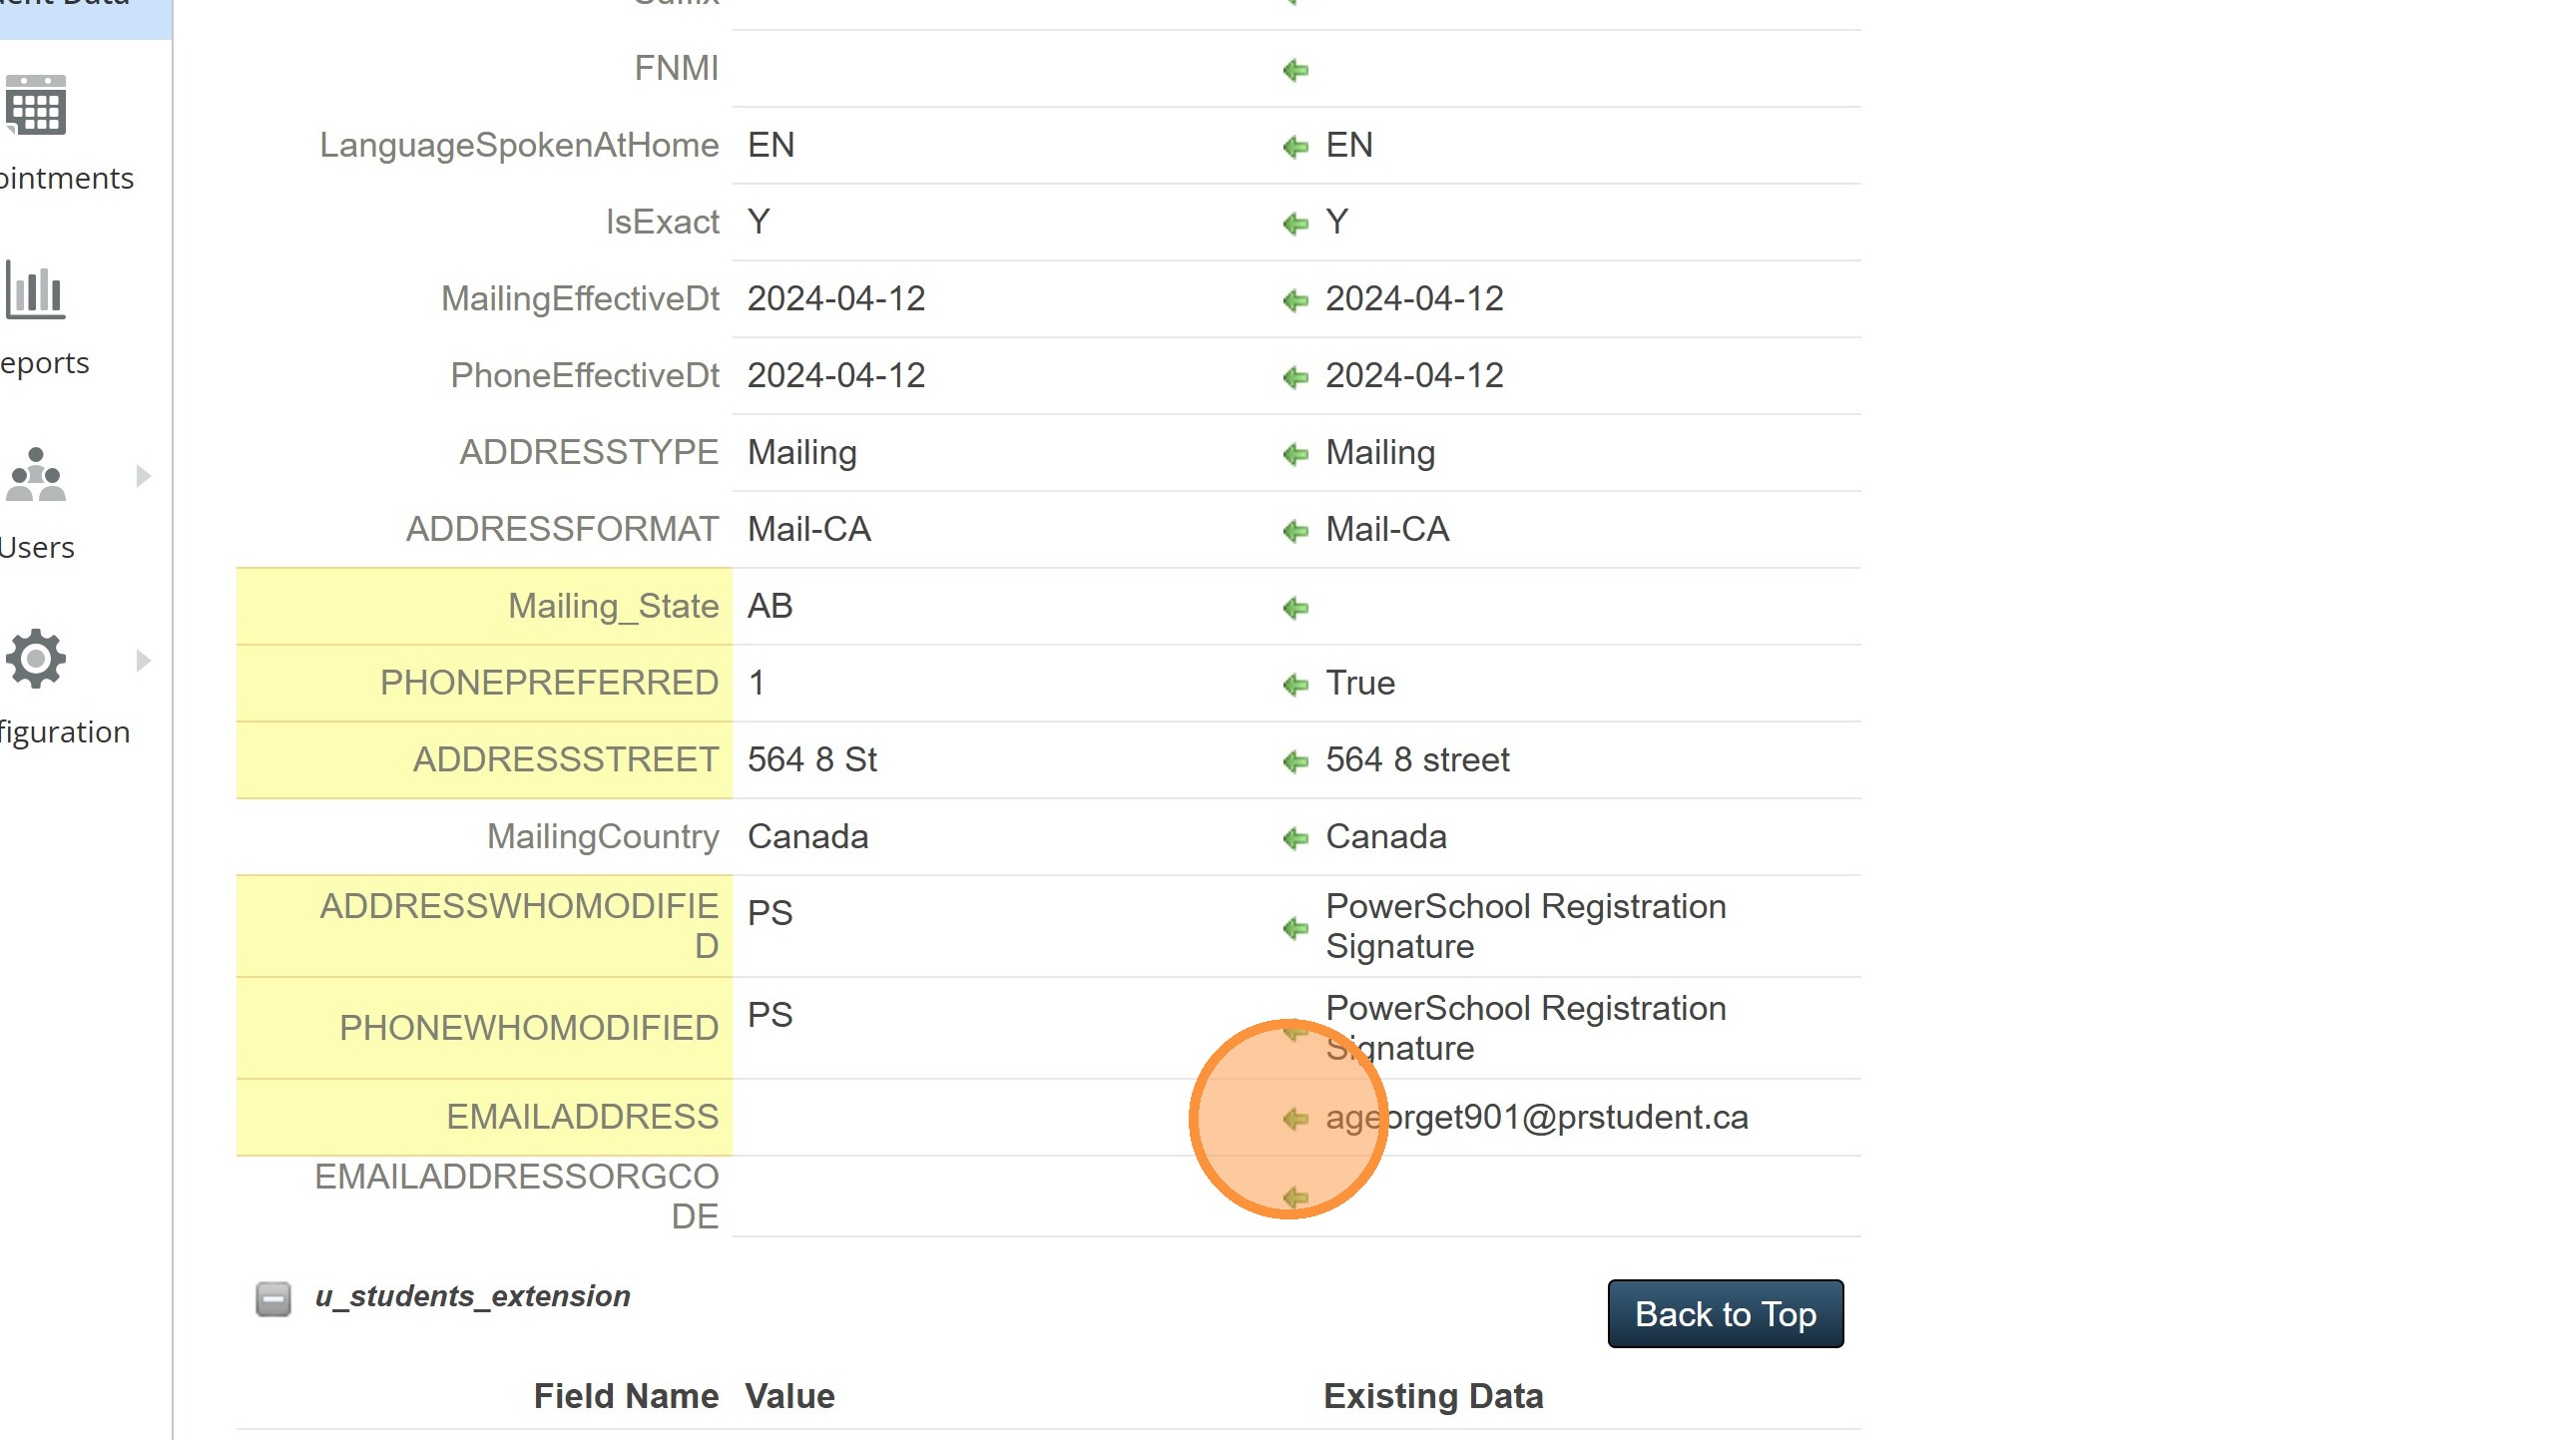
29. You can also move over the PRPS student email if there isn't another one provided by the parent.
30. After the Contacts section you will be able to cross reference other sections of the form including the new Agreements.
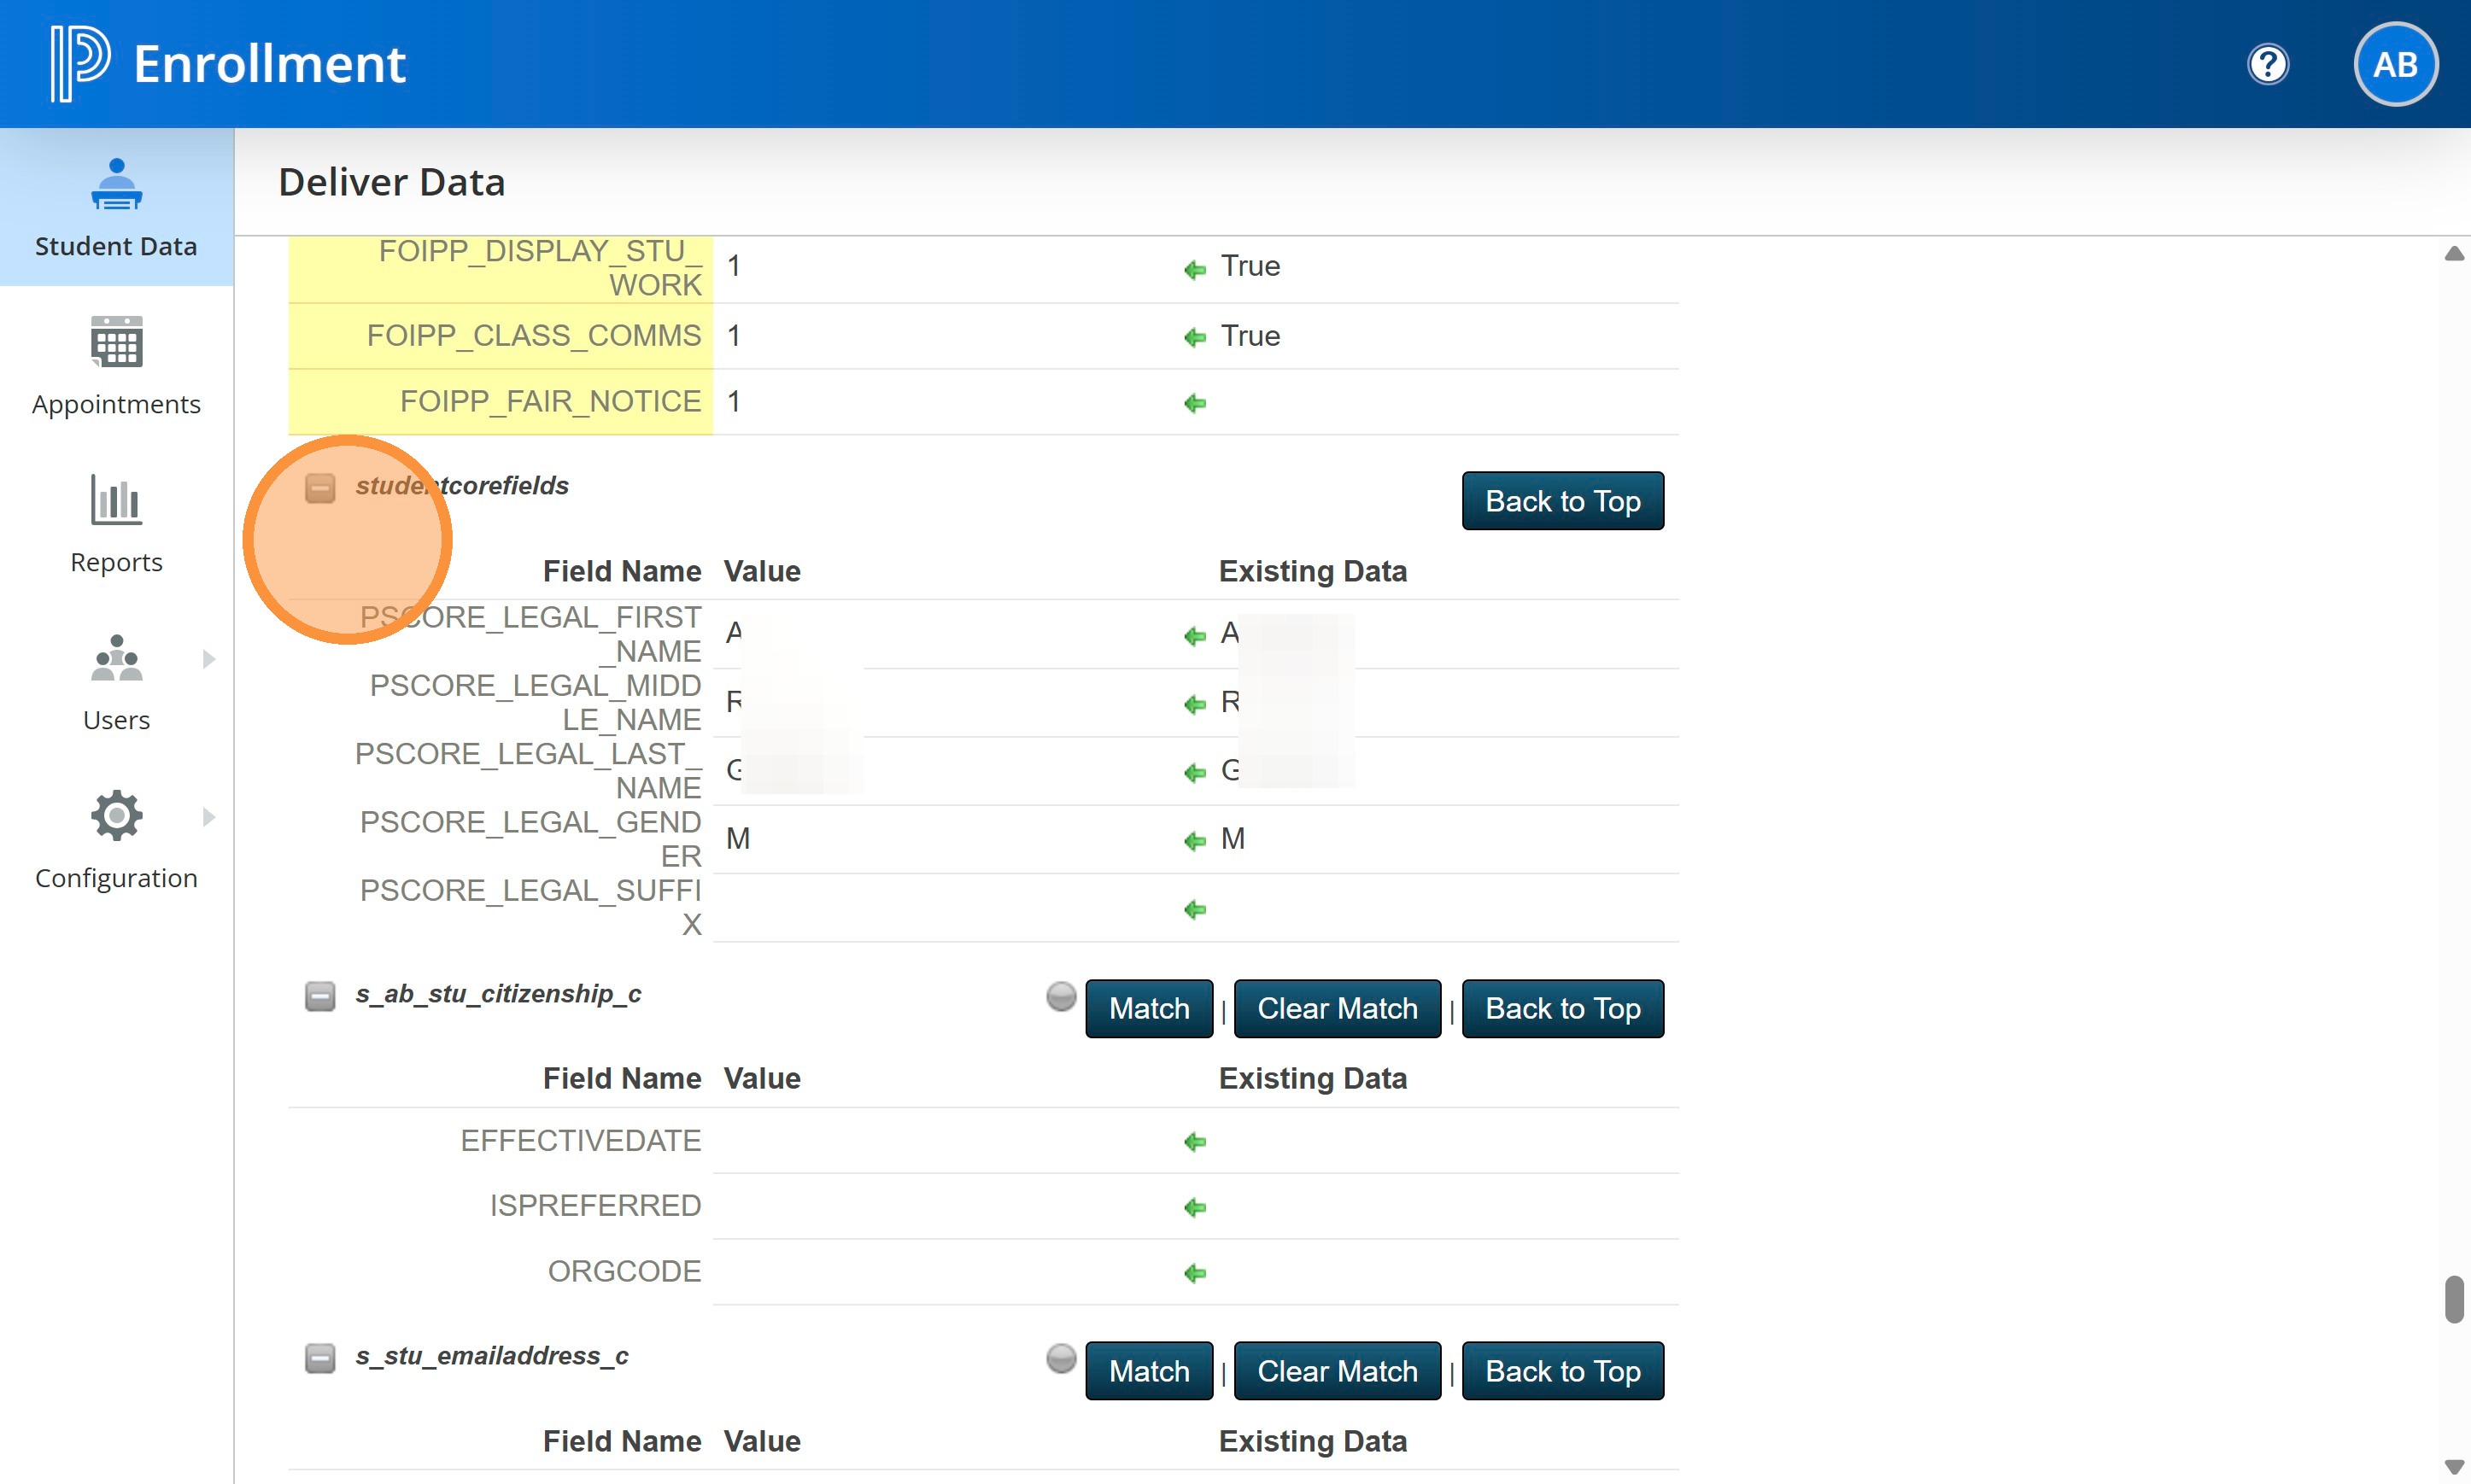
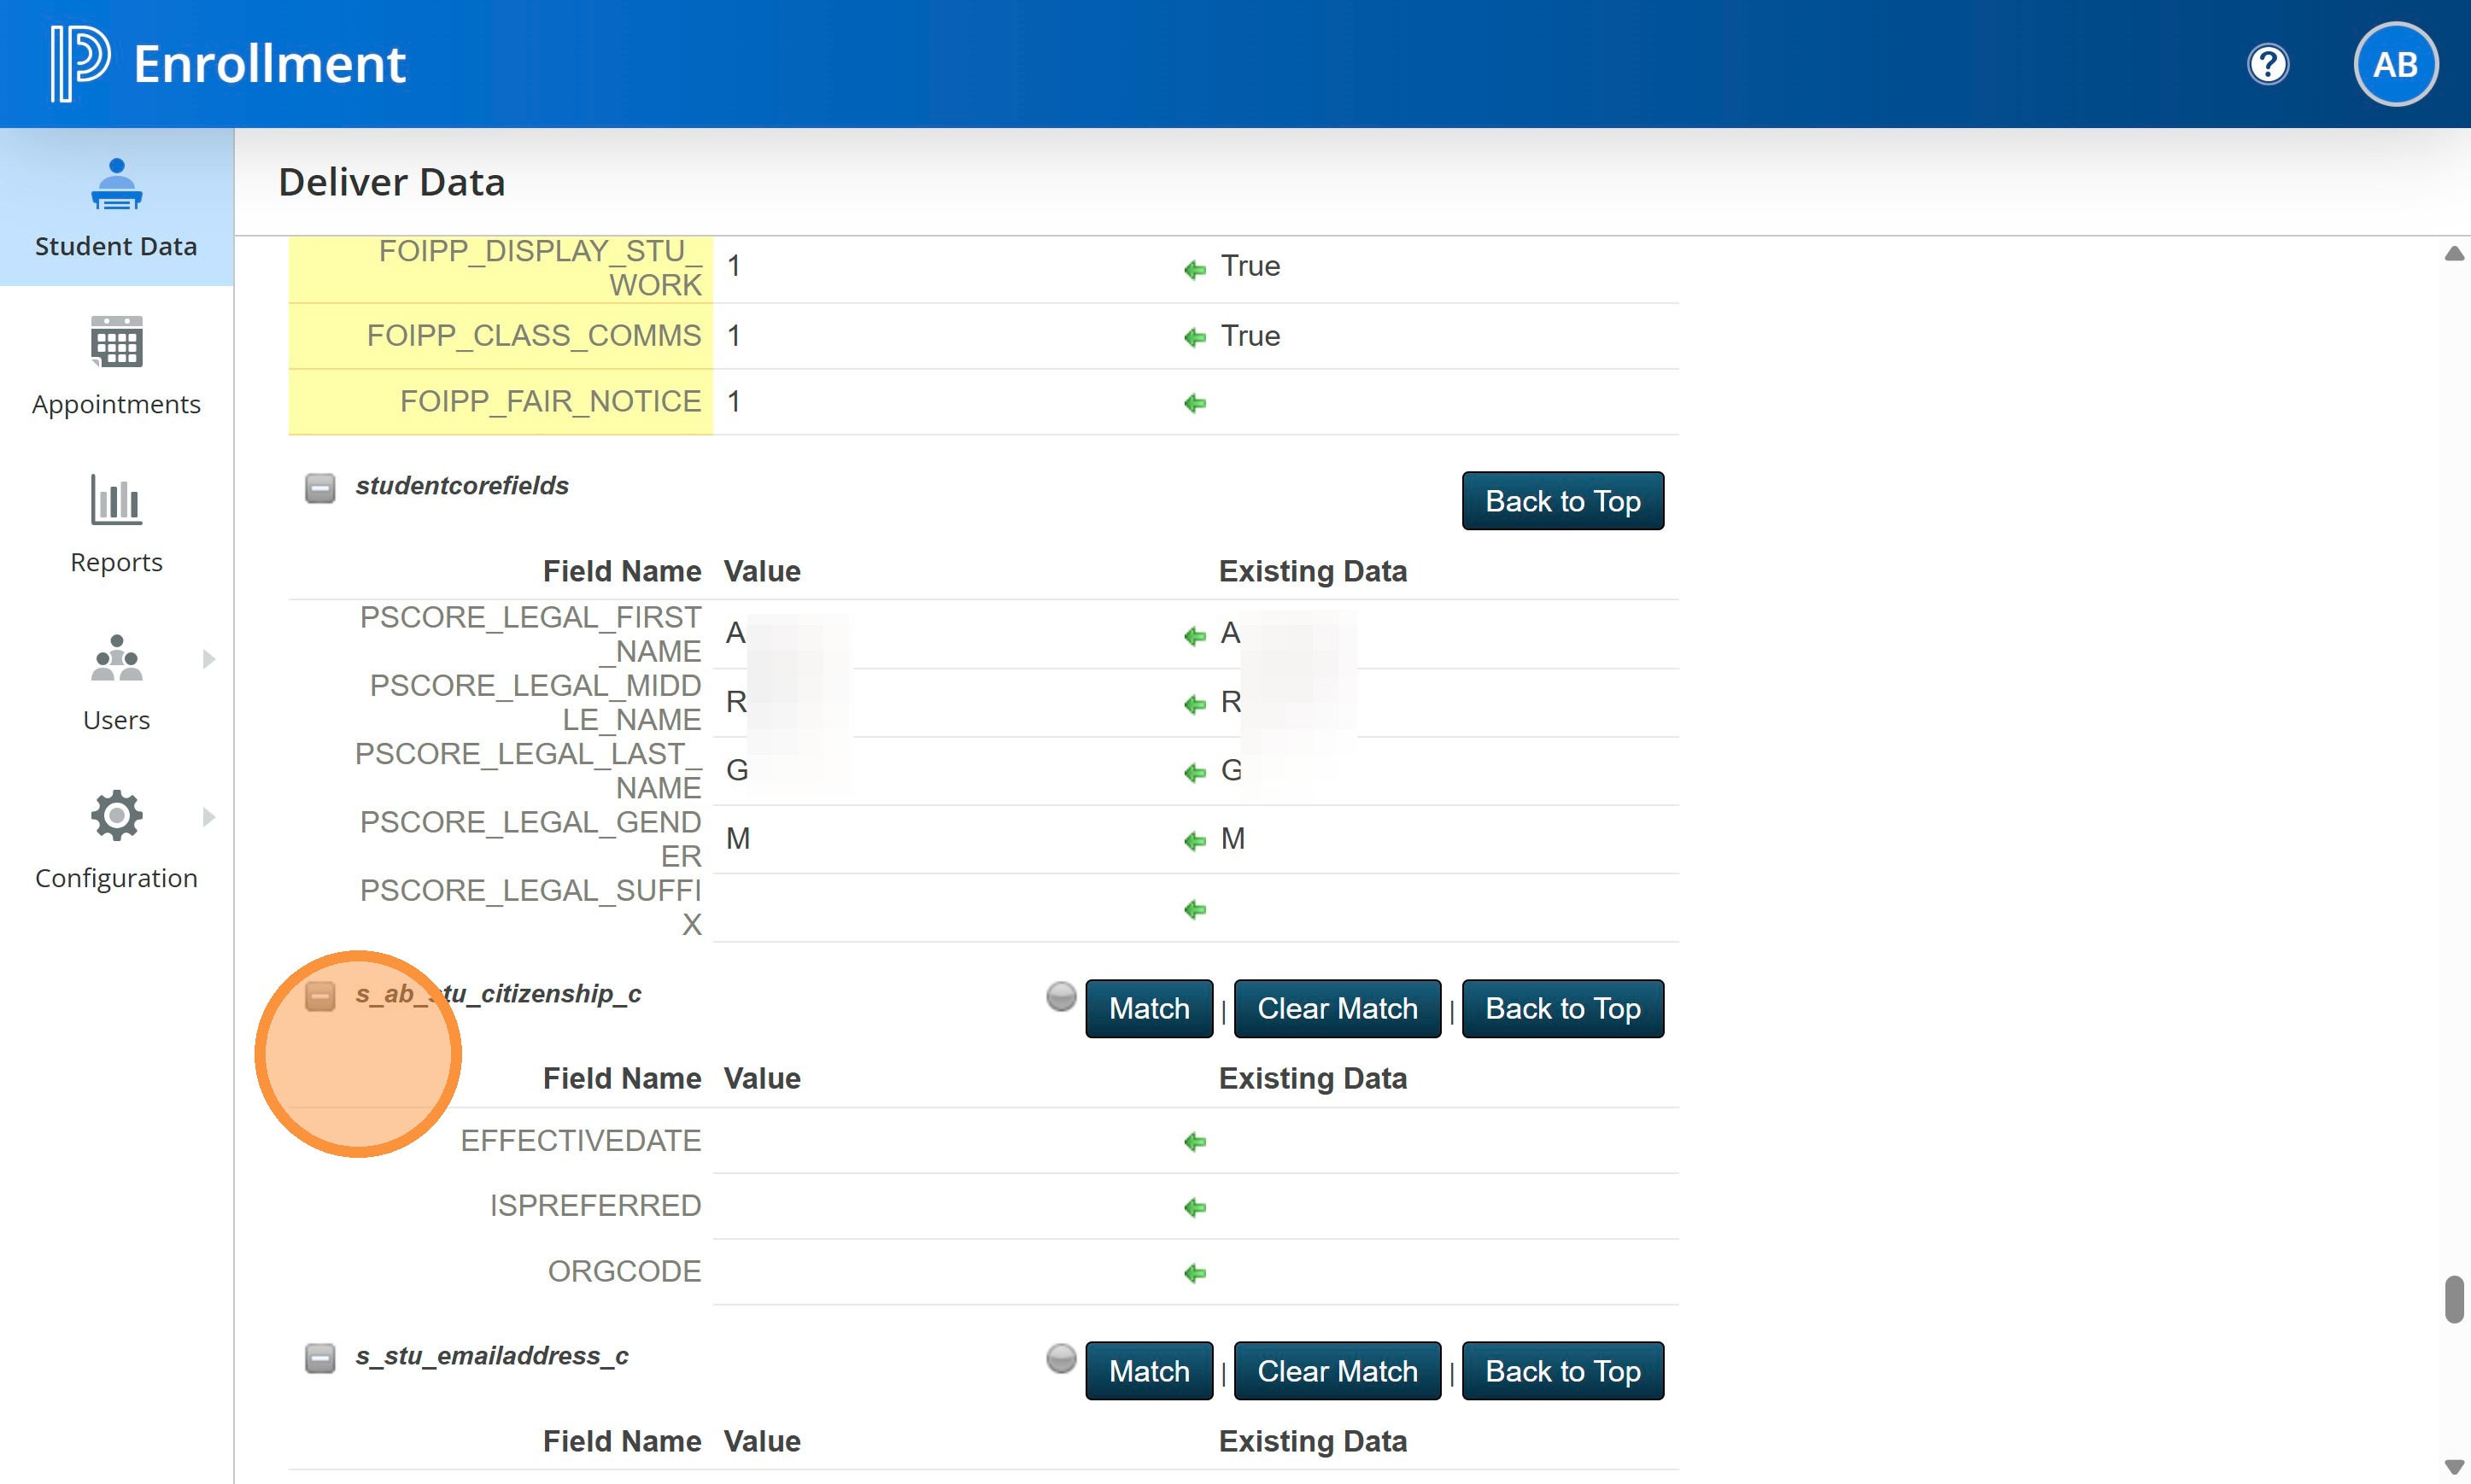
31. The Student Core fields.
32. Note: We removed the ability to deliver any new Citizenship flags to PS SIS. Most returning students won't have changes. If you do, this will need to be done manually in SIS. There is a TAG we created for those who answer No to the "Is the citizenship we have on file correct" question. This will help you identify those students easily.
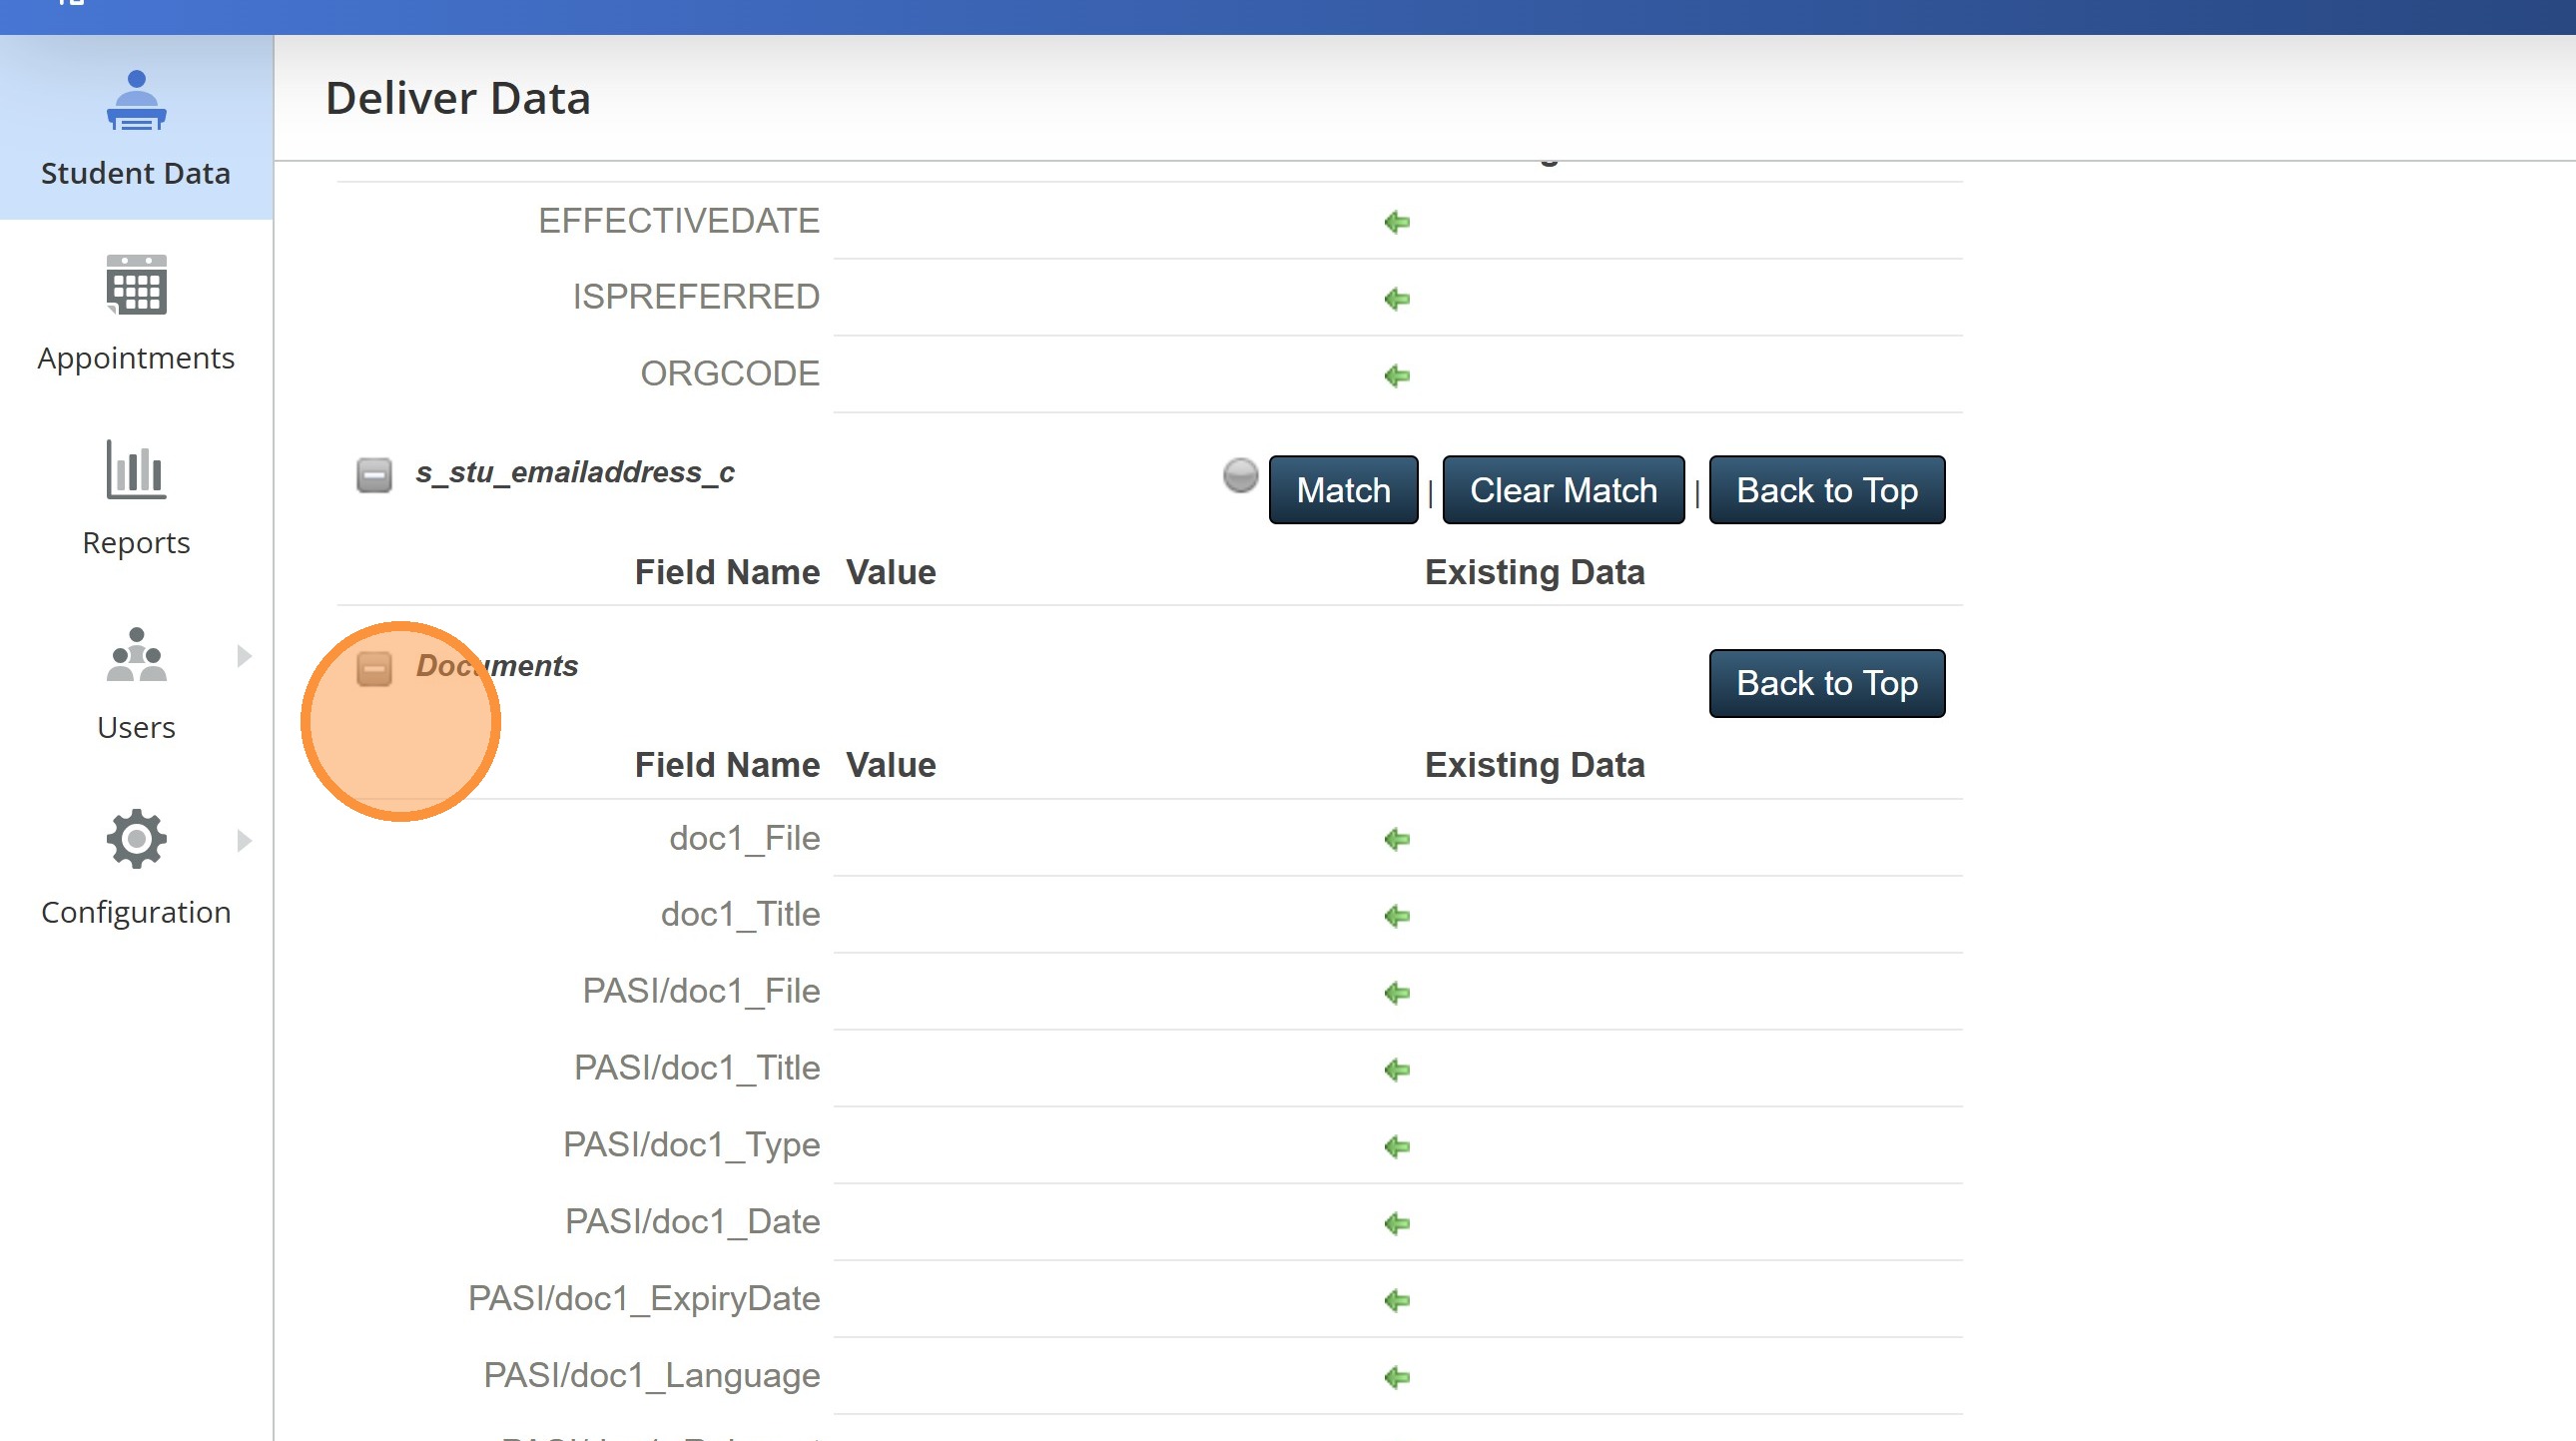
33. If the parent did upload new documents, you will see them listed here. Otherwise, this section will remain blank.
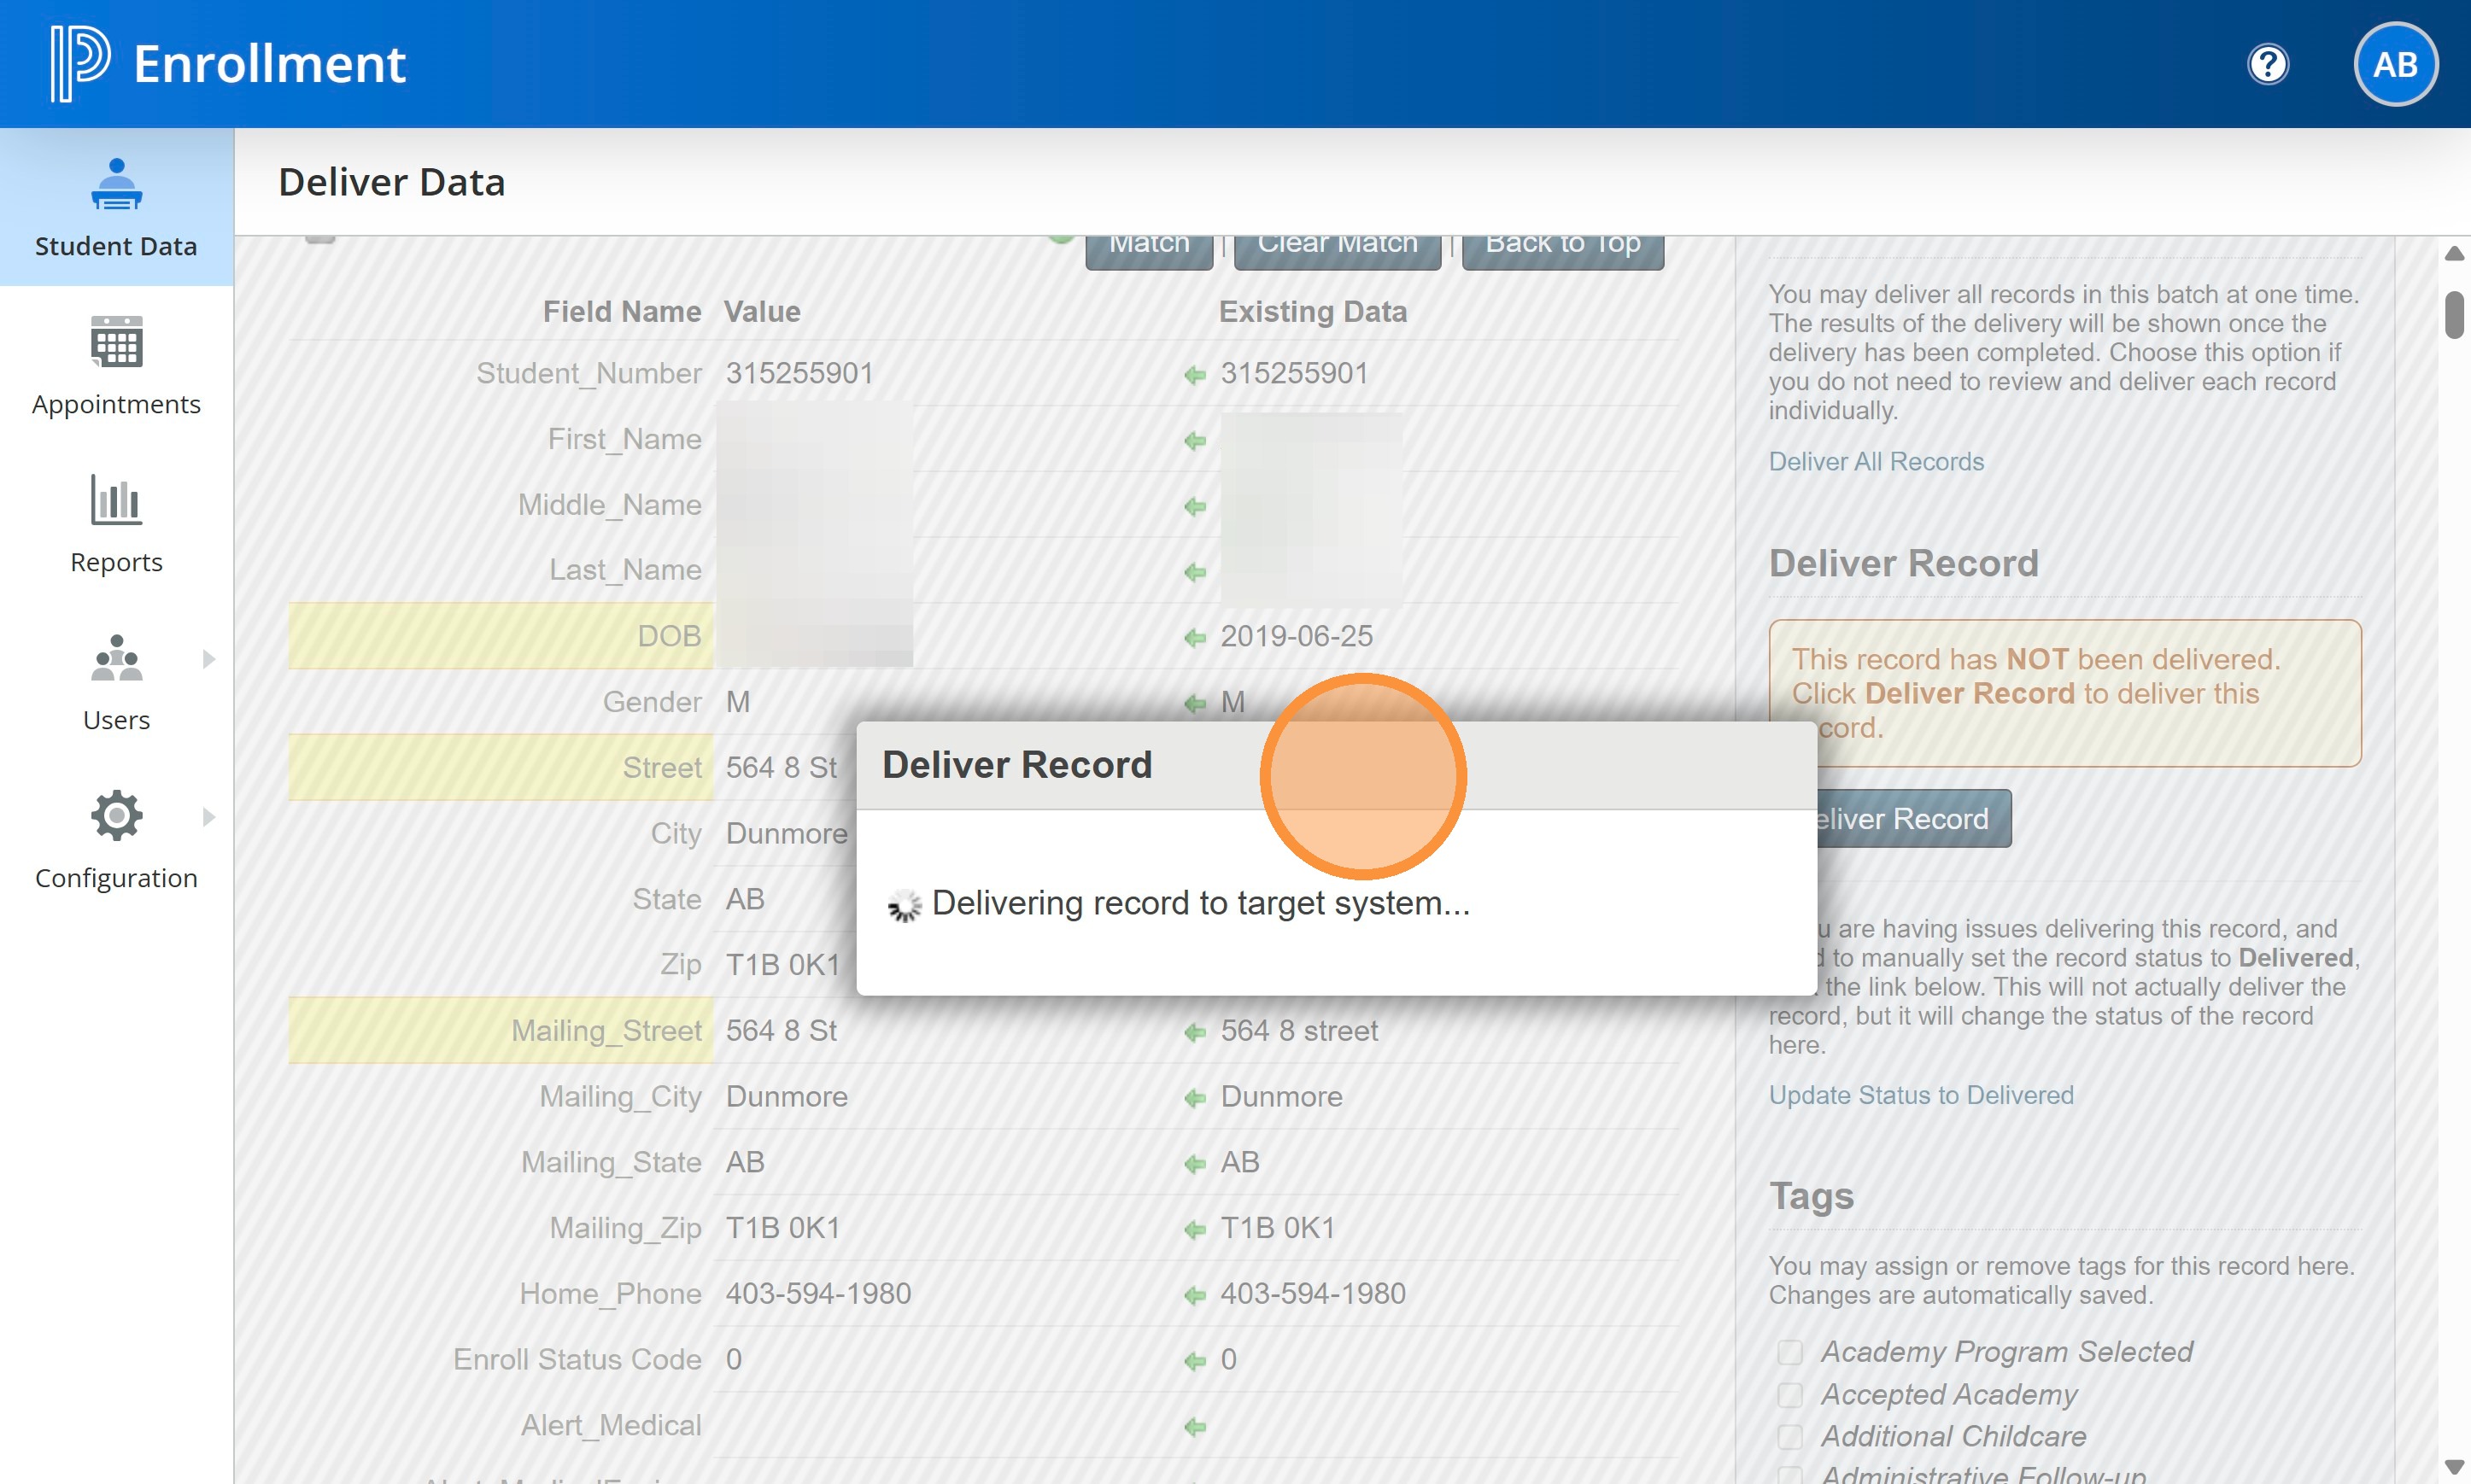
34. You are now ready to Deliver the record to SIS. Scroll back to the top of the page and choose Deliver Record.

35. A pop up will show indicating the record is being Delivered.
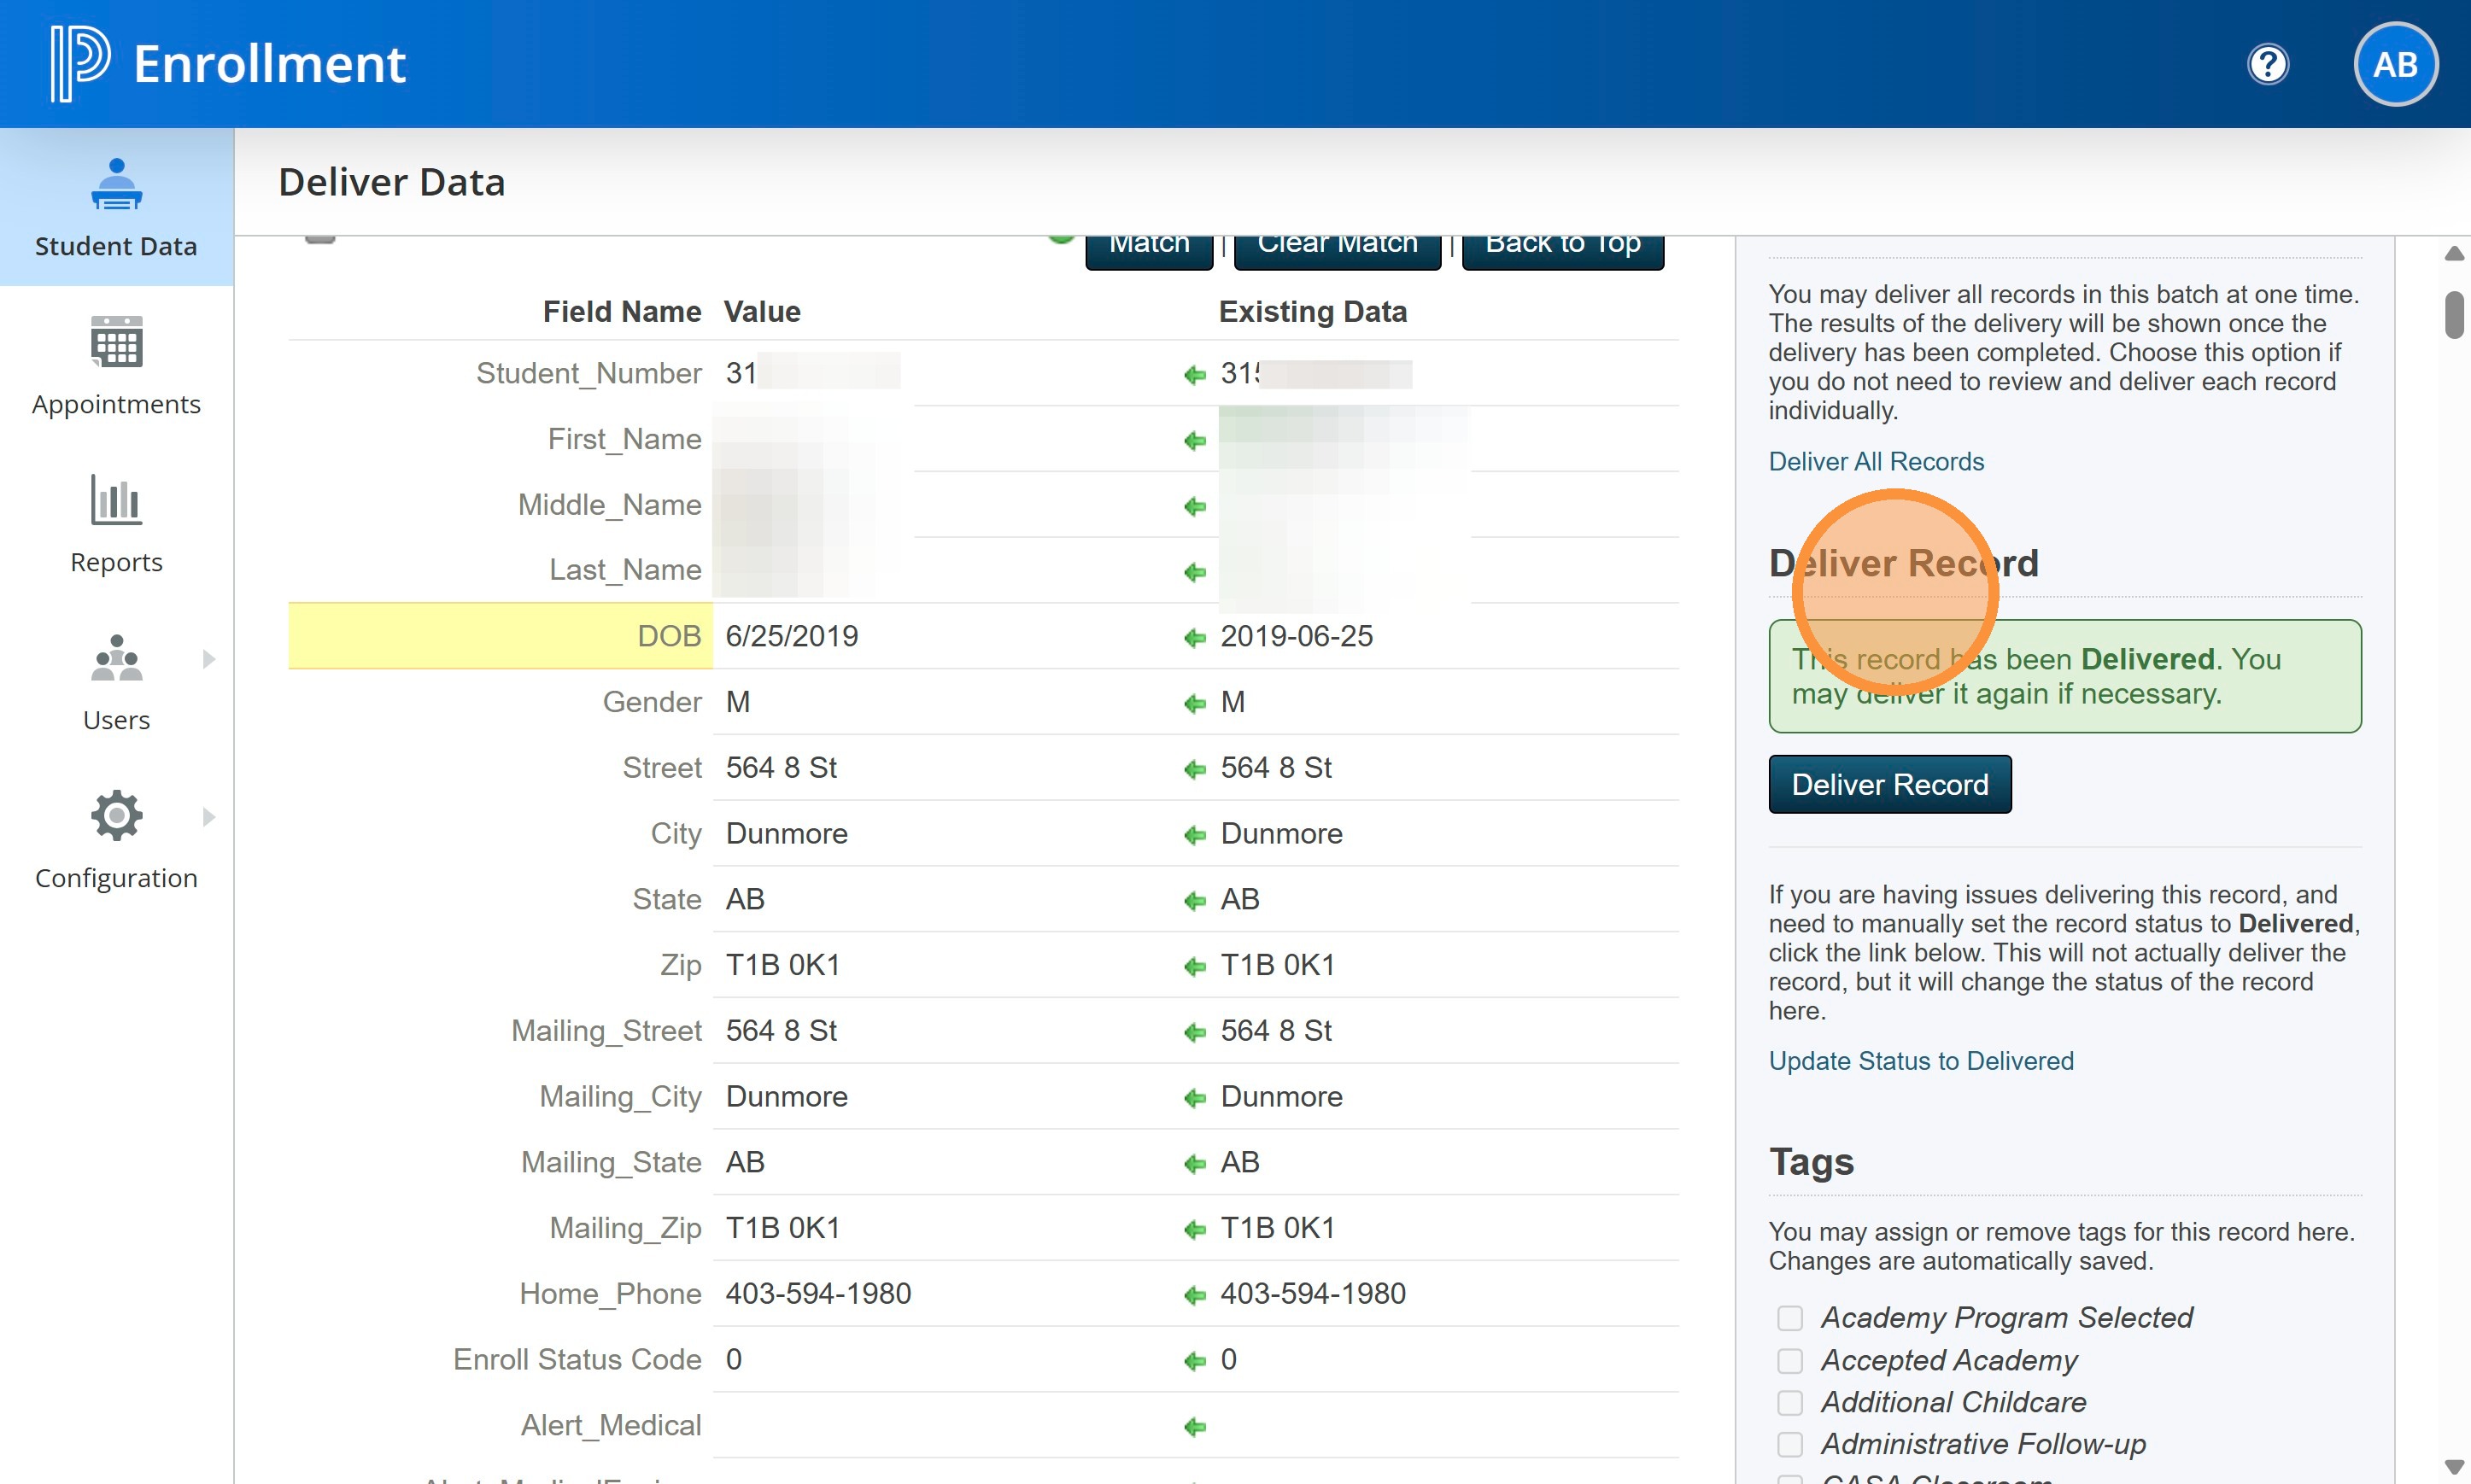
36. Once it is finished, you will get a notification that is has been Delivered successfully.
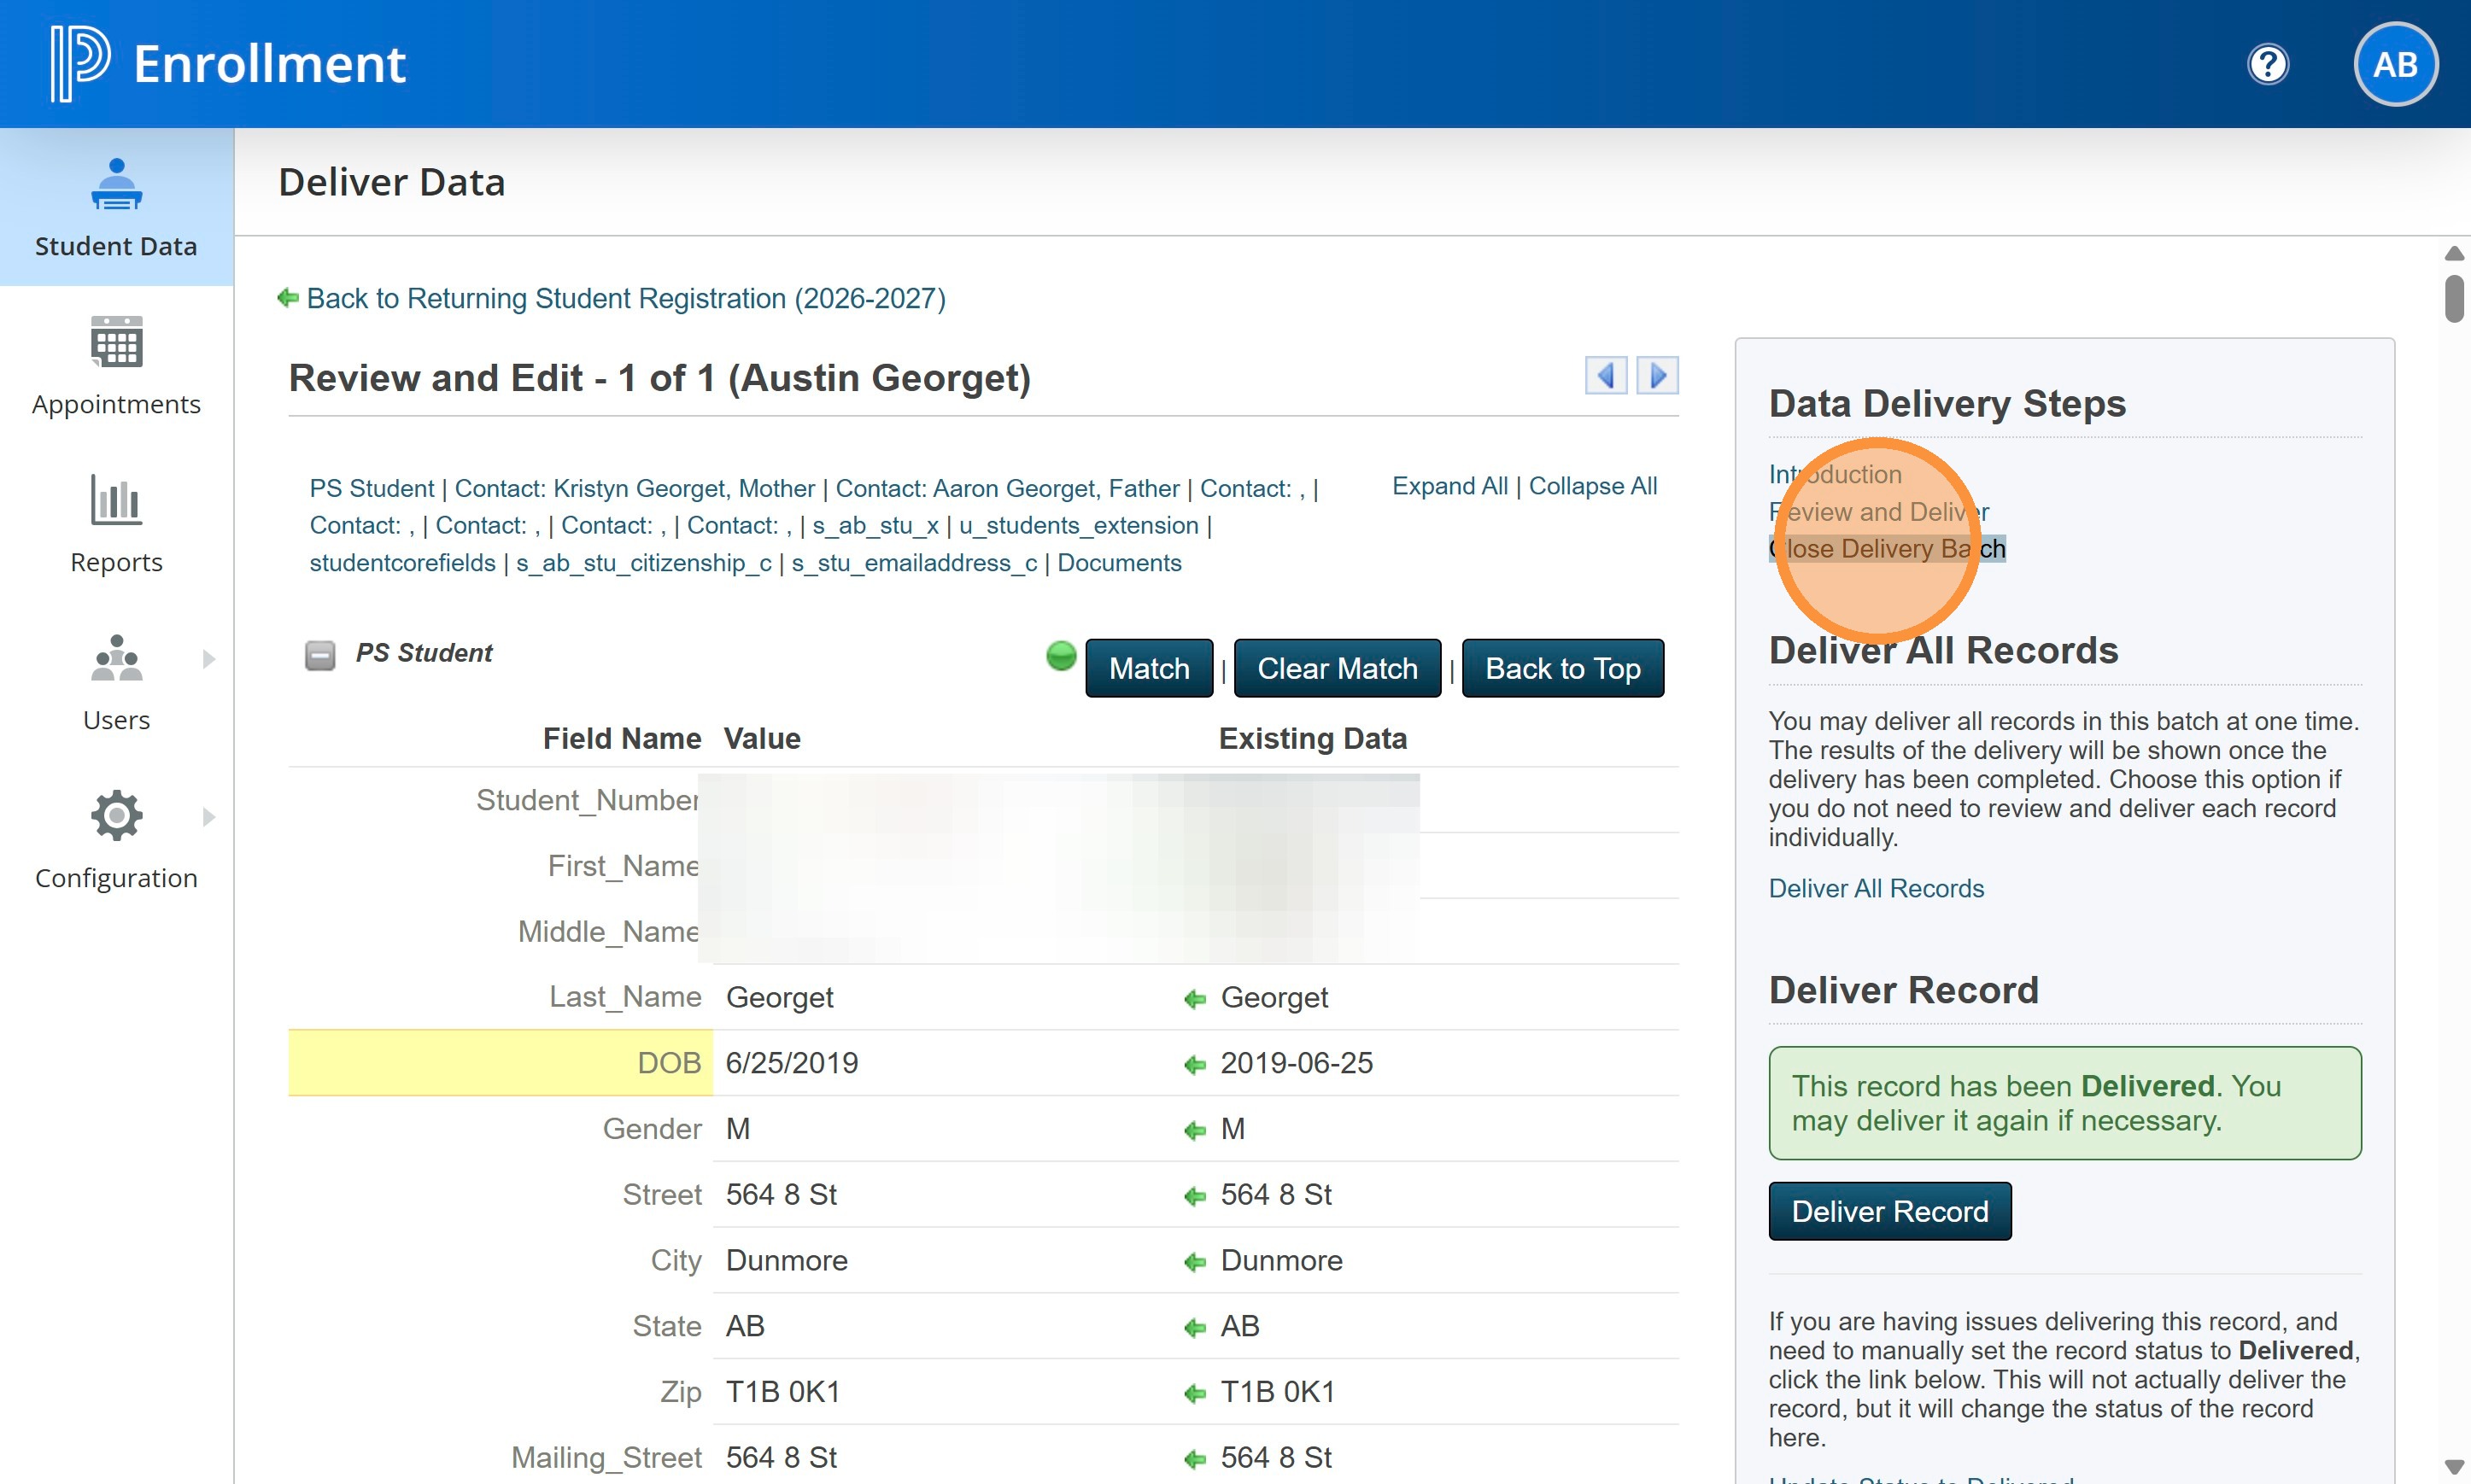
37. Click "Close Delivery Batch"
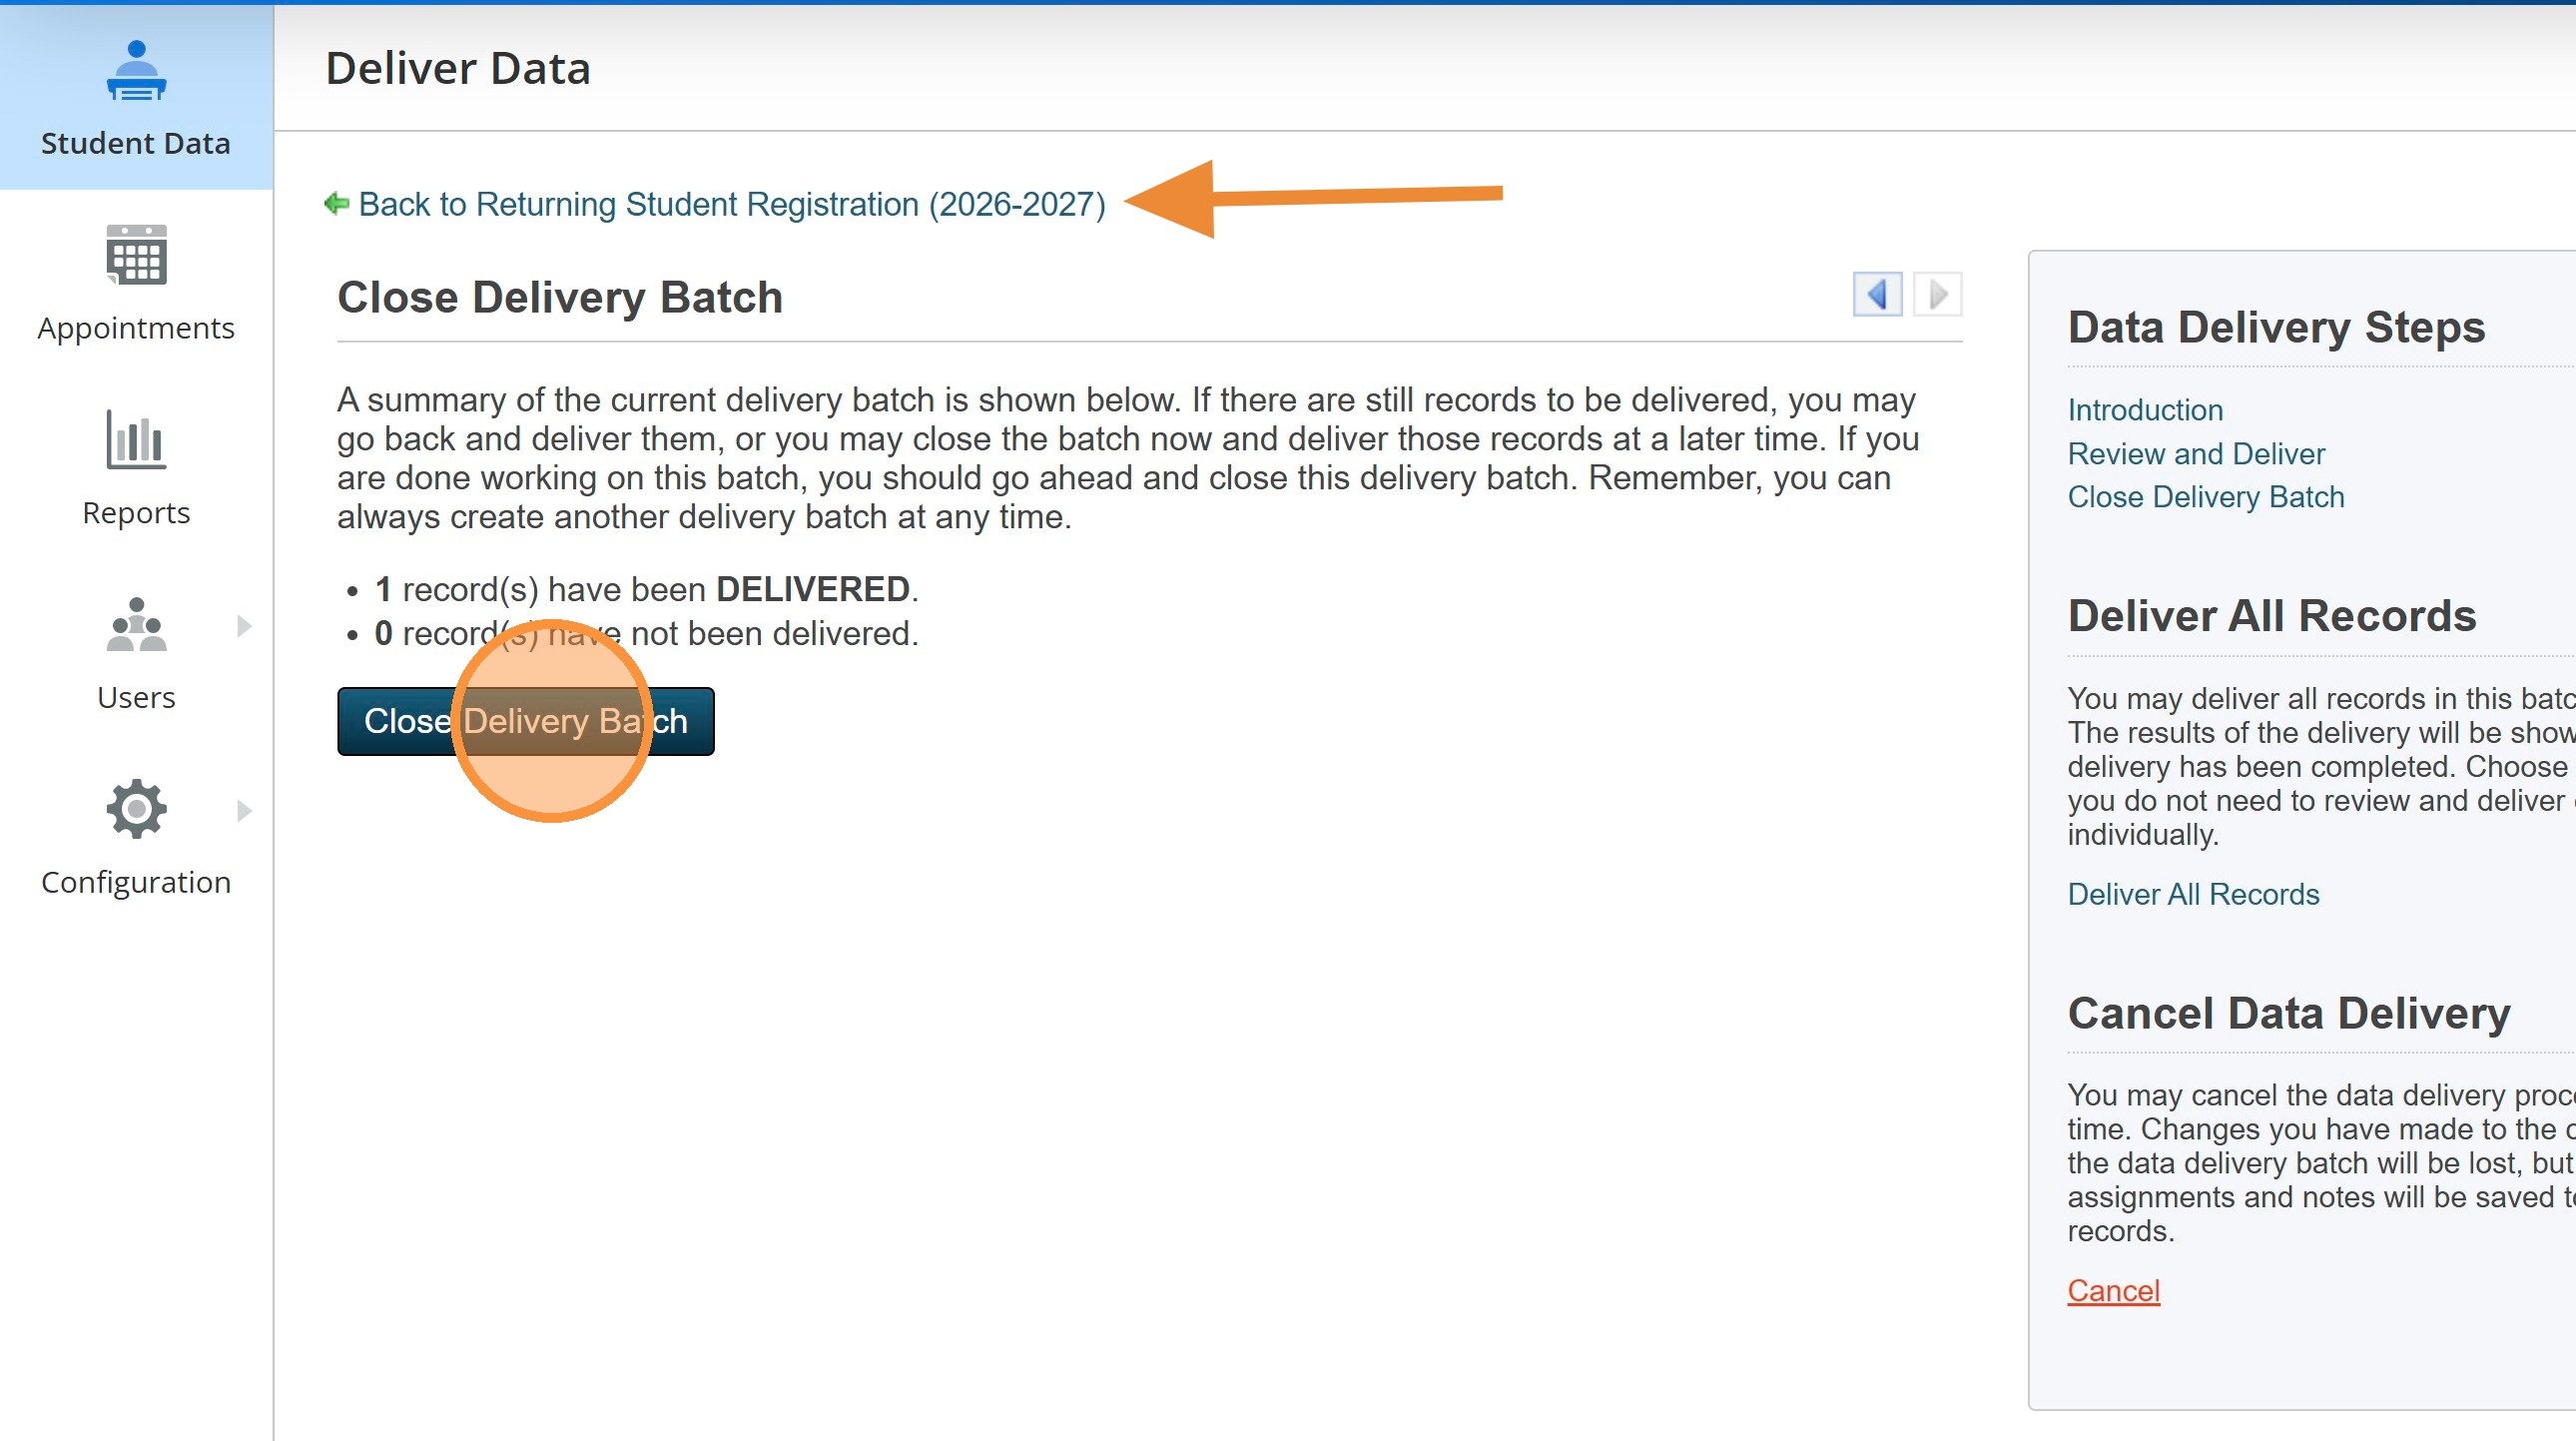
38. Click Close Delivery Batch again.
Click Back to Returning Student Registration (2026-2027)
39. Your student will no longer be available in the Pending Delivery view.
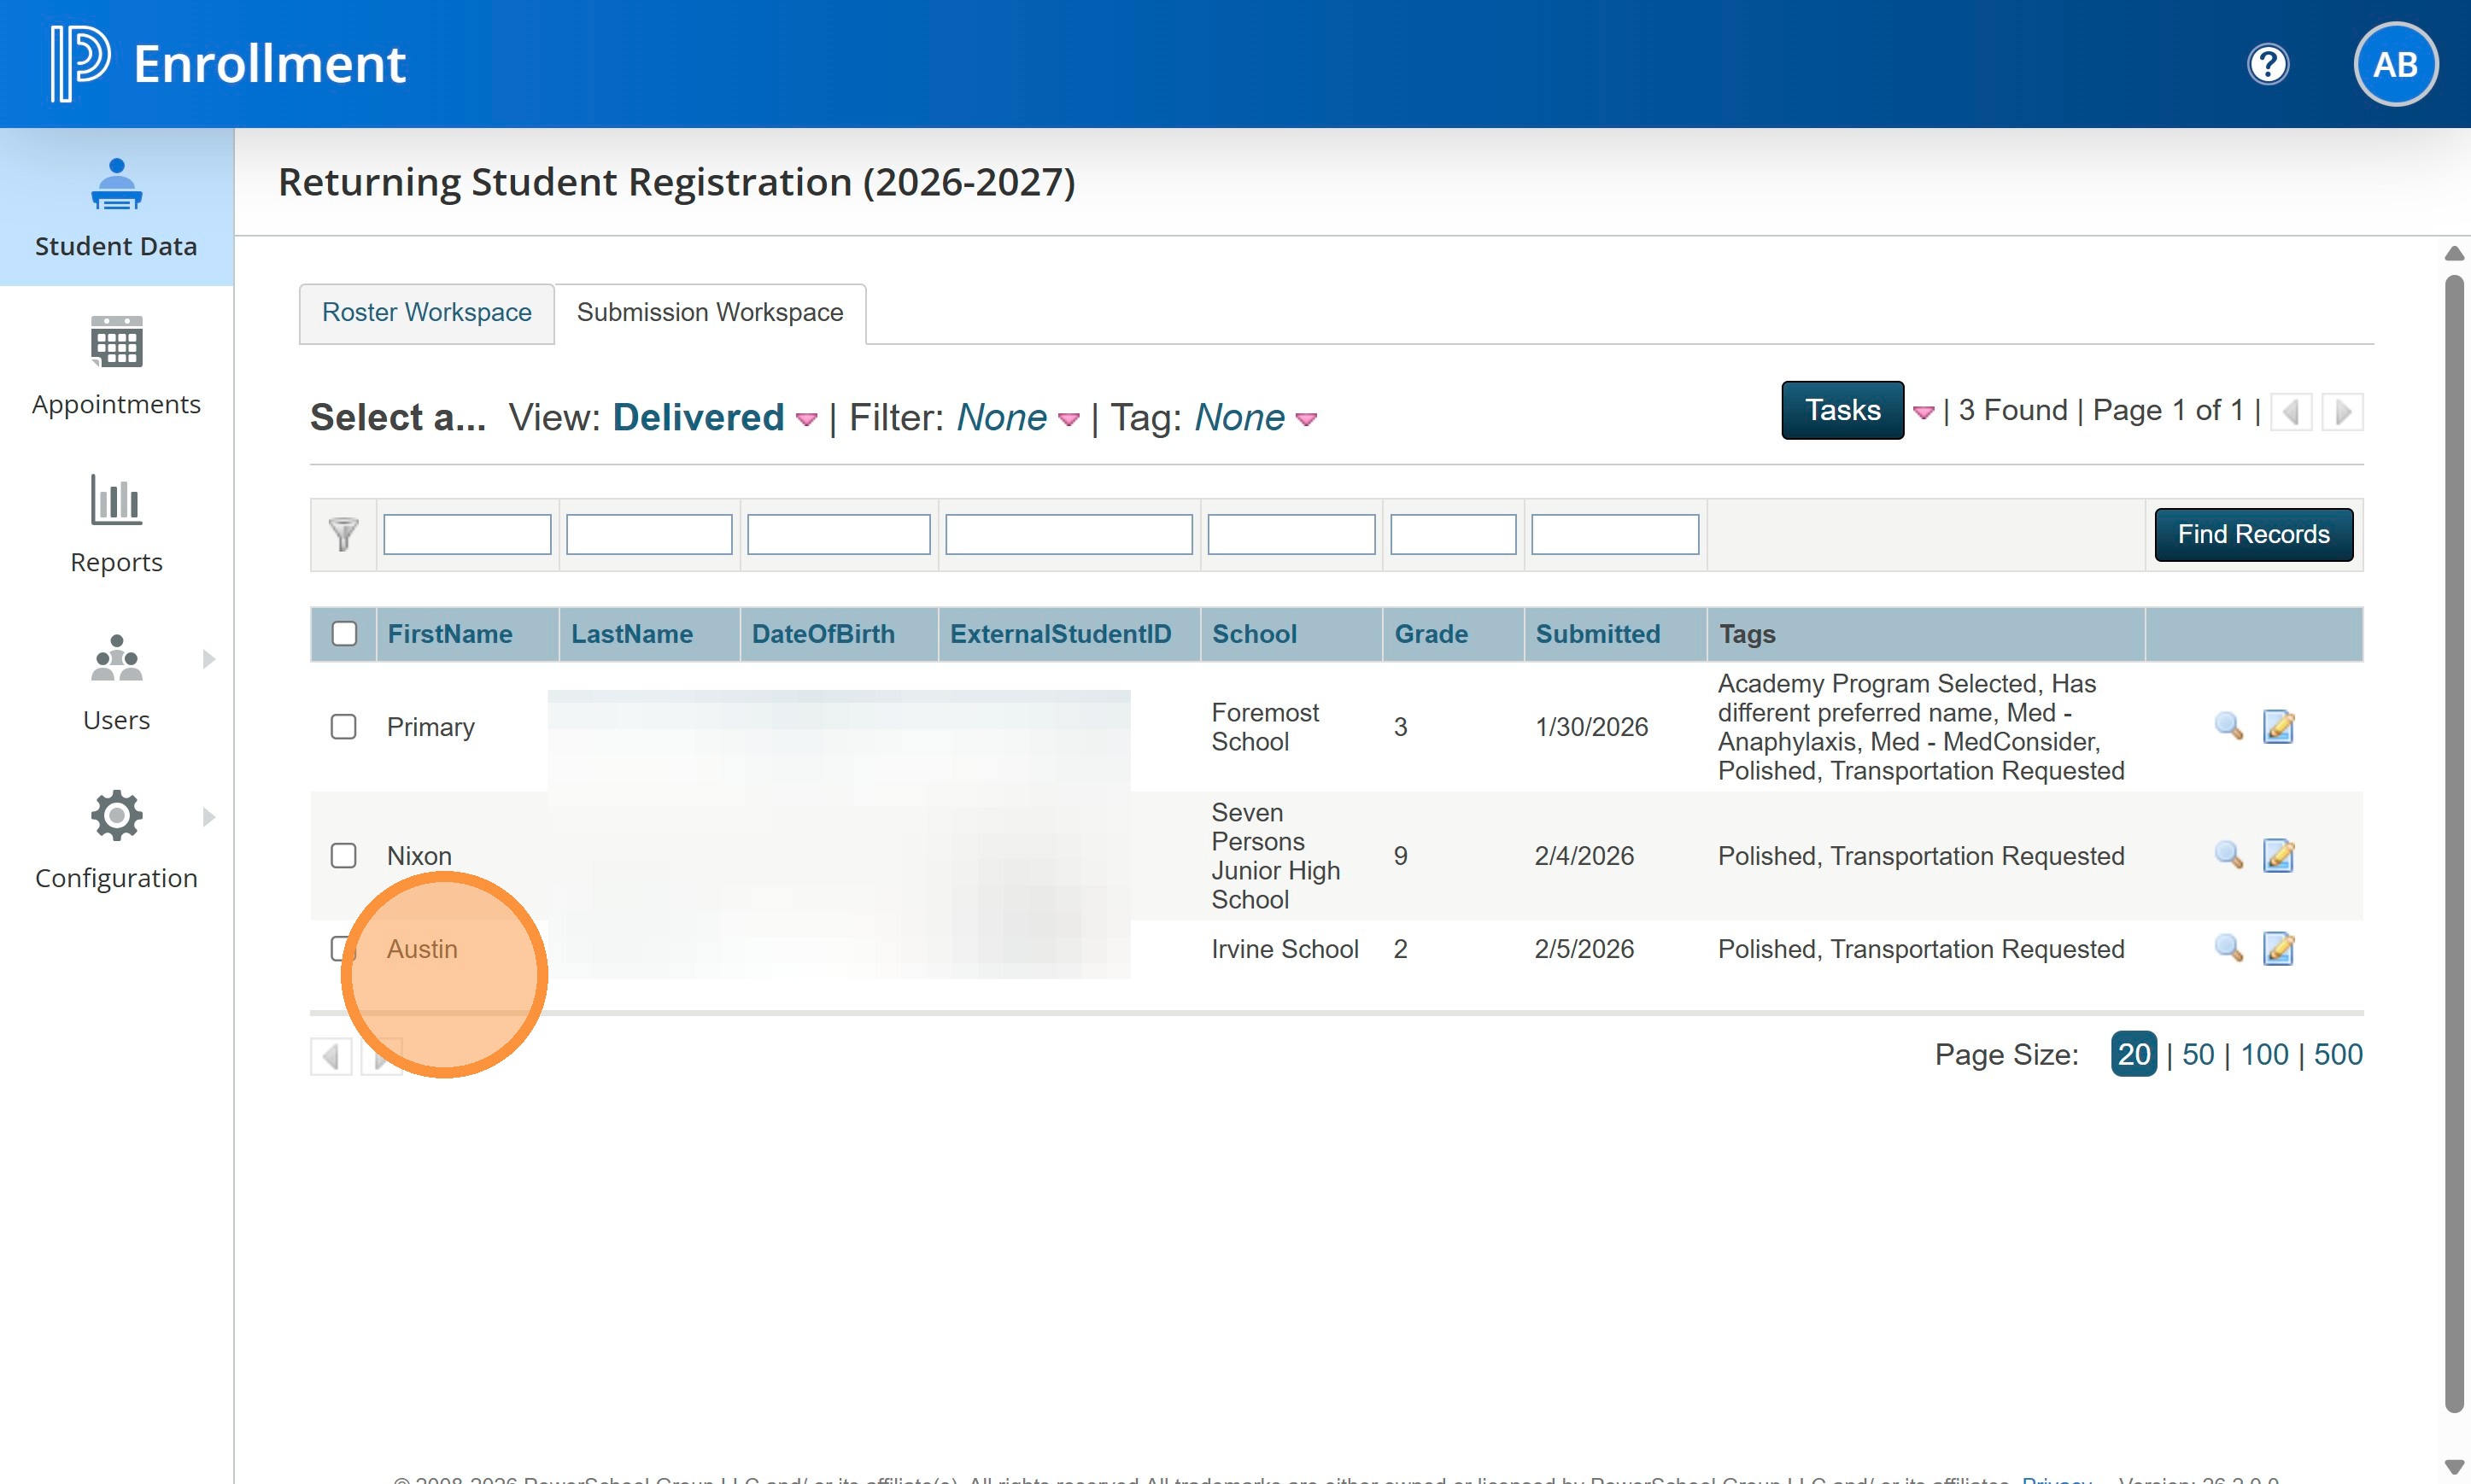
40. Click "Delivered"
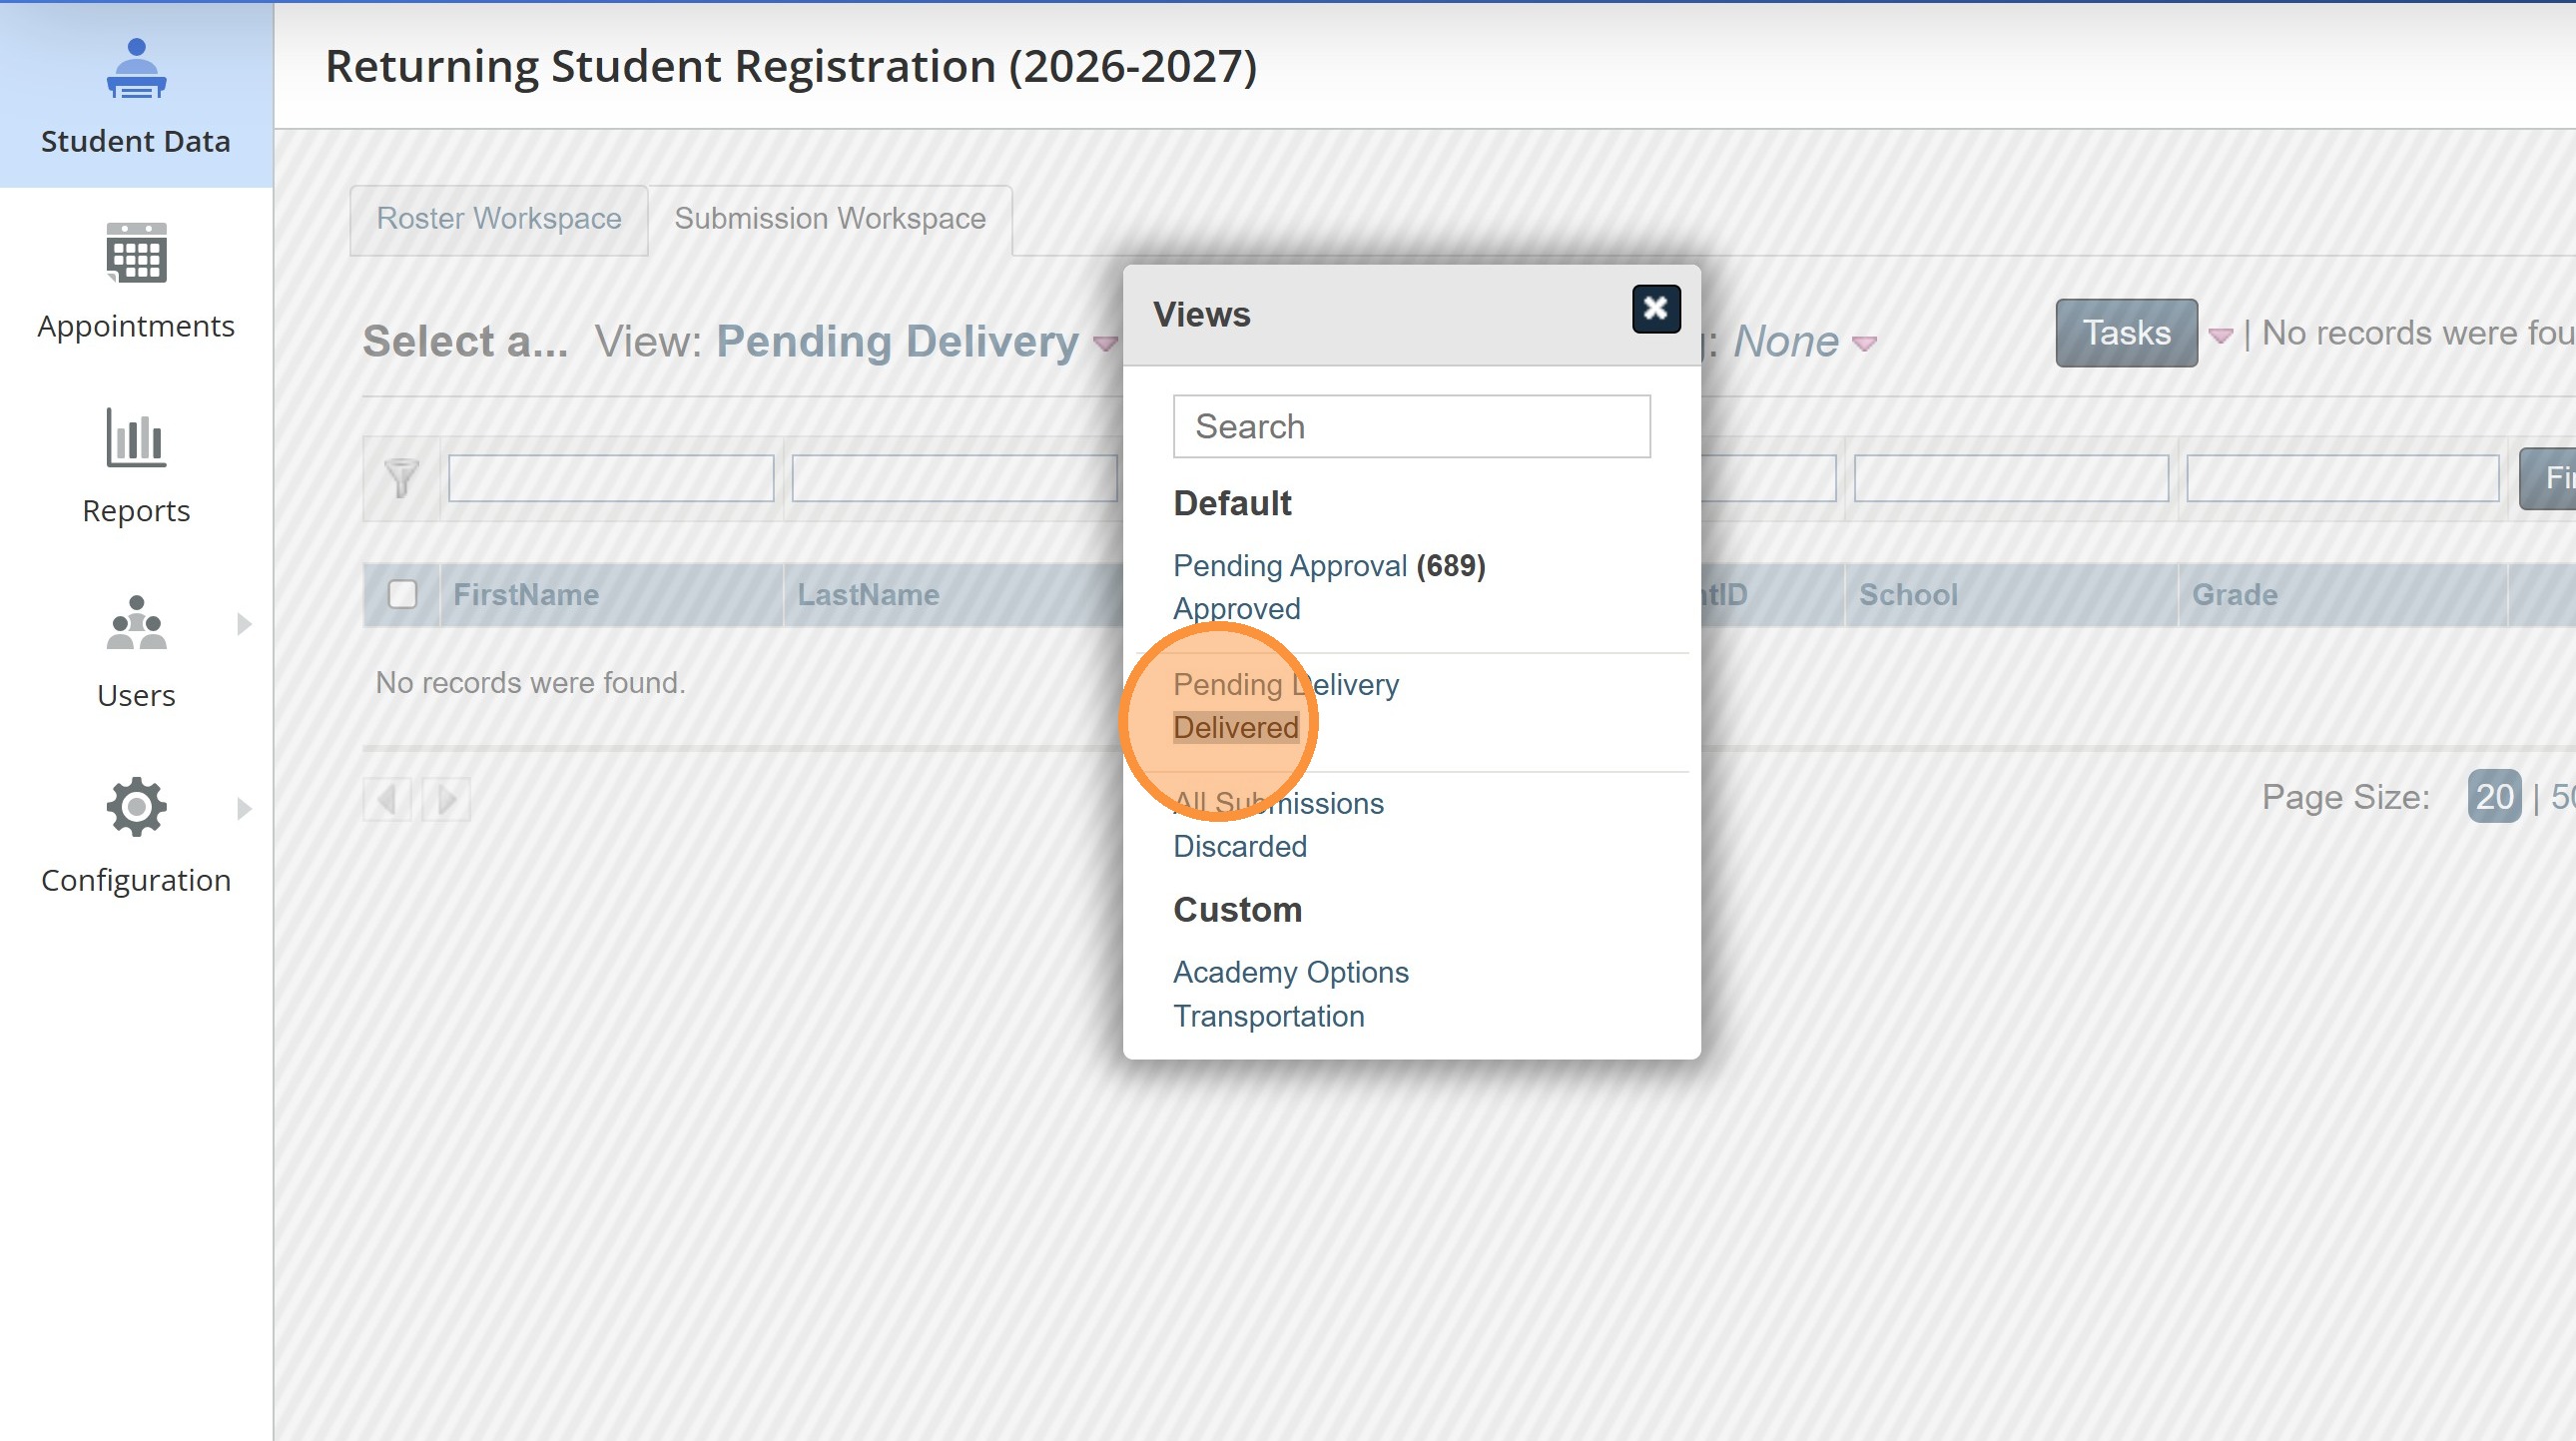
41. Your Delivered students will all now show up here.
42. There is nothing more you need to do after this step. There will be additional documentation for uploading reg forms to PASI at a later date.