
Upload Reg Forms from Enrollment to PASI
Upload Reg Forms from Enrollment to PASI
Learn how to copy student ASNs to Enrollment, and upload the registration documents from the Enrollment portal to PASI using SIS.
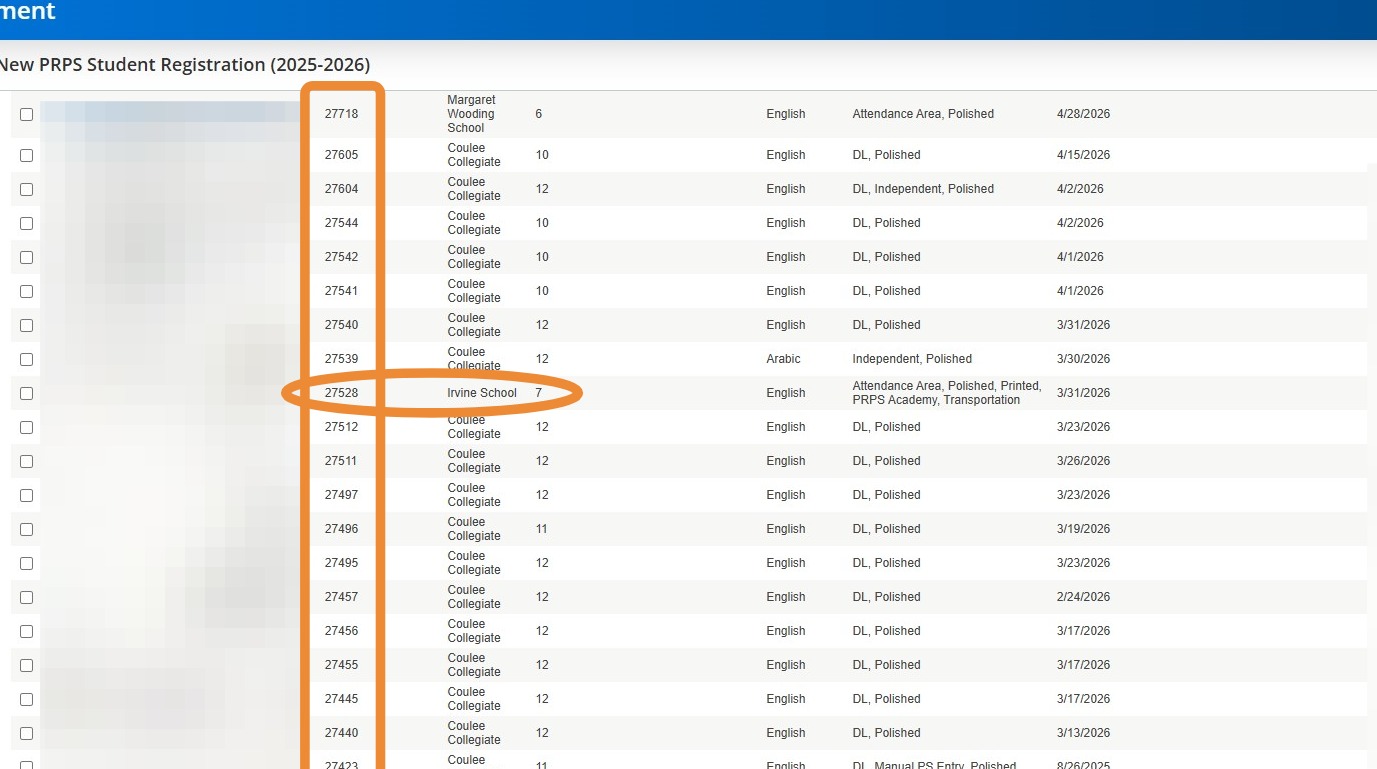
1. Go to Enrollment, and navigate to the forms you're wanting to upload. This example is looking at the 25-26 New Student Form. Go to the Delivered view so we are only working on students we have Delivered to SIS. Make sure all the students have a proper ASN in the ExternalStudentID column. Identify any that do NOT have a proper 9-digit ASN (example highlighted below)
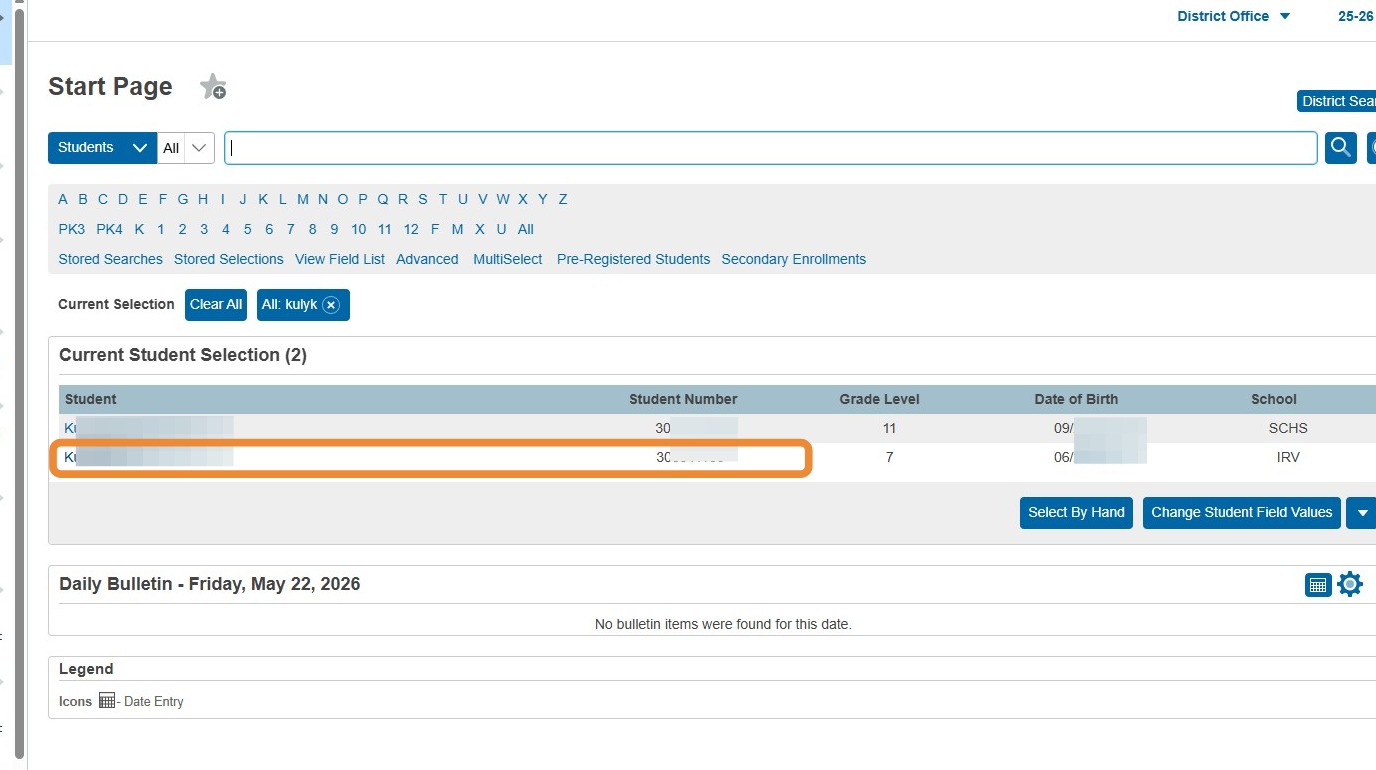
2. Navigate to PowerSchool SIS, and locate the student who needs their ASN in Enrollment
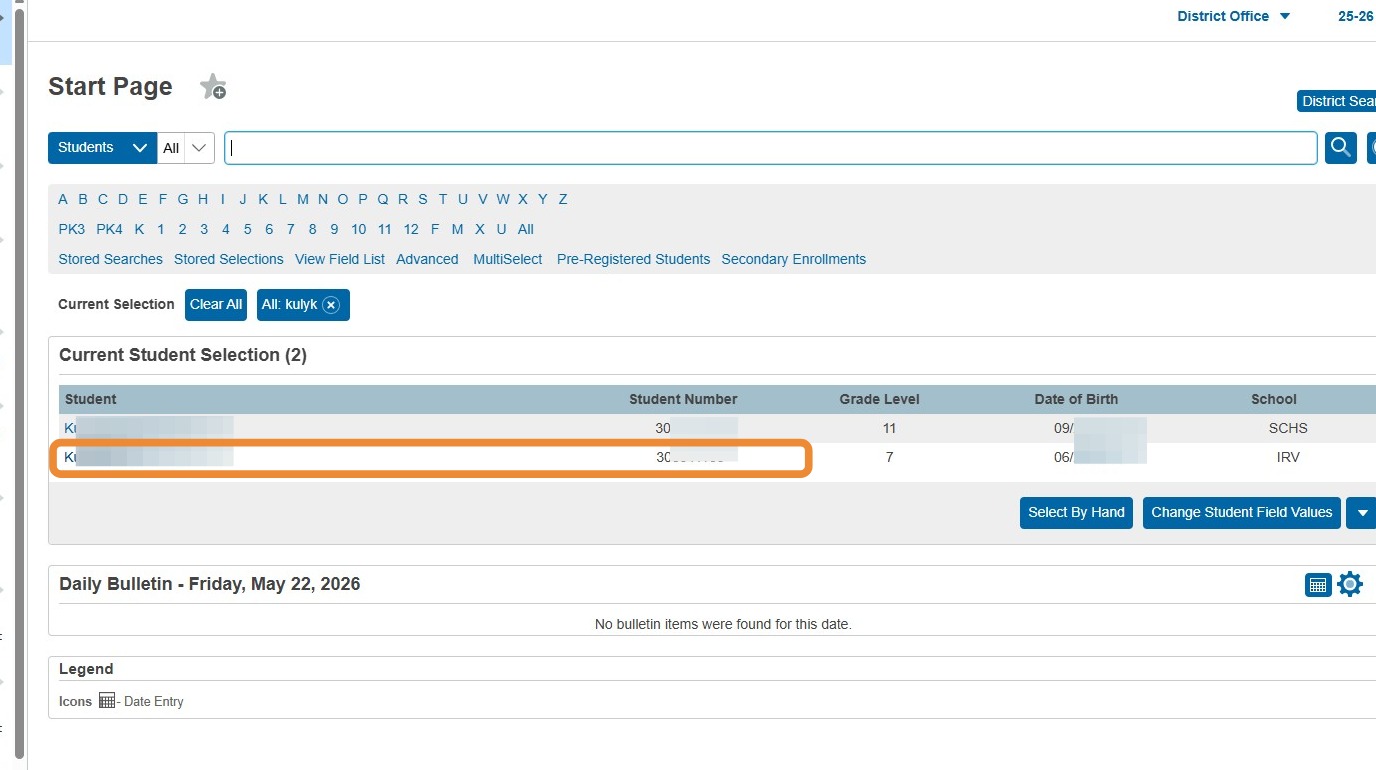
3. You can see the ASN right on the student selection screen. Double-click to highlight the ASN (or click and drag the highlight with your mouse) and press ctrl+c to copy (or right click your mouse and select Copy)
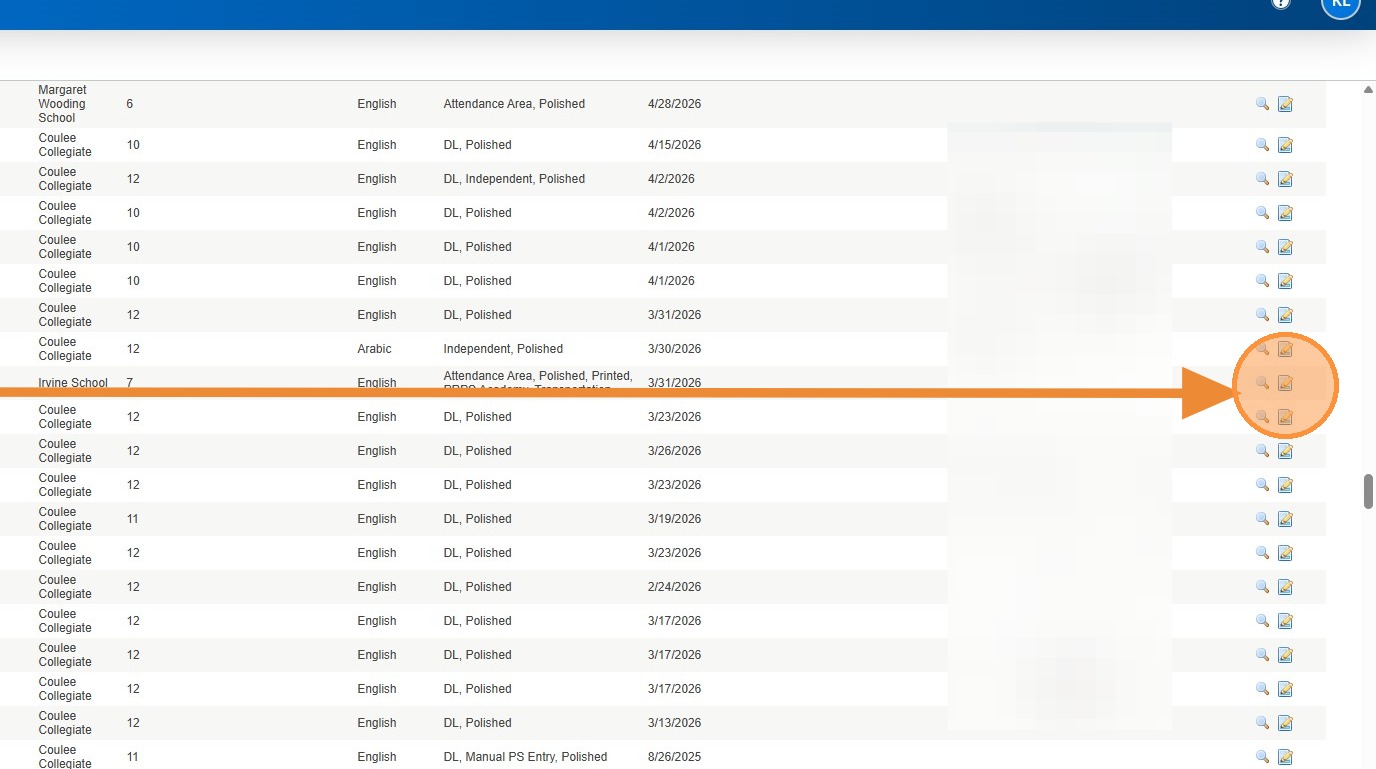
4. Return to Enrollment. Click the Paper/Edit icon at the end of the row for the student who needs the ASN, that we copied in the previous step.
5. Navigate to the "stu_ID" field. Be careful not to select the stu_DCID field.
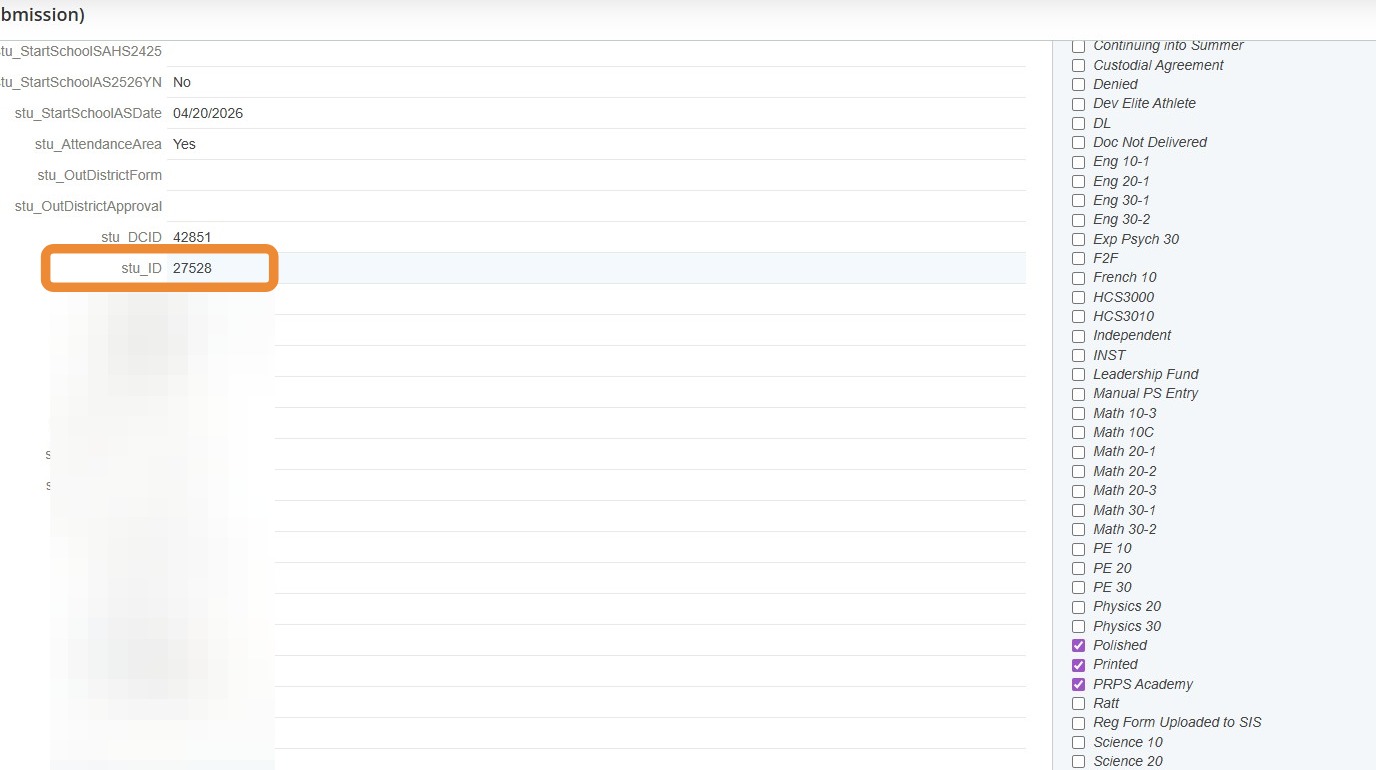
6. Paste the ASN into this field and click the save button at the end.
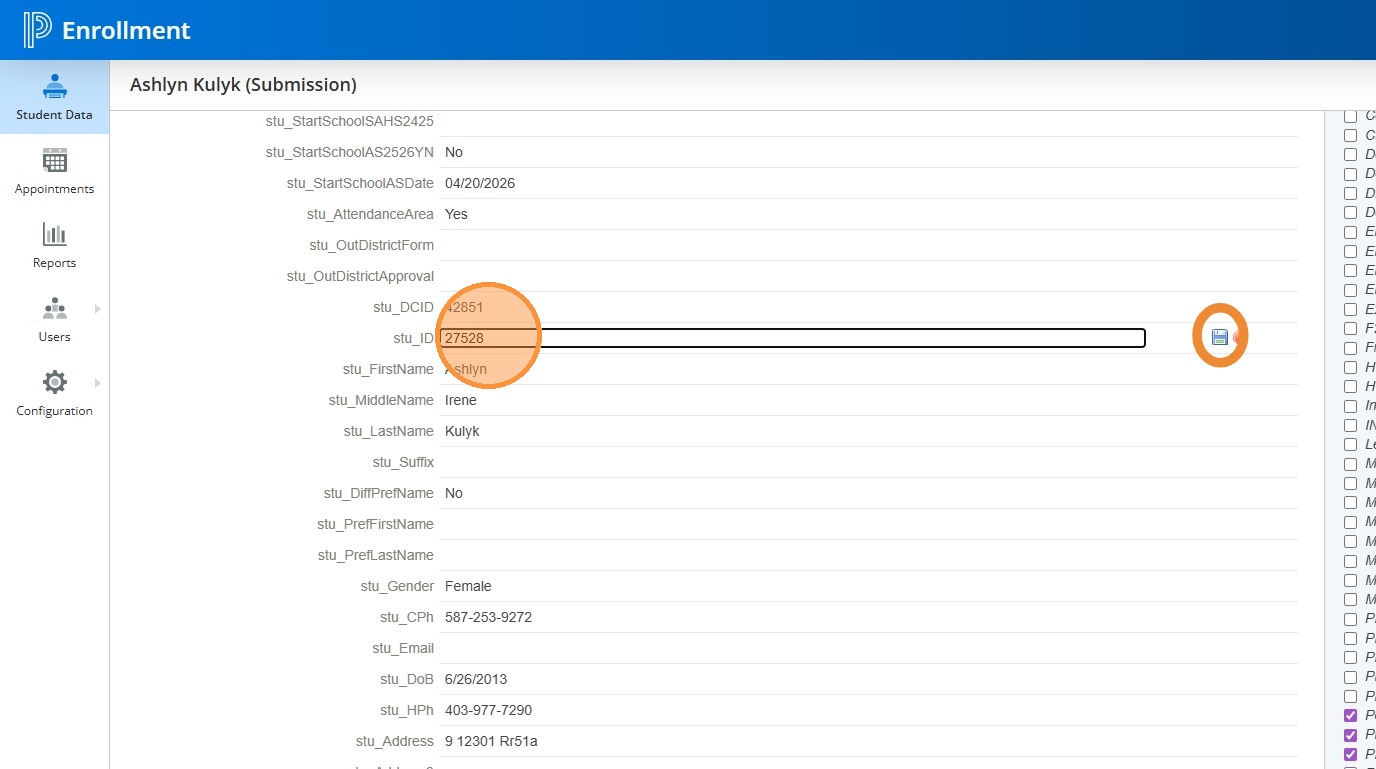
7. Repeat steps 1-6 as needed, until all students have a proper ASN in the ExternalStudentID column of the Reg Form you're working on.
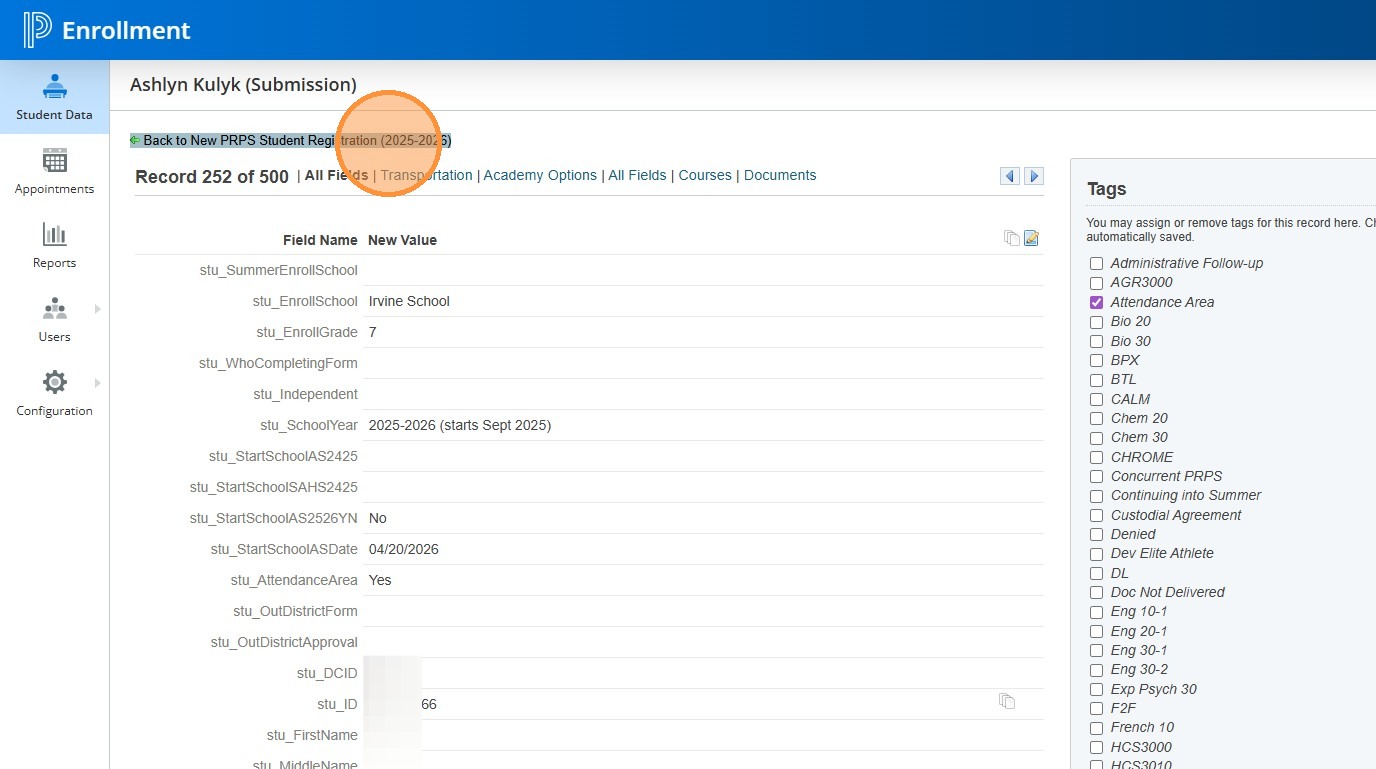
8. Click "Back to New PRPS Student Registration (2025-2026)"
9. Click the Tag drop down
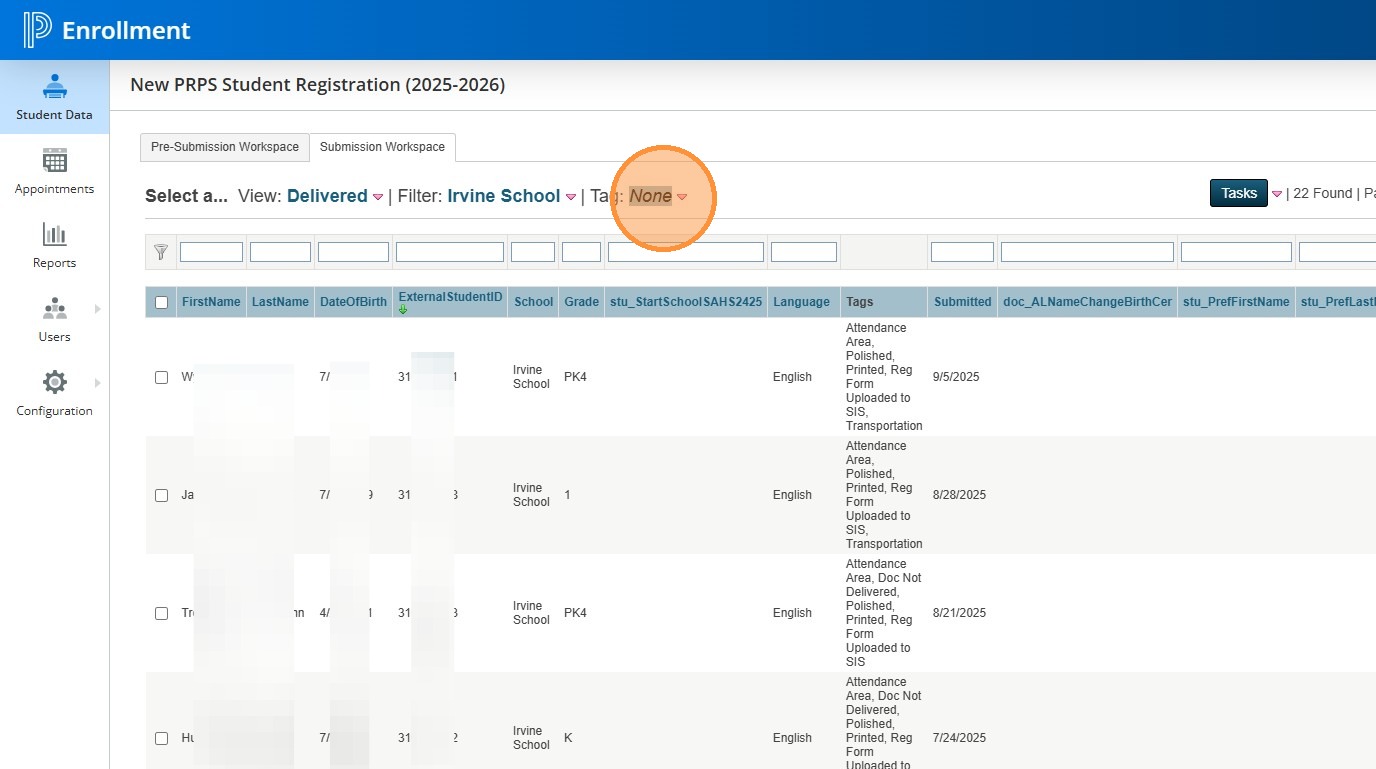
10. Look under the "Not Tagged" column
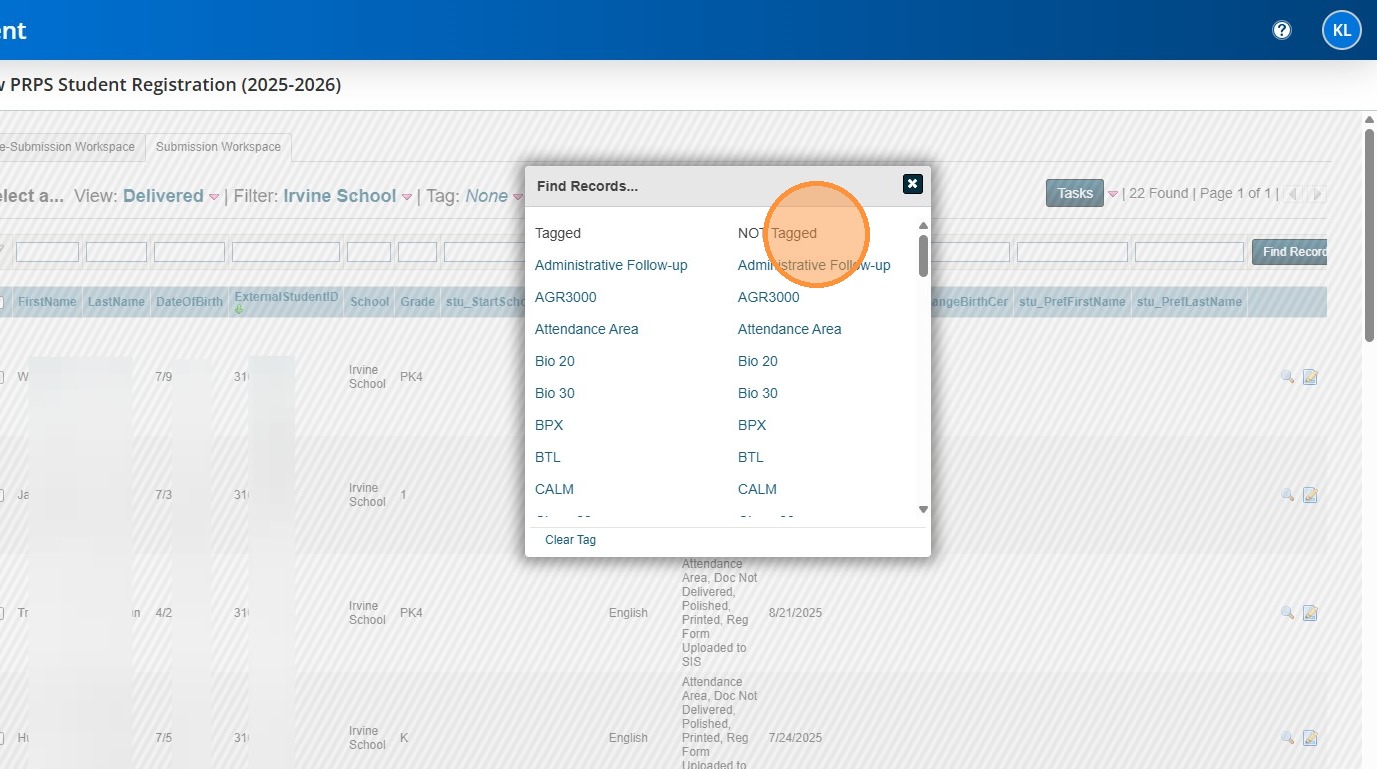
11. Click "Reg Form Uploaded to SIS"
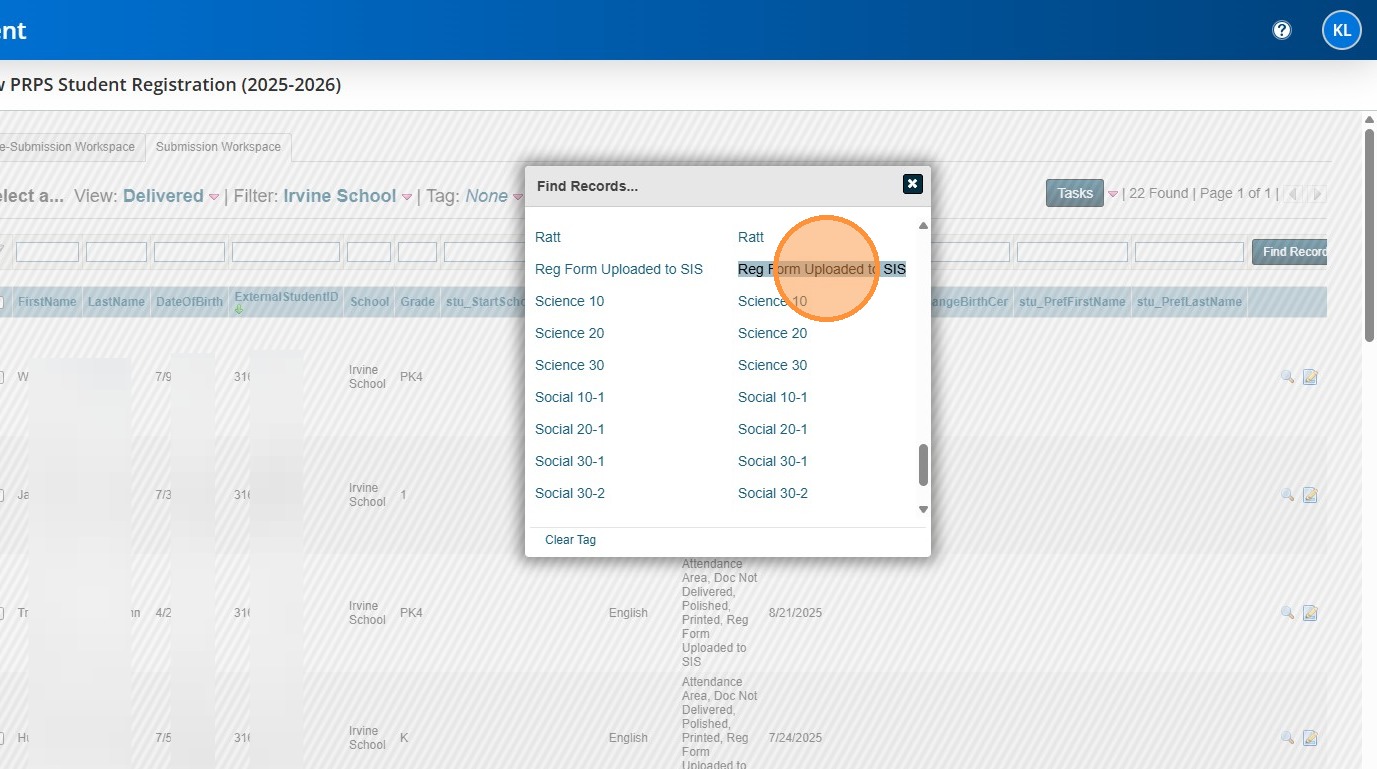
12. You are now seeing only Reg Forms that have not been tagged as having already been delivered to the SIS.
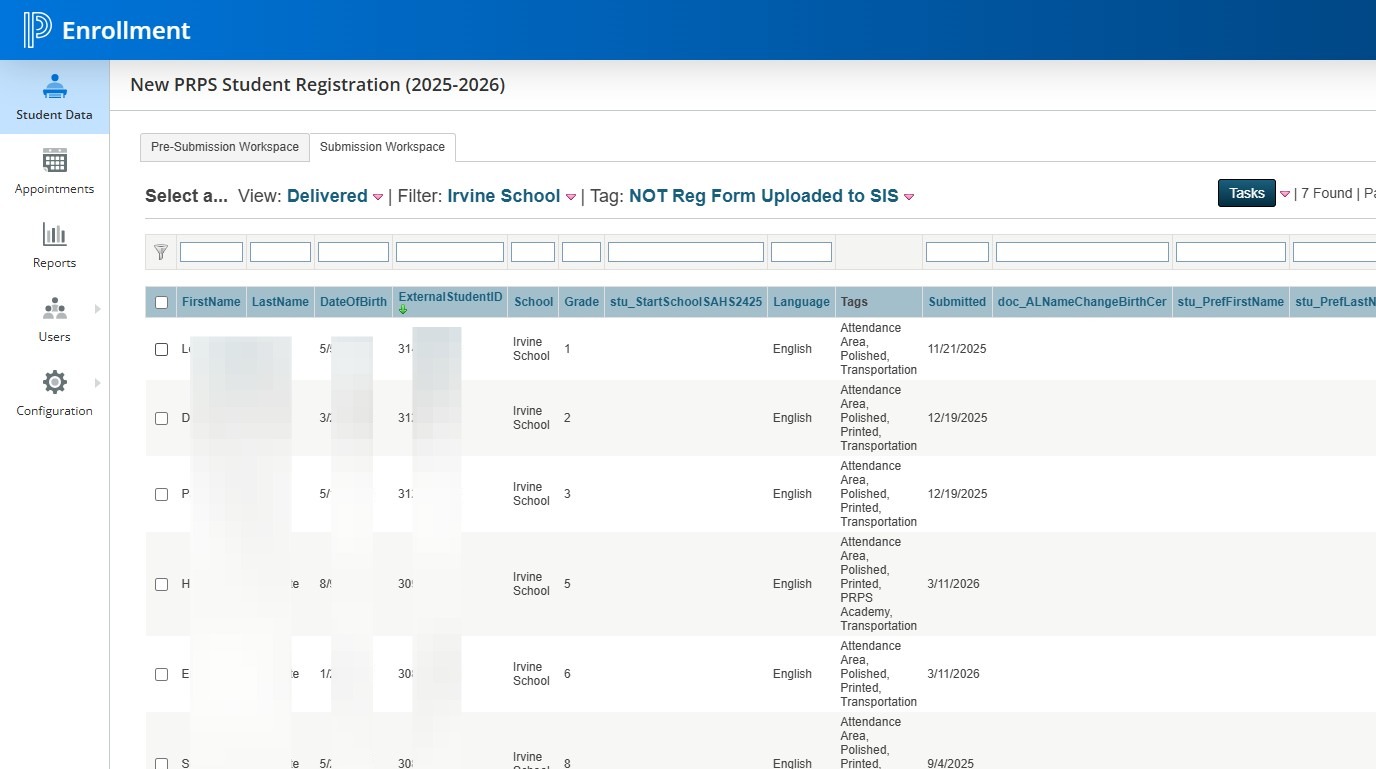
13. Click the checkboxes for the students who now have ASN's that you wish to upload Reg Forms for.
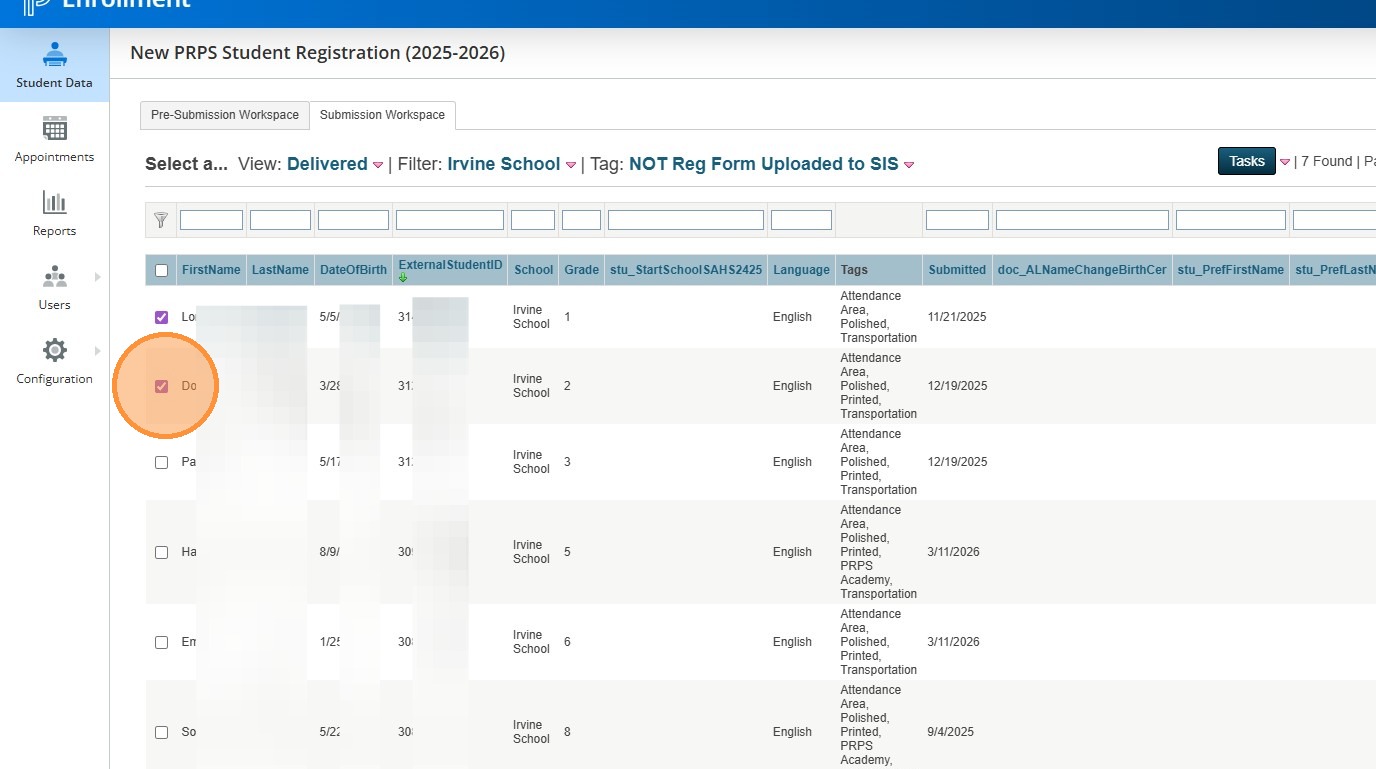
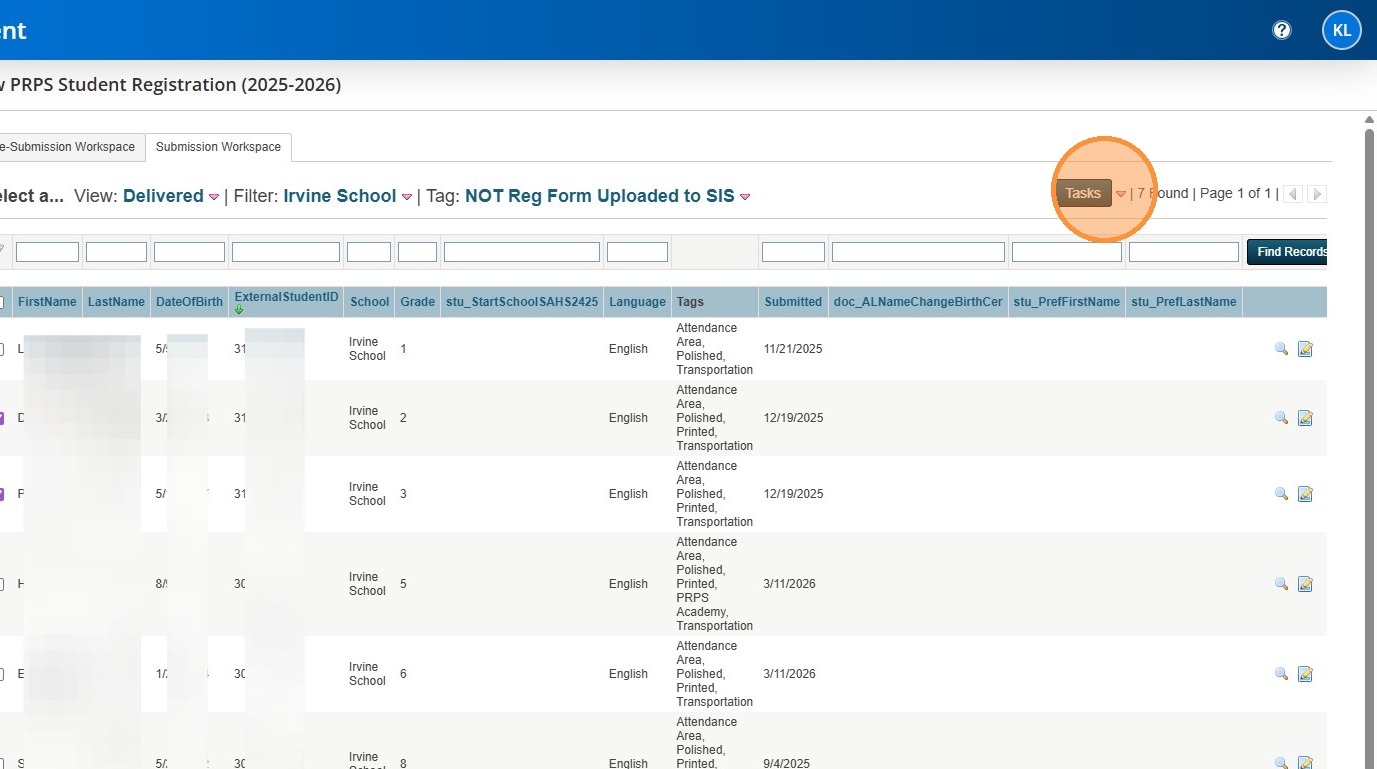
14. Click "Tasks"
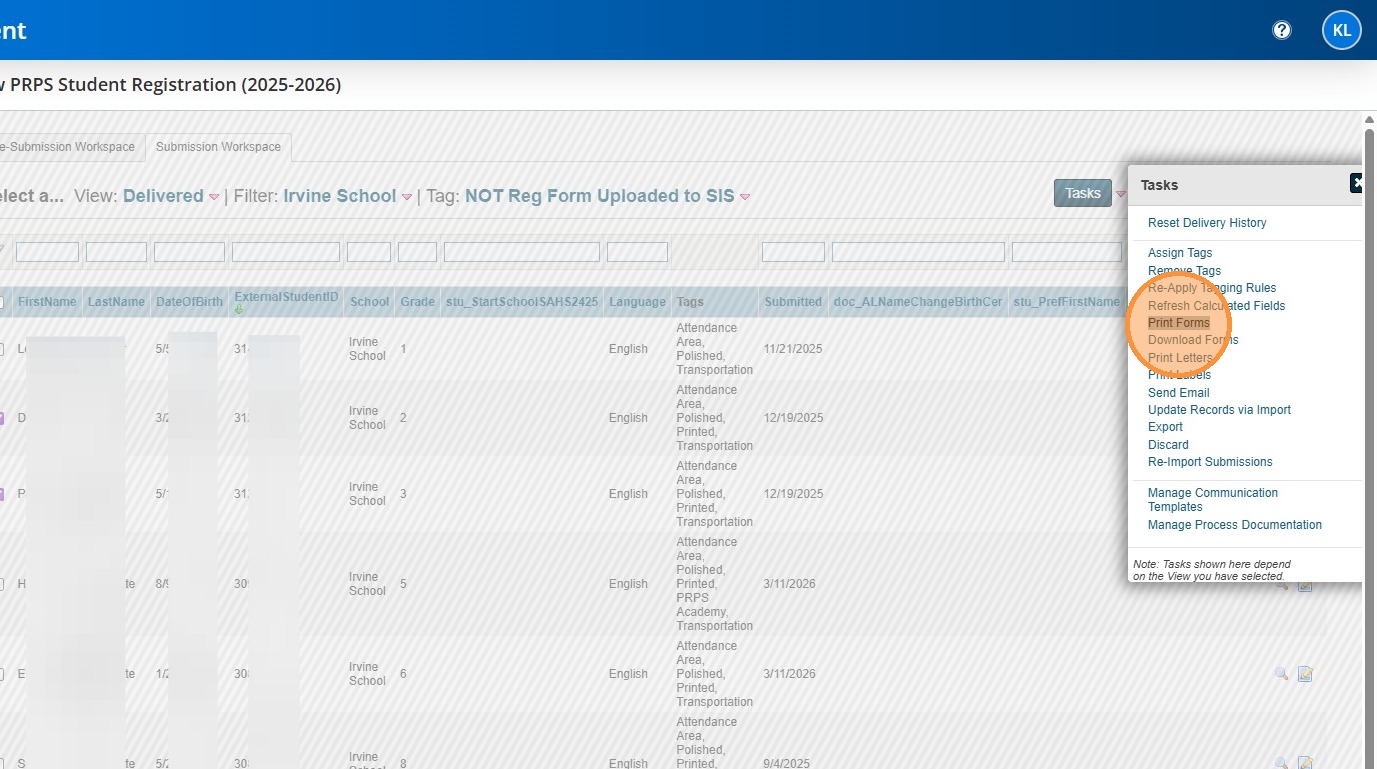
15. Click "Print Forms"
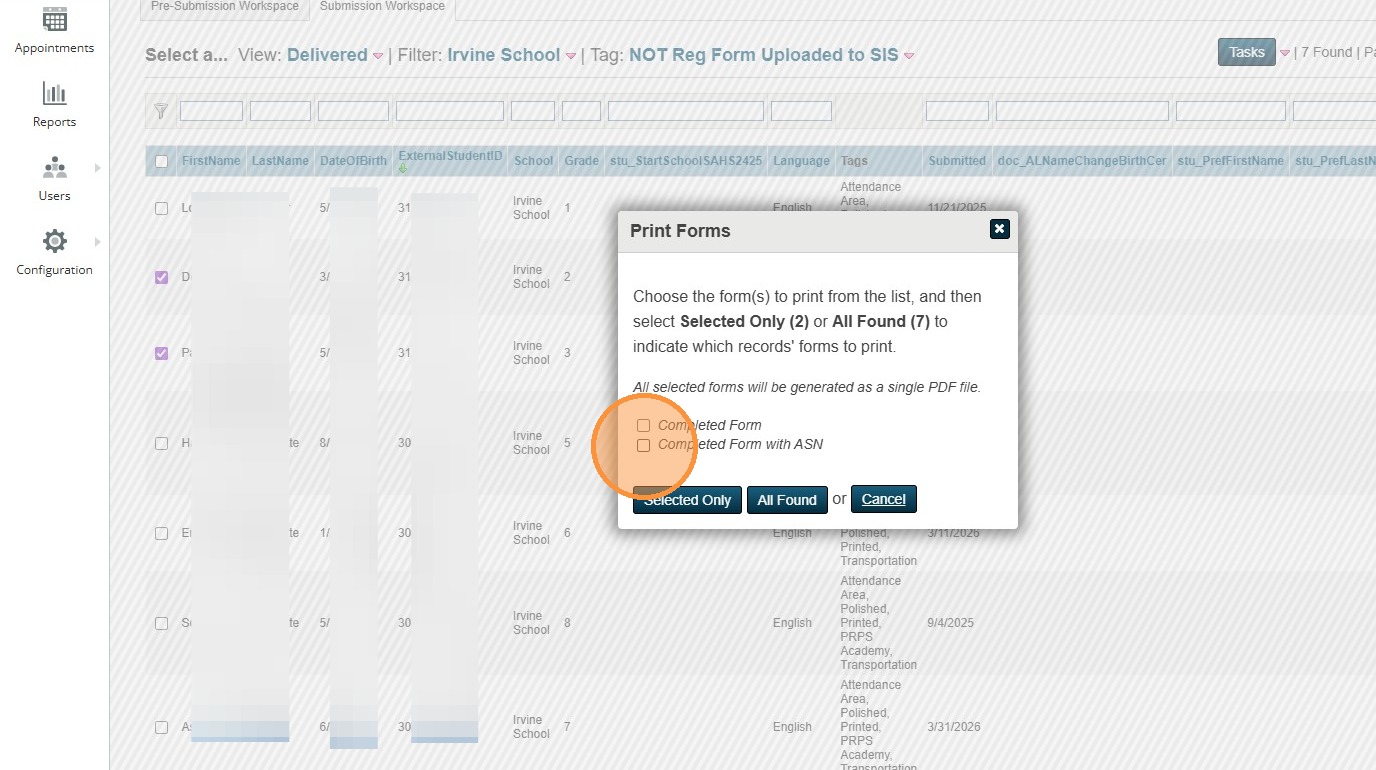
16. Click the "Completed Form with ASN" field.
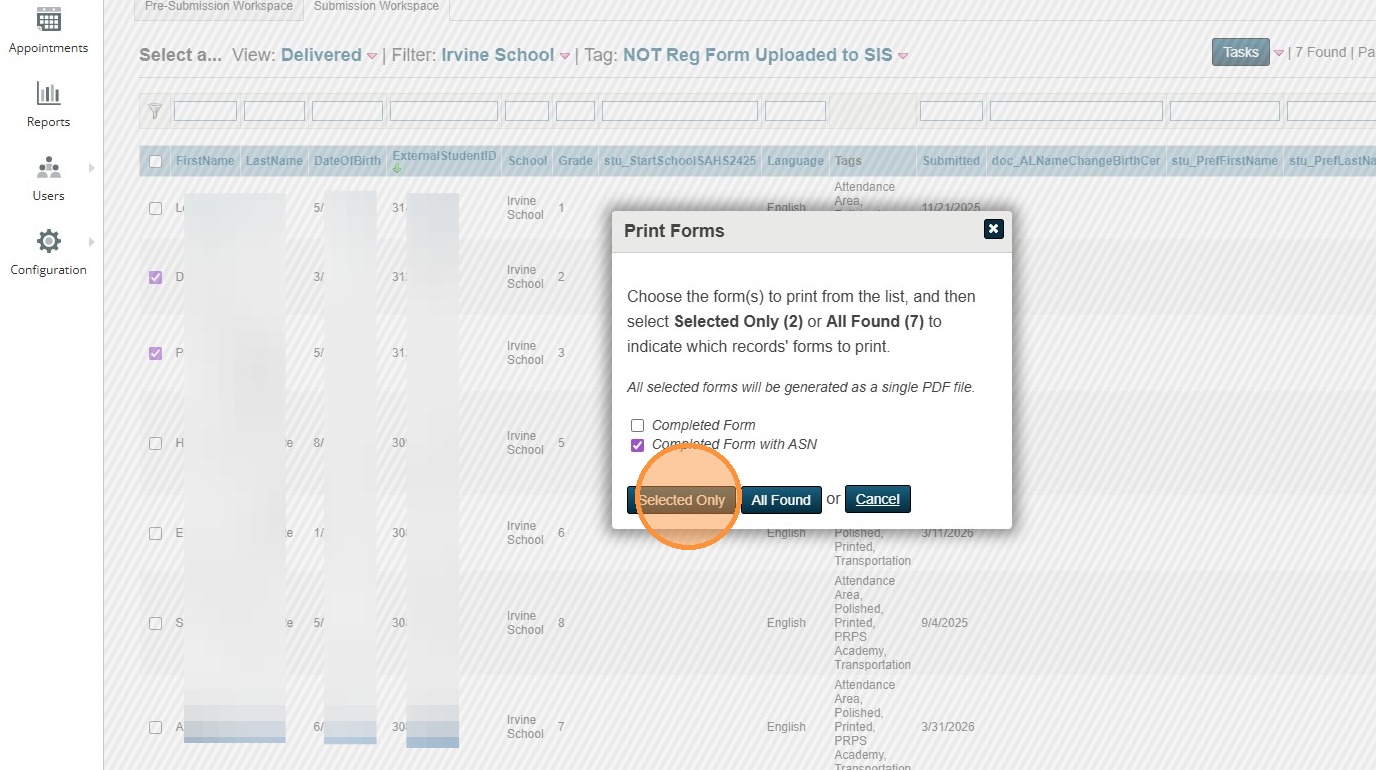
17. Click "Selected Only"
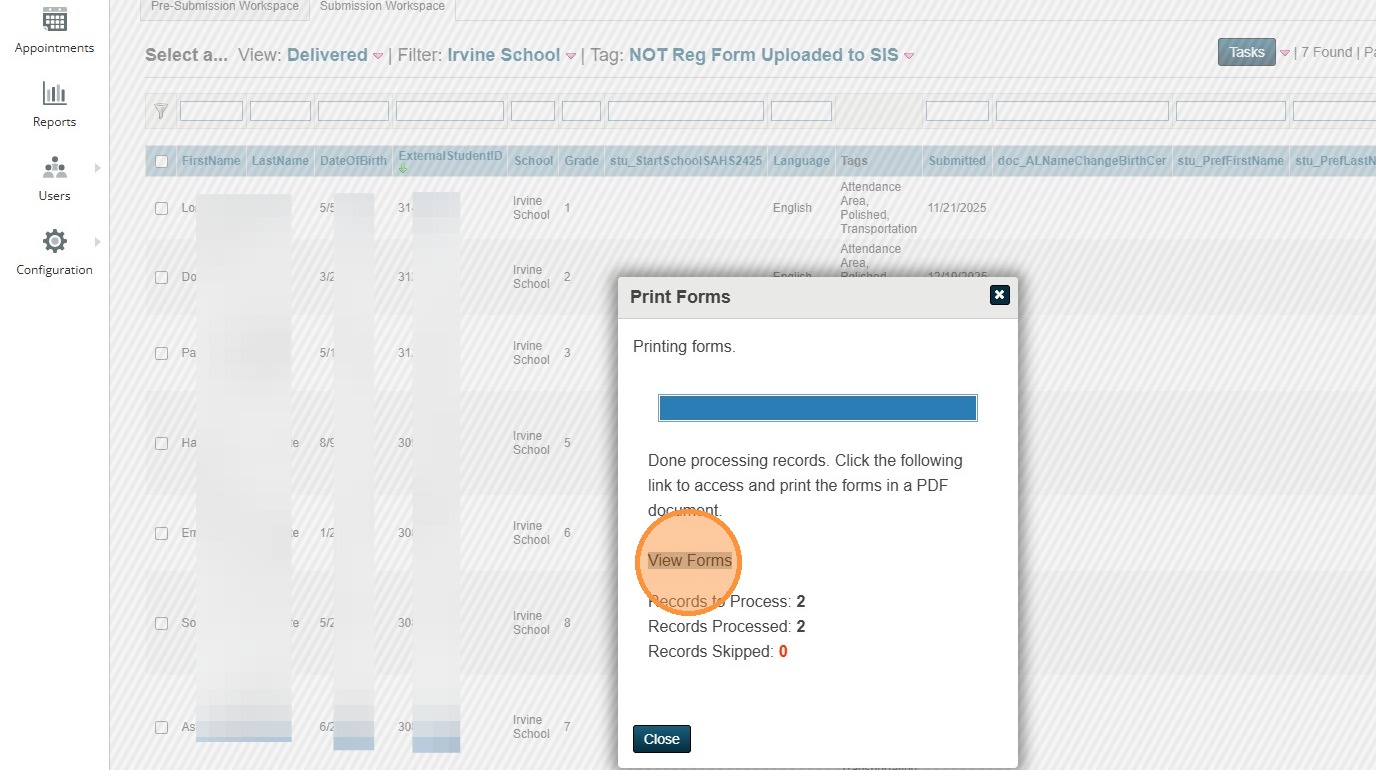
18. Click "View Forms"
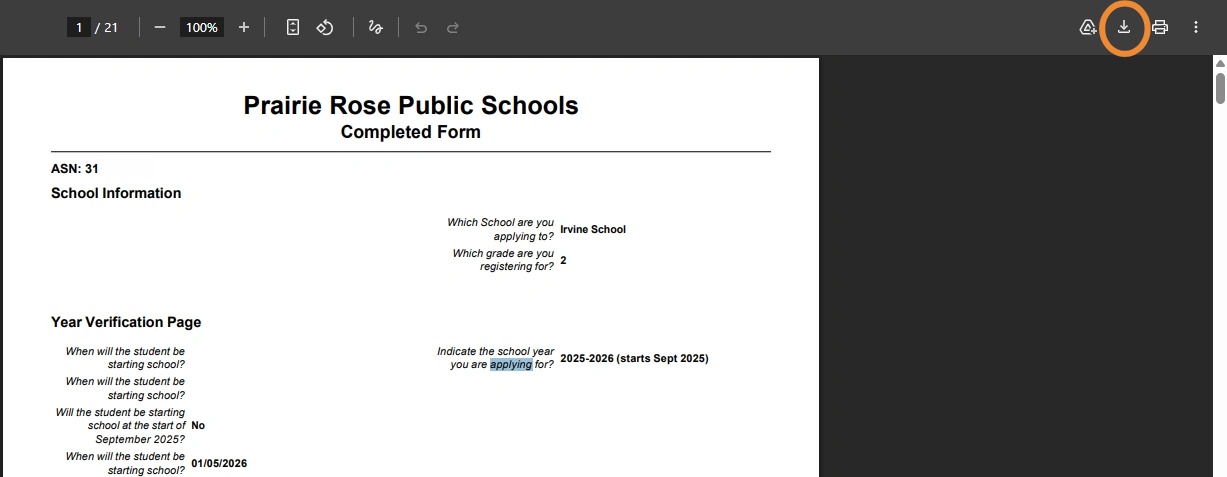
19. Click Download and save to your Downloads Folder.
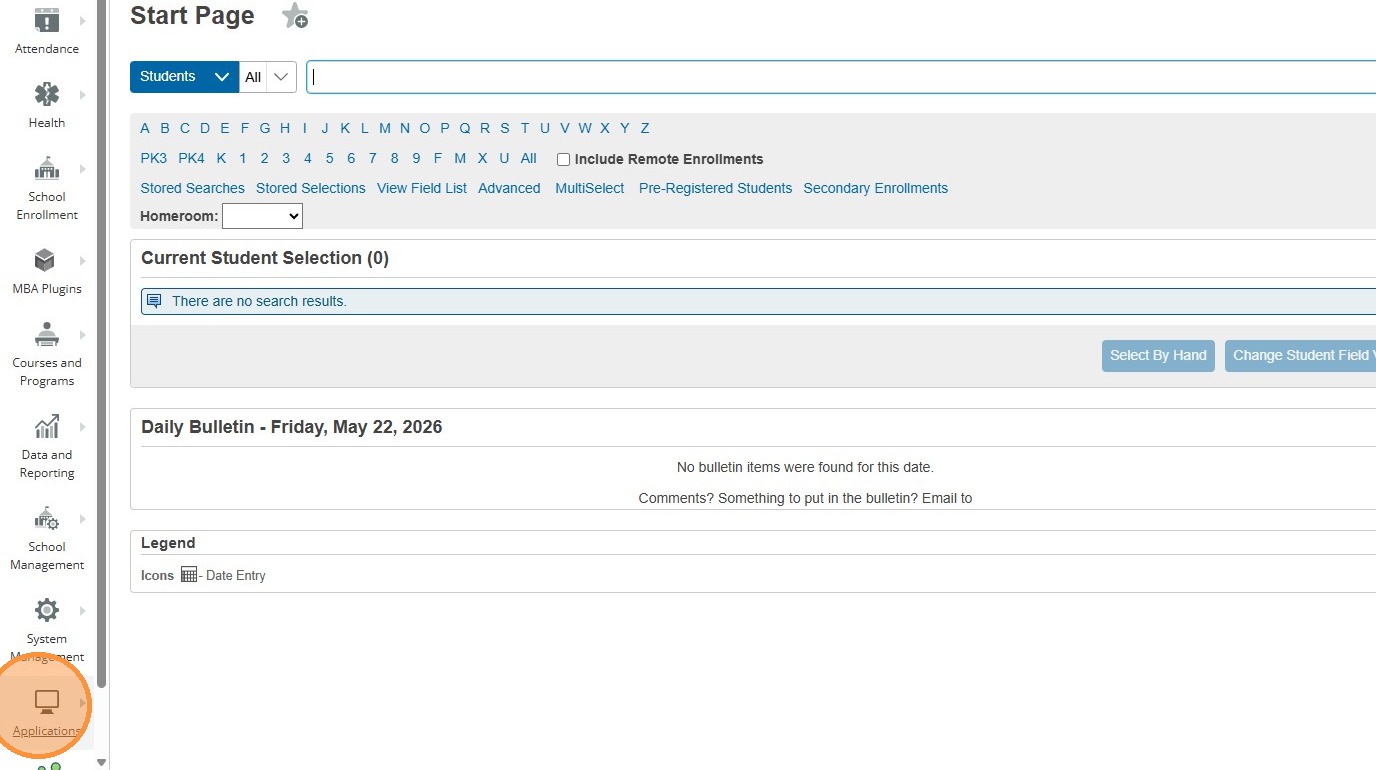
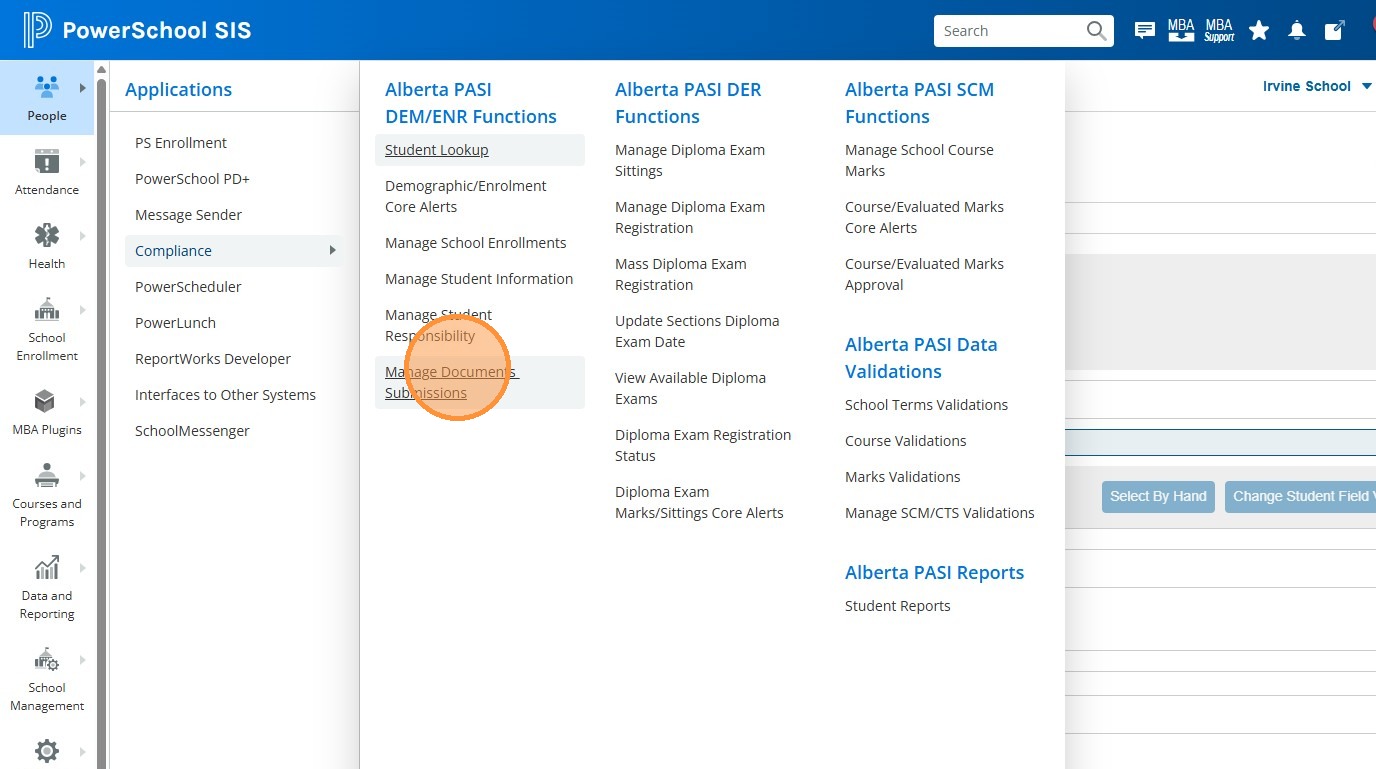
20. Return to PS SIS, and click "Applications"
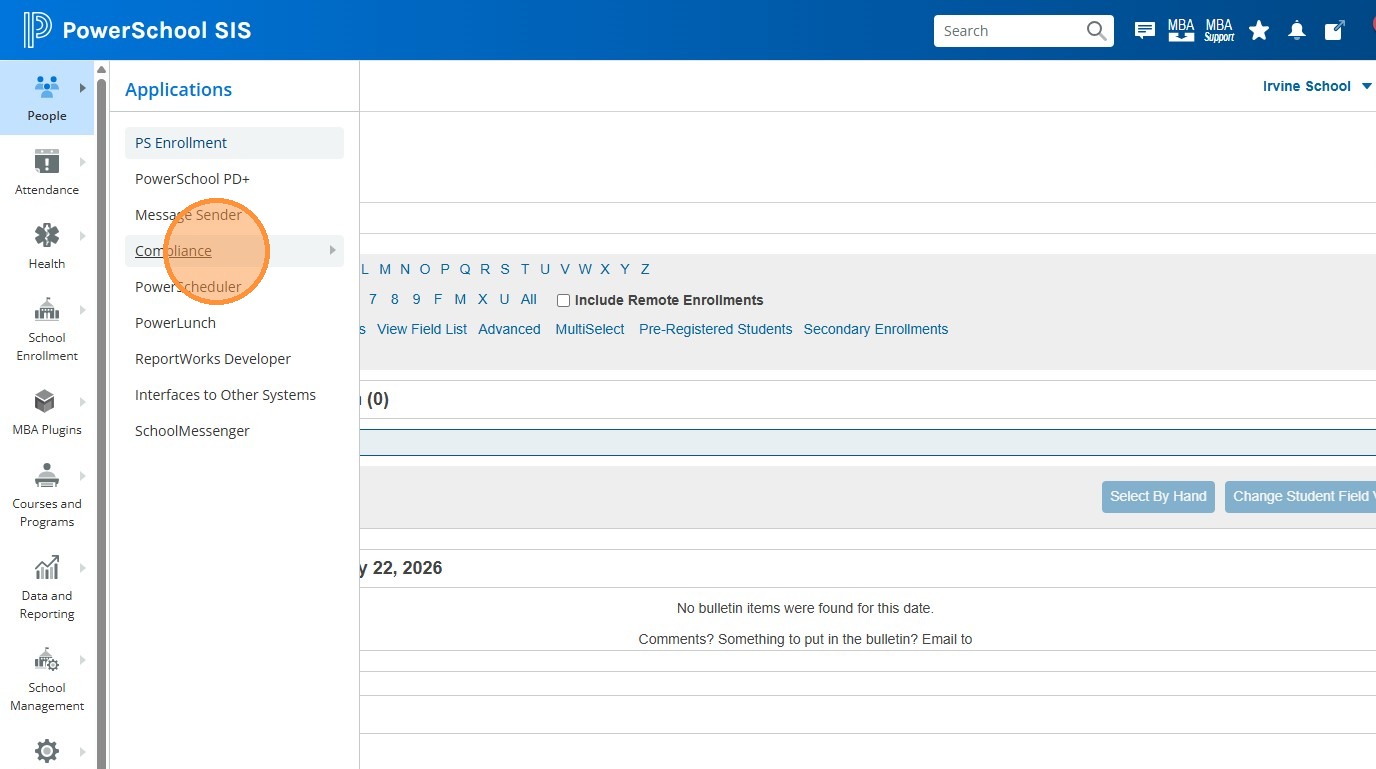
21. Click "Compliance"
22. Click "Manage Documents Submissions"
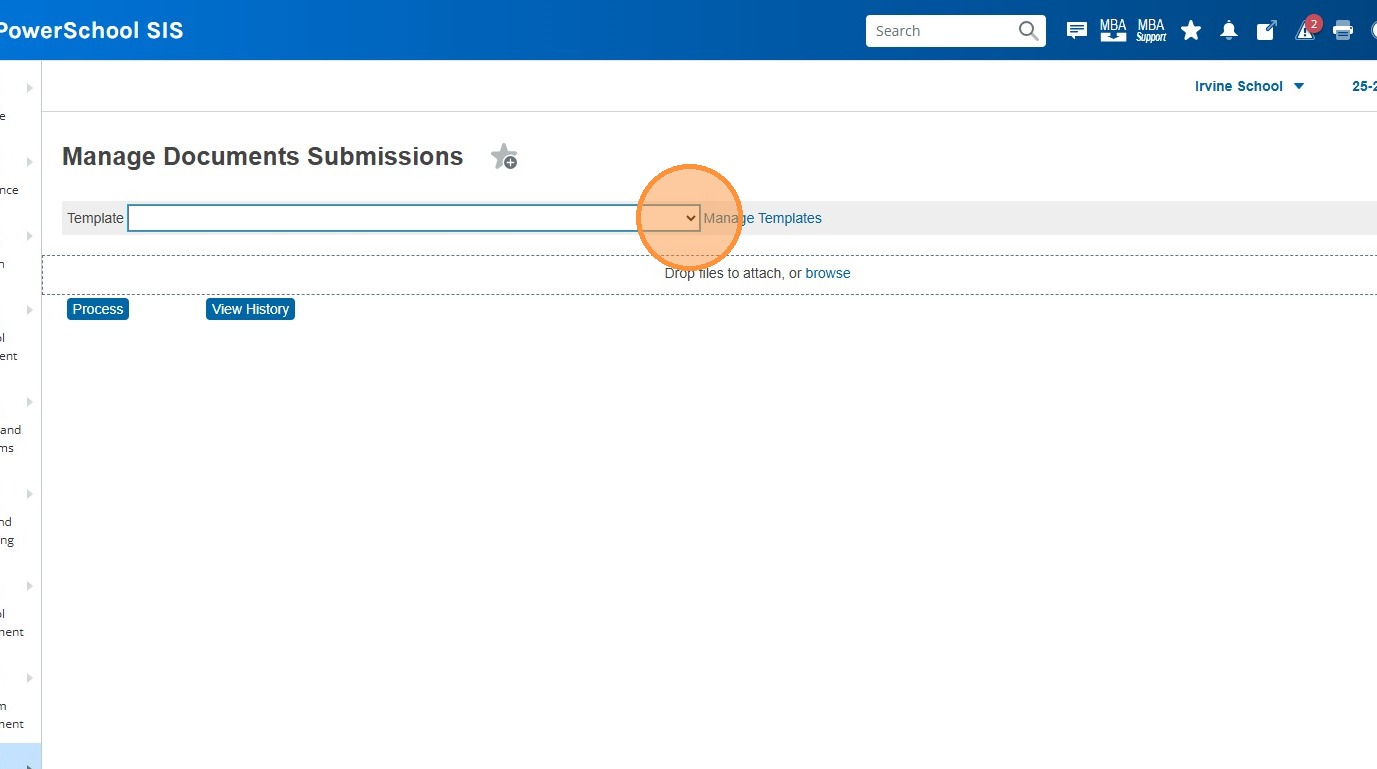
23. Click the Templates Drop-Down
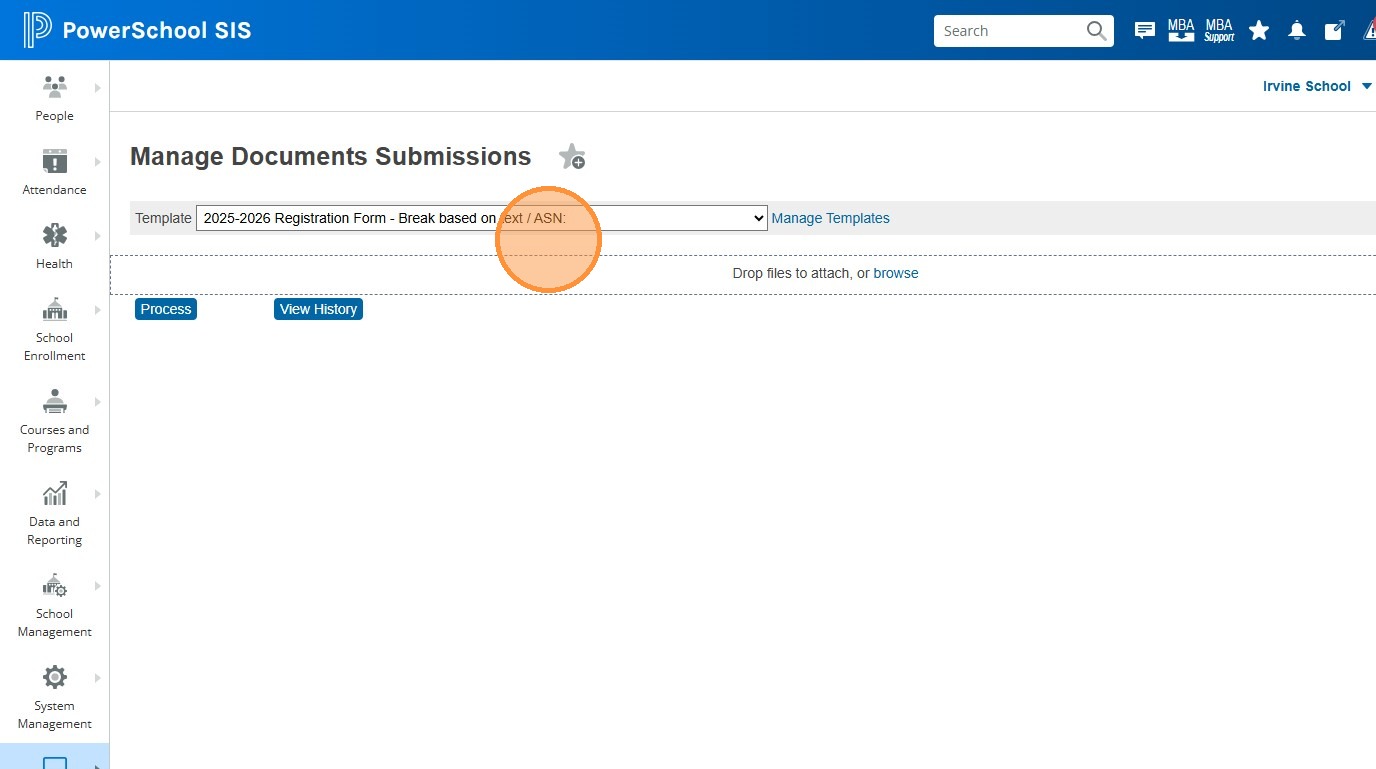
24. Select the correct Template. In our example we are using the "2025-2026 Registration Form"
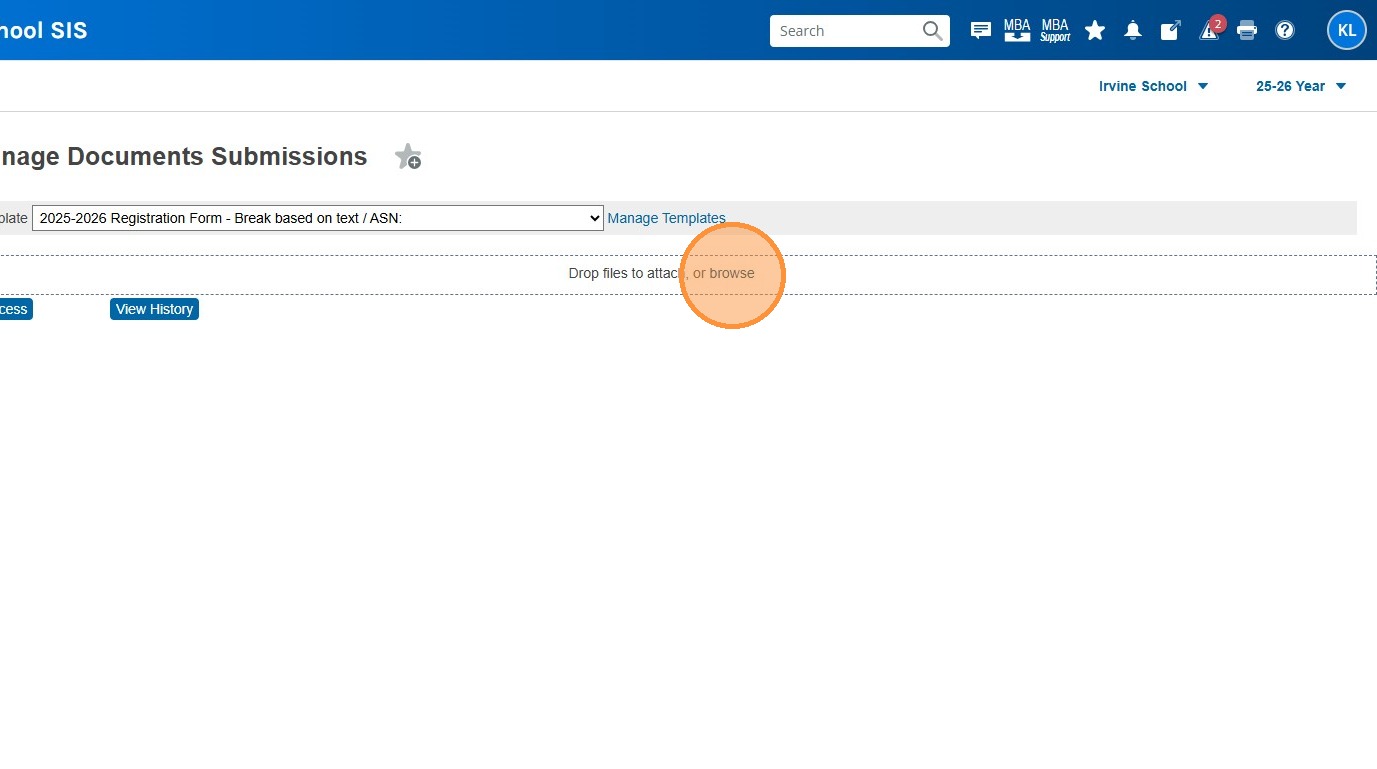
25. Click "browse" and navigate to your saved file.
26. Click "Process"
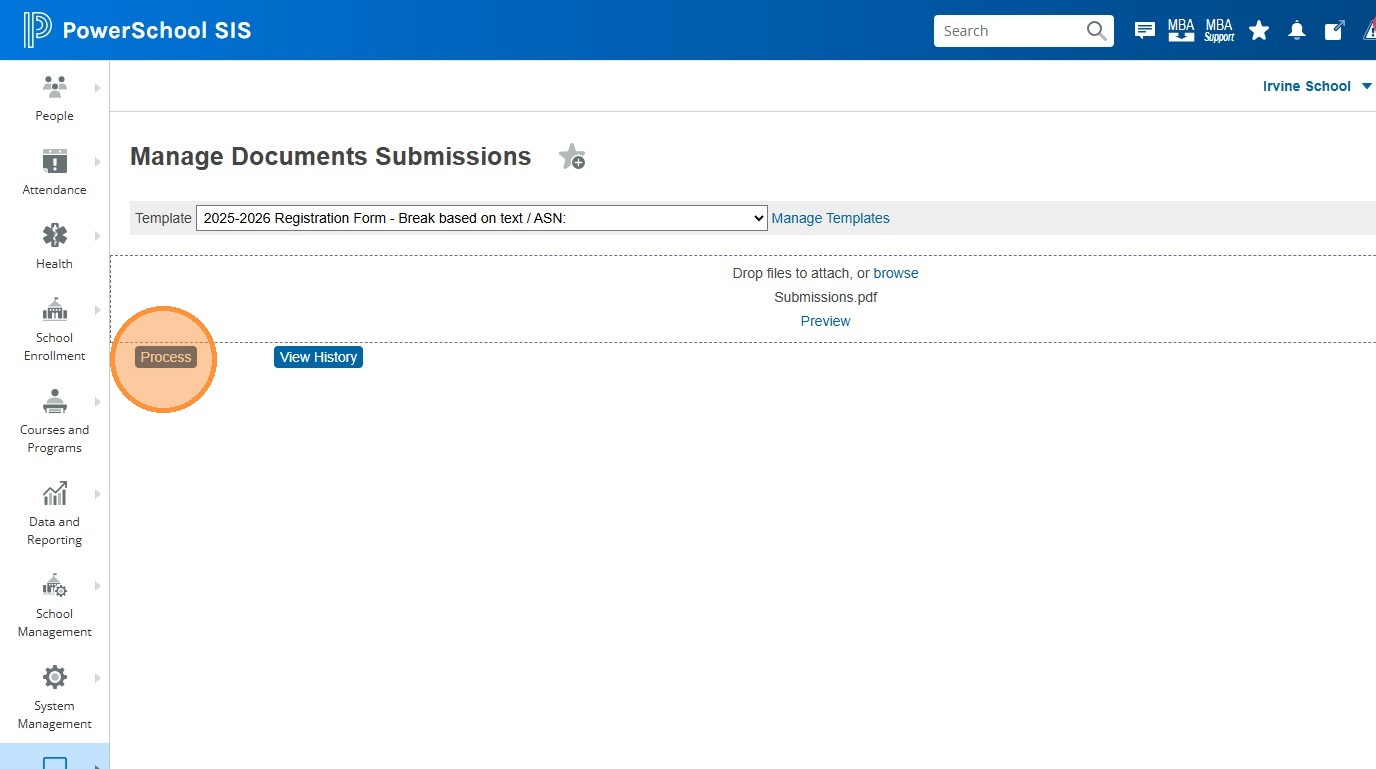
27. Verify that the number of records matches the number of reg forms you're expecting
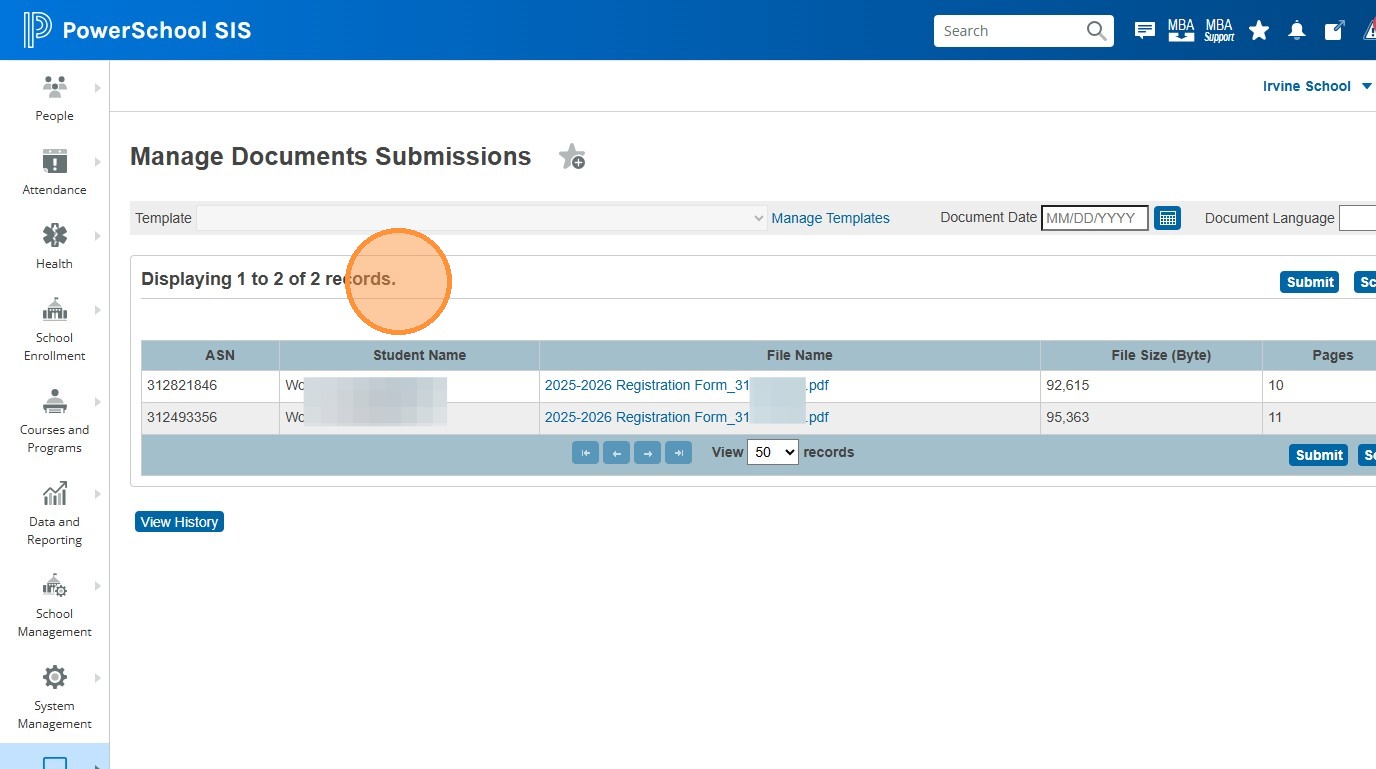
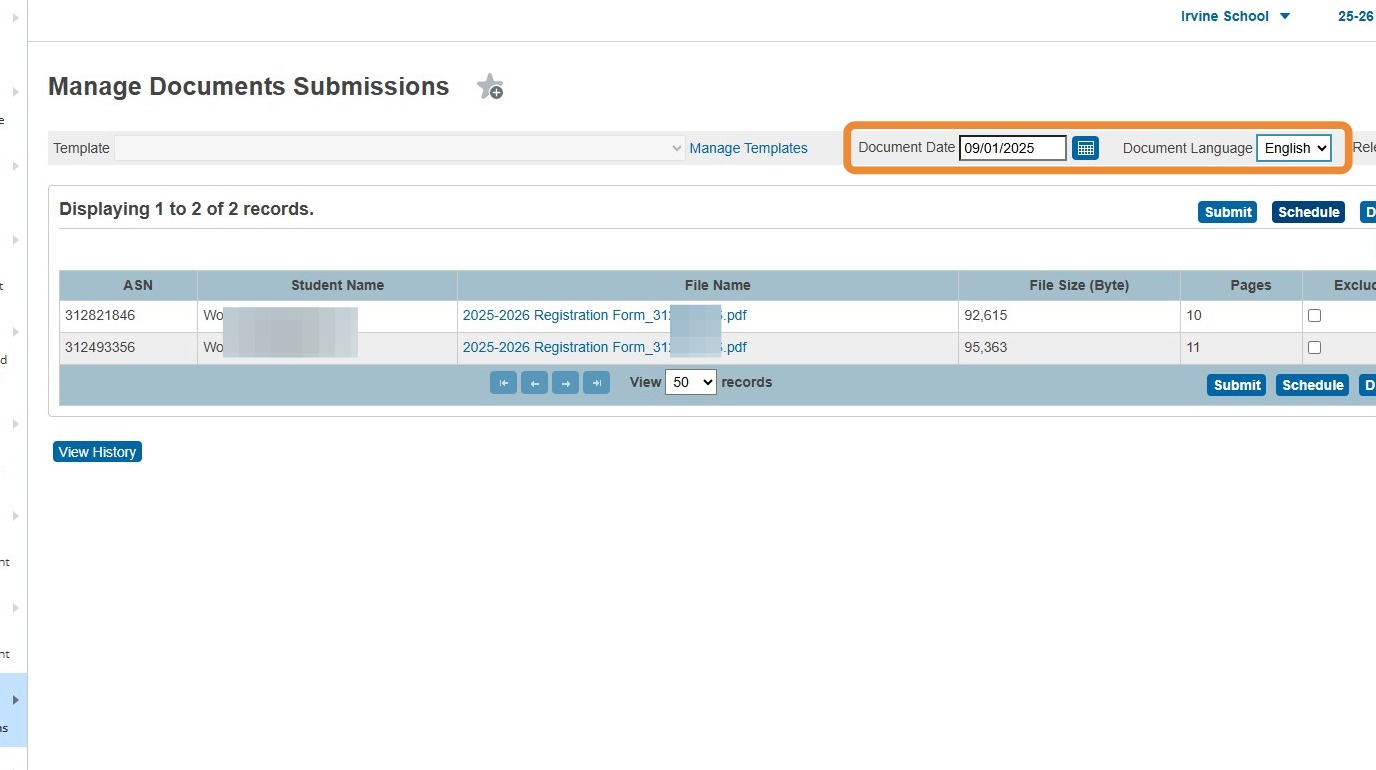
28. Choose the Document Date and Document Language
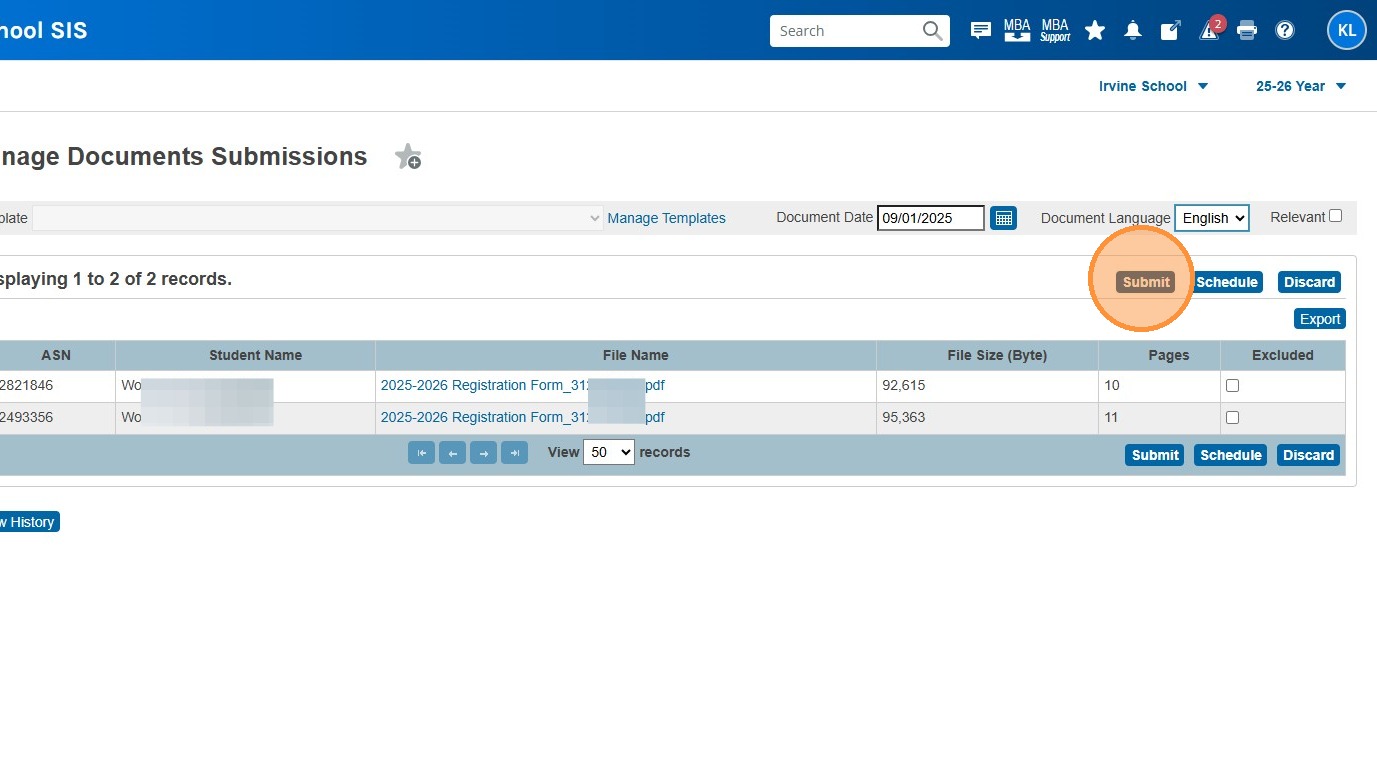
29. Click "Submit"
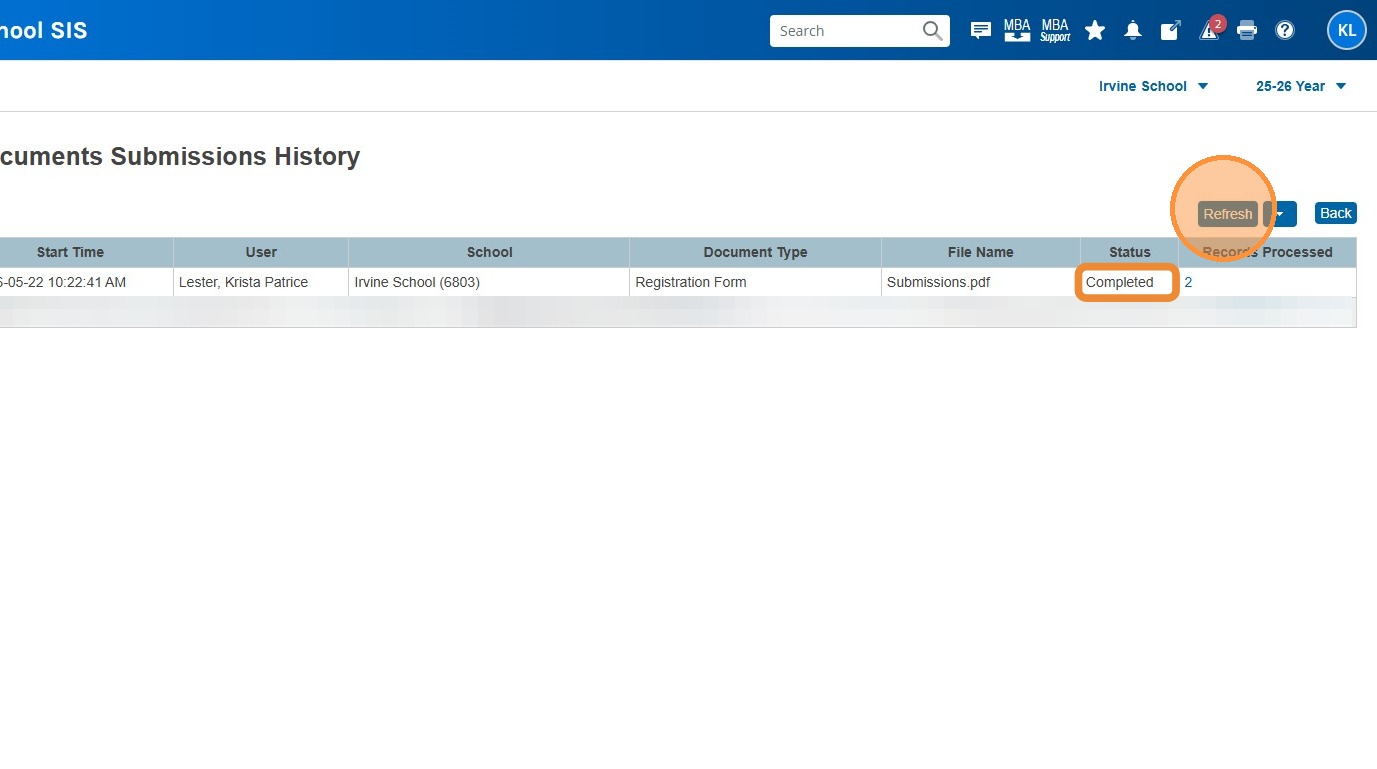
30. Click "Refresh" until the Status changes from In Progress to Complete
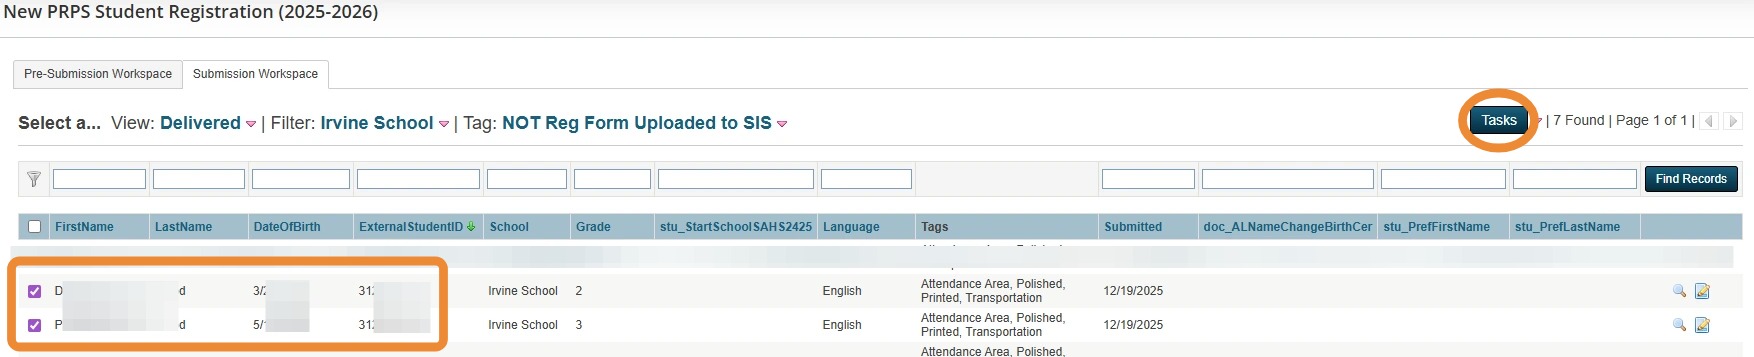
31. Return back to your Enrollment screen. Make sure the students you selected forms for are selected. Click "Tasks"
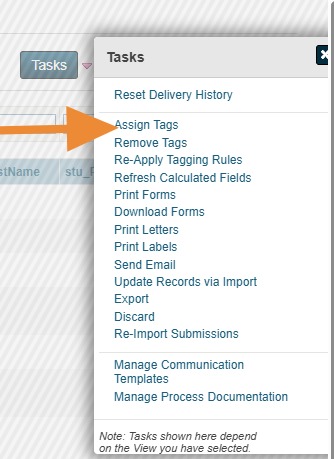
32. Click "Assign Tags"
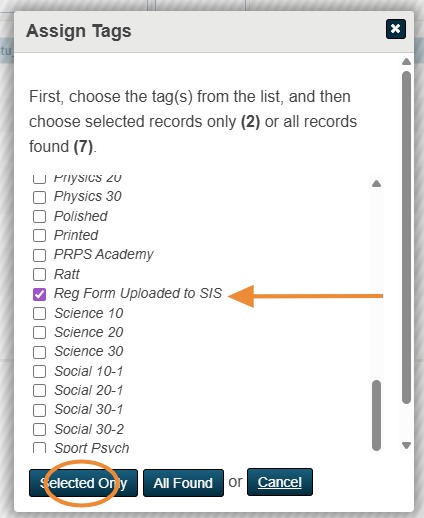
33. Check the "Reg Form Uploaded to SIS" Tag and click "Selected Only". This will assign the tag, and the forms will be removed from the selection when choosing the "Not Tagged" as from Step 11 for future downloads.
34. Repeat as needed until all student reg forms have been uploaded to SIS for whichever form you're working on.